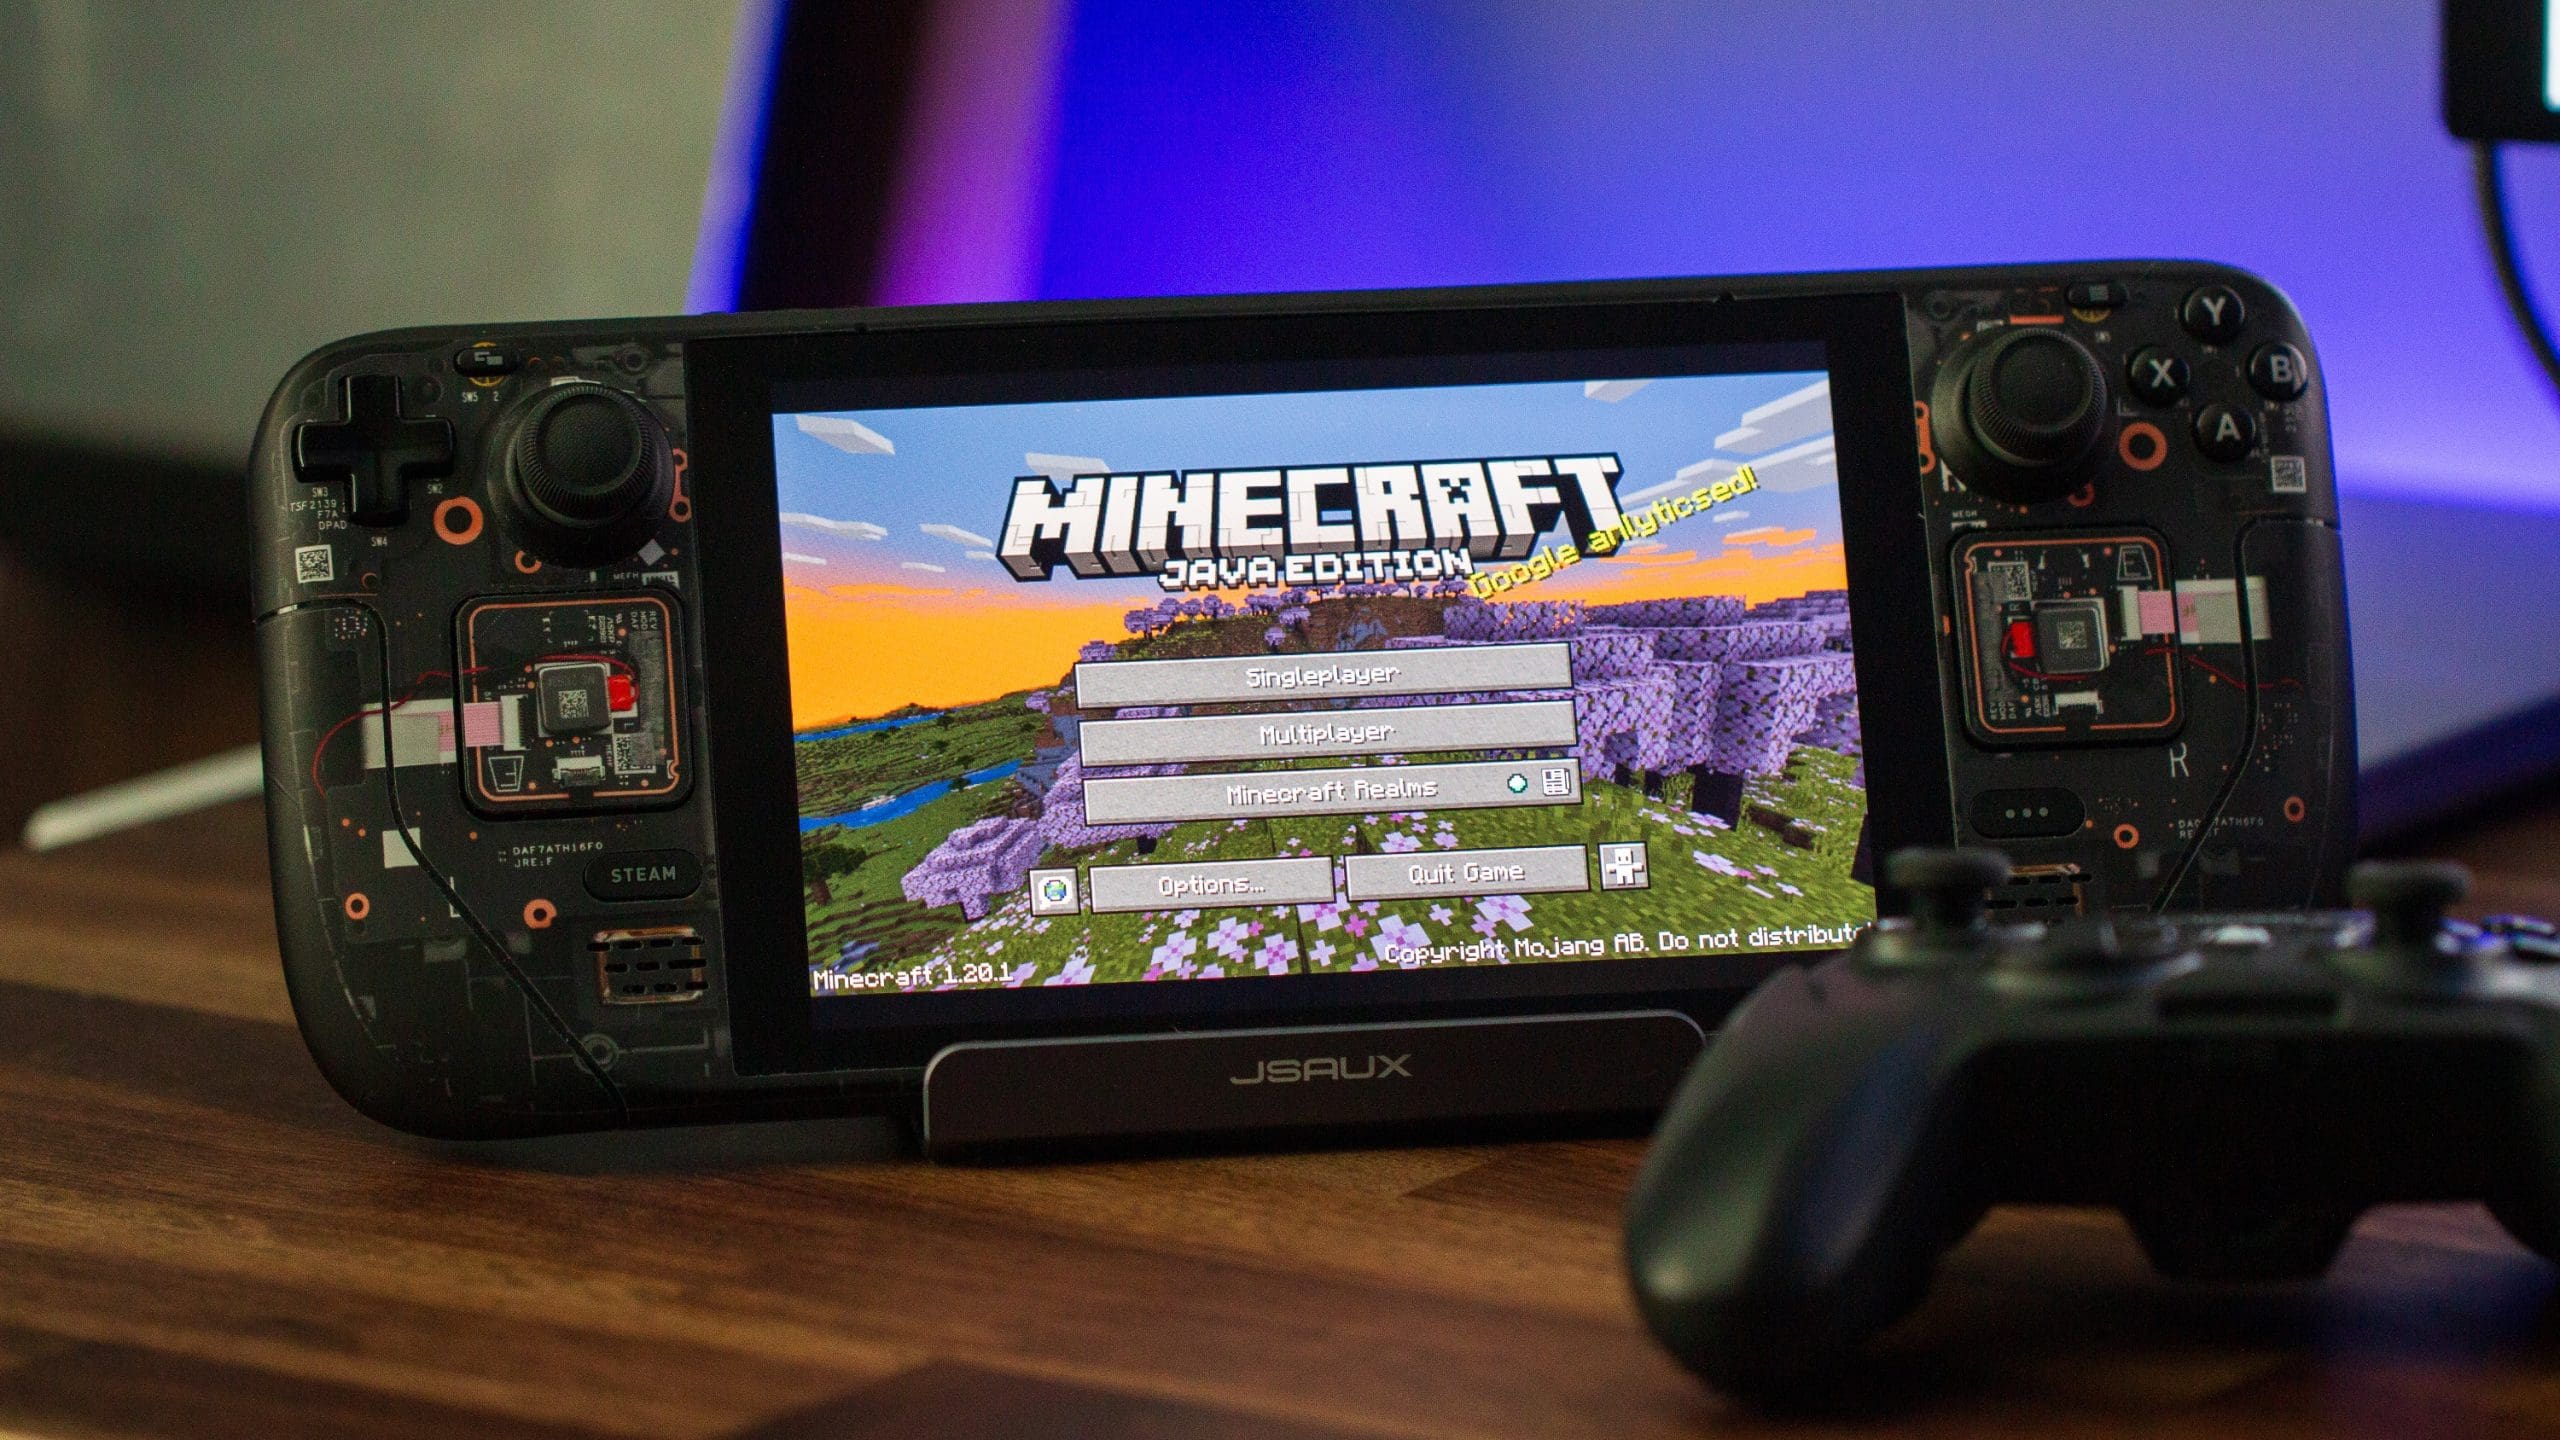
The Steam Deck, Valve’s portable gaming device, is designed to bring the full-fledged PC gaming experience to a handheld device. One of the games you might be interested in playing on this device is Minecraft, a popular sandbox game known for its endless possibilities.
Contents
How to play Minecraft on Steam Deck
The main advantage of the Steam Deck is its portability. You can play Minecraft wherever you go, not just when you’re at your PC or console. Whether you’re on a long journey or simply relaxing in a park, your Minecraft world can be right there with you.
Minecraft has a vast community and a plethora of mods that can dramatically change or enhance the gameplay. The Steam Deck’s compatibility with PC Minecraft means you can access this wide range of community content on the go.
While Minecraft is often played online, it also offers a robust single-player experience. With the Steam Deck, you can continue your Minecraft adventures even when you don’t have internet access.
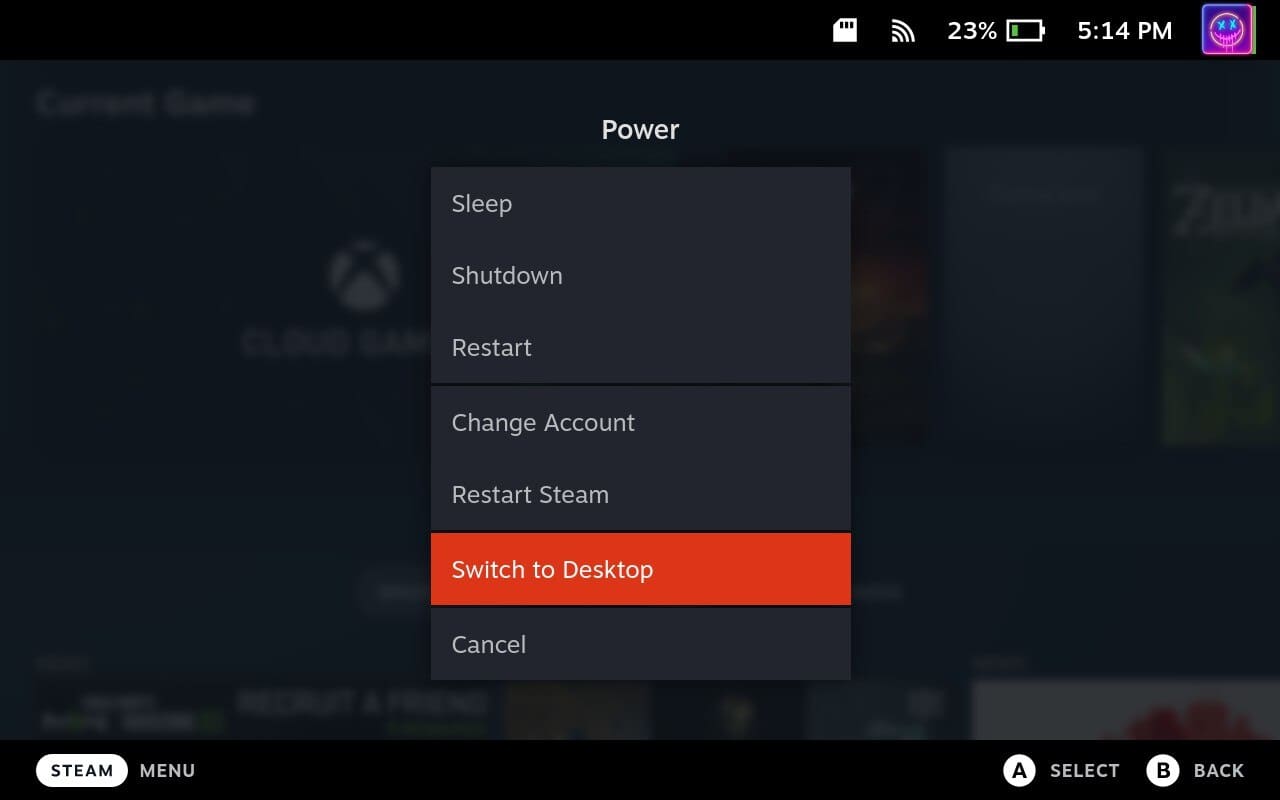
Switch to Desktop Mode
Because Minecraft isn’t readily available from the Steam Store, and is only available through a dedicated launcher, there are a few extra hoops that you’ll need to jump through first. And in order to get started, you’ll need to switch over to Desktop Mode on your Steam Deck.
- Press the Steam button on your Steam Deck.
- Scroll down and select Power.
- From the Power Menu, highlight and select Switch to Desktop.
- Wait until your Steam Deck switches to Desktop Mode.
Install and Set Up Prism Launcher on Steam Deck
Unfortunately, you can’t just download and install the traditional Minecraft Launcher in order to play Minecraft on Steam Deck. Thankfully, there’s a useful app by the name of Prism Launcher which is here to save the day. Prism Launcher is a free and open-source Minecraft launcher that was forked from the MultiMC project. It provides users with the ability to manage multiple Minecraft accounts and instances, each having its own unique mods, resource packs, and more. The project aims to prioritize user freedom and continually incorporate new features and functionalities.
- Once Desktop Mode is loaded, click the Discover icon in the taskbar.
- In the top left corner, use the Search box and search for Prism.
- Click the Install button within the Prism Launcher listing block.

- Wait for the installation to finish.
- Once installed, click the Steam button in the bottom left corner of the taskbar.
- Using the search box, search for Prism Launcher and open the app.
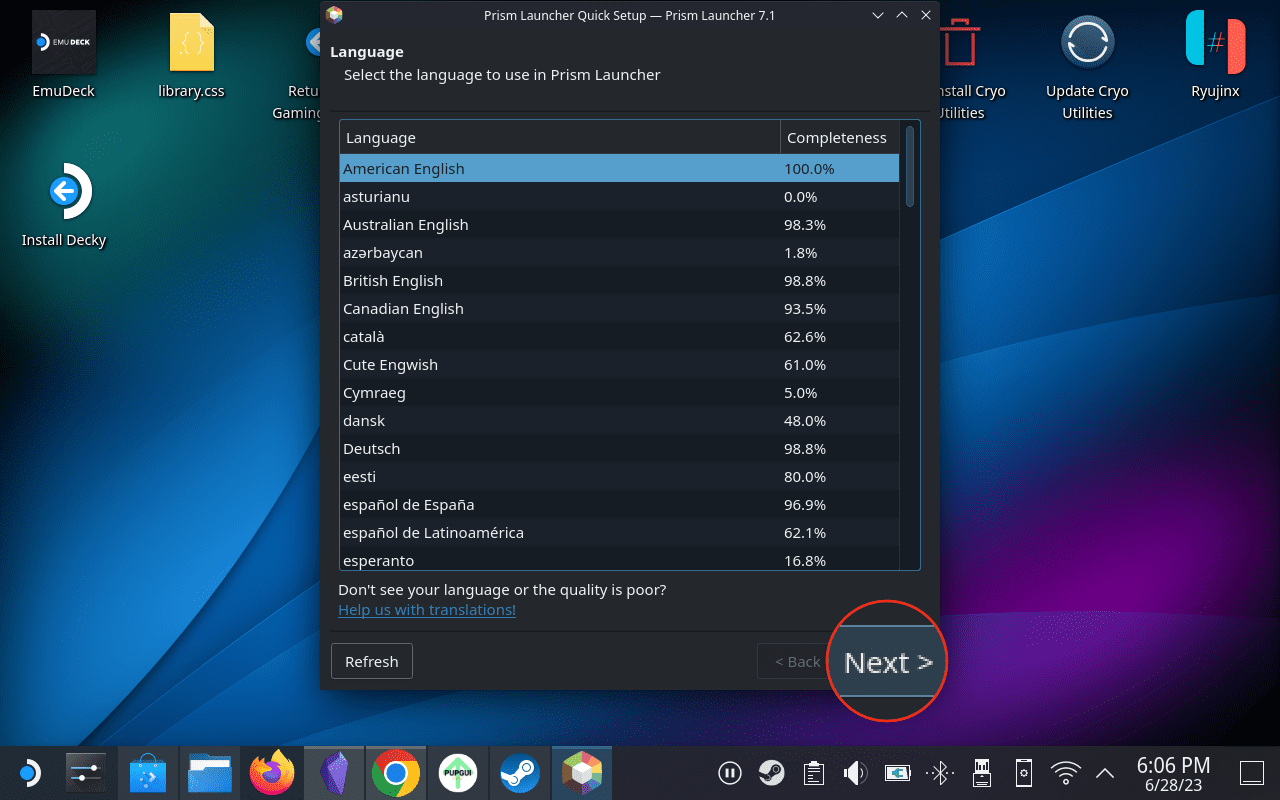
- After the app is launched, select your Language and click the Next button.

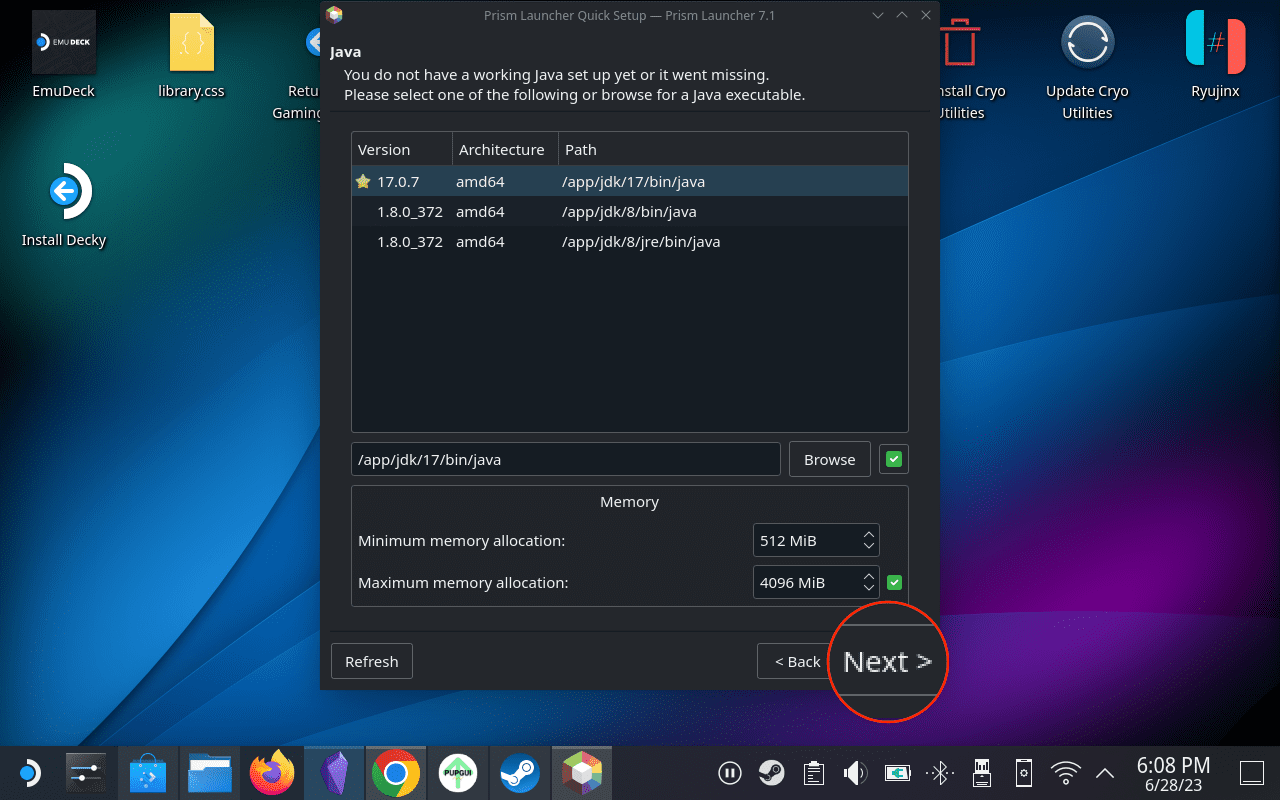
- Follow the on-screen steps to install the latest compatible version of Java.
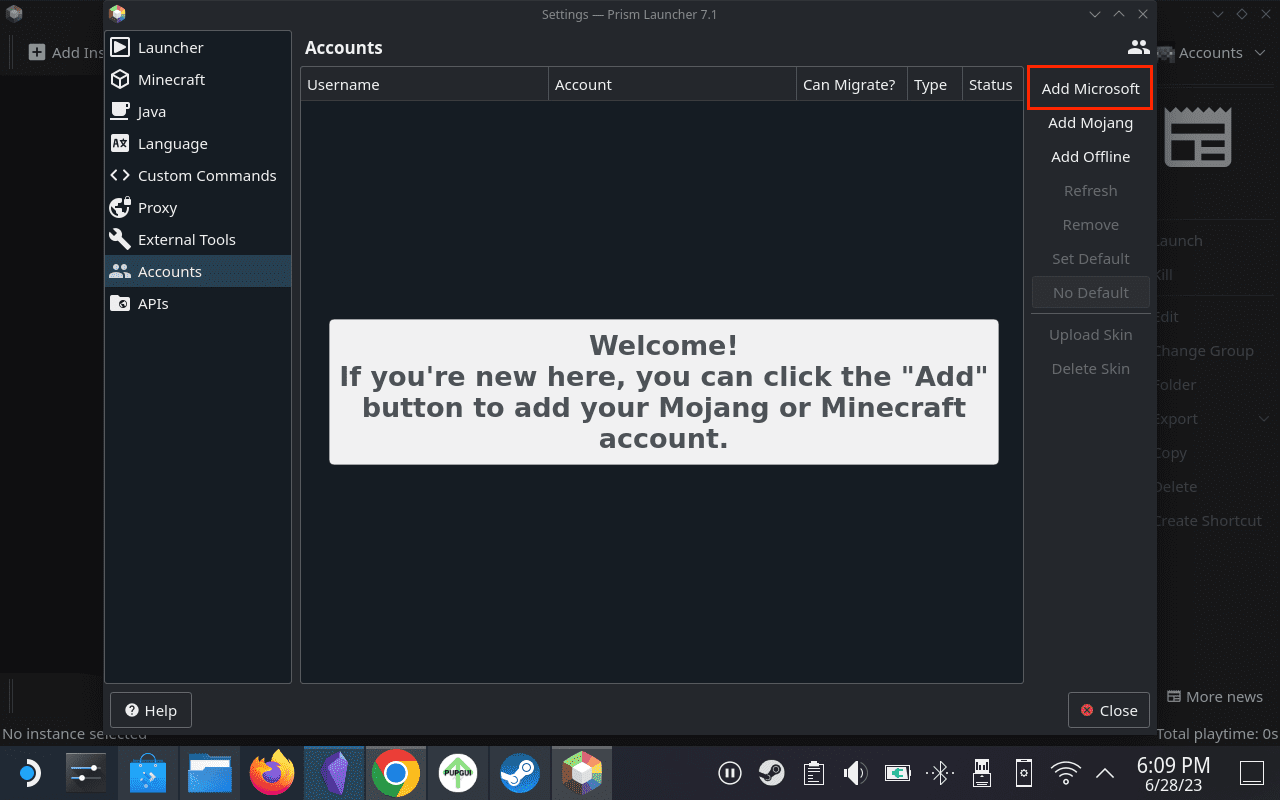
- From the main Prism Launcher window, click the Accounts button in the top right corner.
- Click Manage Accounts from the drop-down menu.
- On the right side of the window, click the Add Microsoft button.
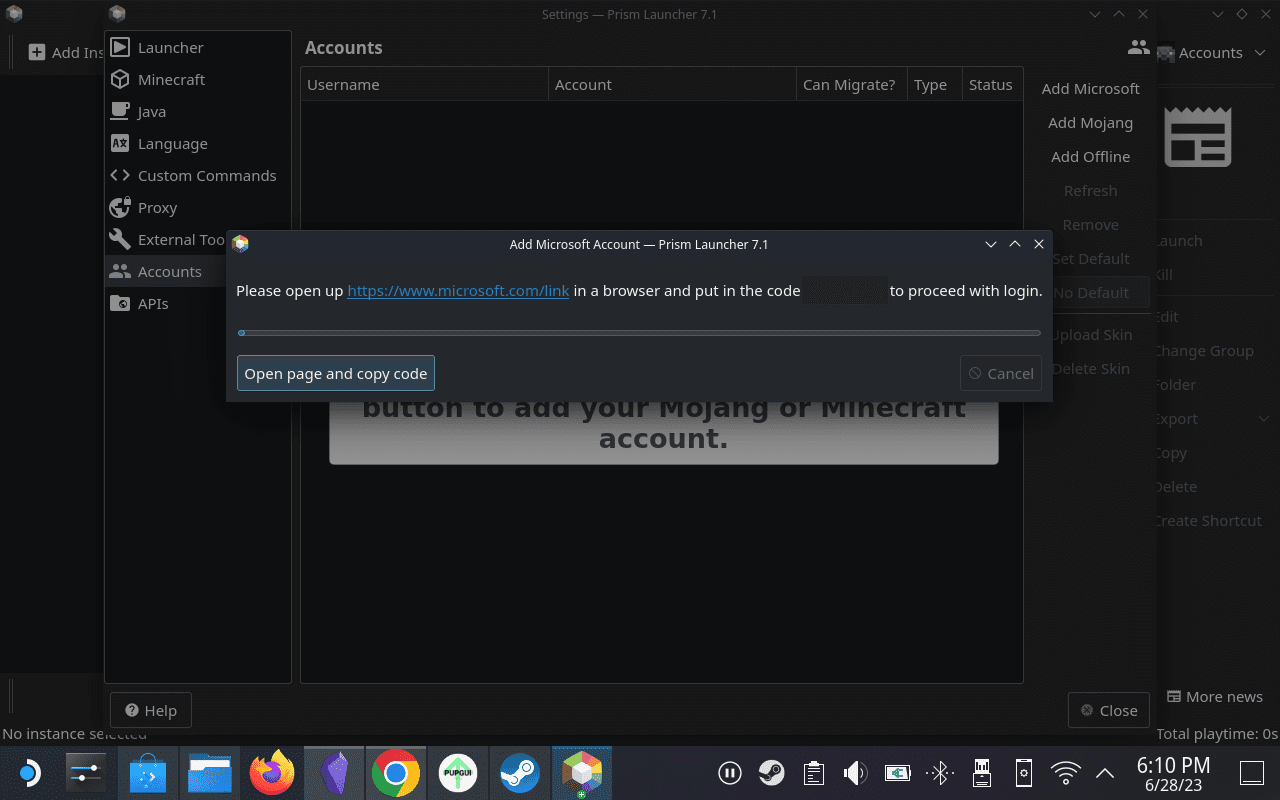
- Follow the on-screen steps to log into your Microsoft account.
- After you are finished logging in, close the Manage Accounts window.
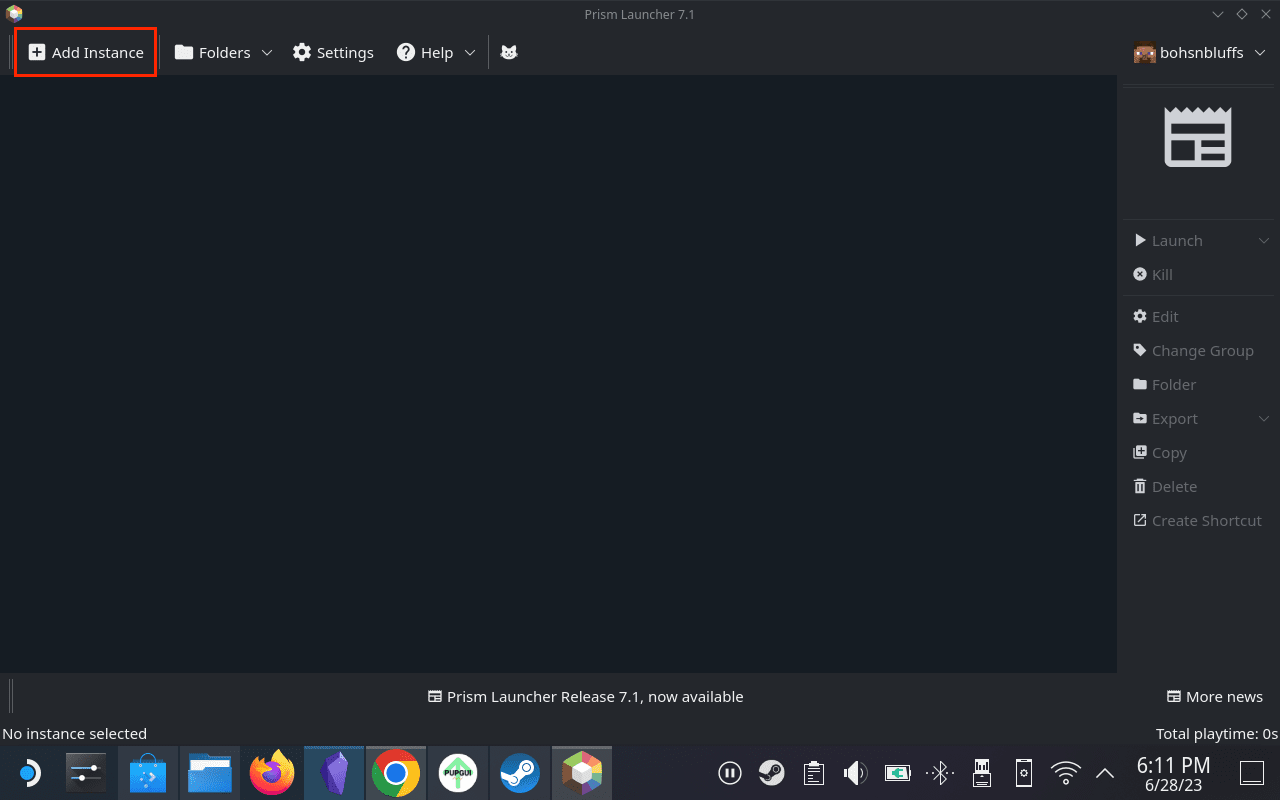
- Click the Add Instance button in the top left corner.
- Select which version of Minecraft you want to play.
- Click the OK button in the bottom right corner.


A notable feature of Prism Launcher on the Steam Deck is DeckCraft, a modpack designed to optimize the Minecraft experience on the Steam Deck. It includes various enhancements, extra features, and pre-installed shaders. DeckCraft can be installed directly through the launcher.
Add Minecraft to Steam Library
With Minecraft downloaded and installed to your Steam Deck, you’ll now want to add it to your Steam Library. This is an important step as you won’t want to have to boot into Desktop Mode on your Steam Deck every time you just want to relax and play a bit of Minecraft. Here are the steps that you’ll need to take:
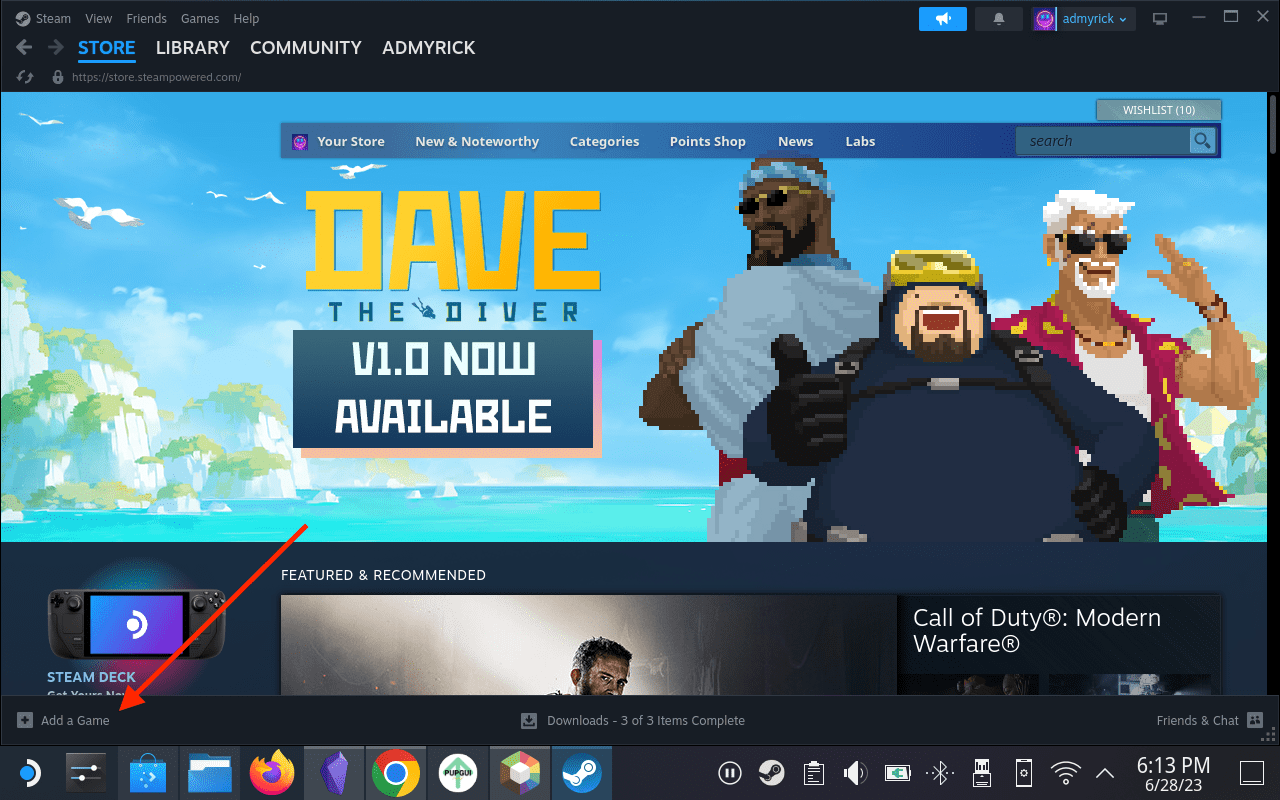
- From Desktop Mode, open the Steam app on your Steam Deck.
- In the bottom left corner, click the Add a Game button.
- Highlight and select Add a Non-Steam Game from the menu that appears.
- From the list of installed apps, scroll down and click the checkbox next to Prism Launcher.
- In the bottom right corner, click the Add Selected Programs button.
- Click the Library tab in the Steam app.
- Scroll down and select Prism Launcher from the list of installed games and apps.
- Click the Cog button on the right side of the window.
- Select Properties from the drop-down menu that appears.
- Place your cursor at the end of the string of text within the Launch Options text field.
- Add the following: “-l 1.20.1”
- Exit the Properties window.
- Go back to the Desktop on your Steam Deck.
- Double-click the Return to Gaming Mode button.


Change Your Control Layout
If you want to make the most out of being able to play Minecraft on Steam Deck, you’ll want to make sure that you are using an appropriate controller layout. With all of the different buttons and triggers available on the Steam Deck, selecting the right layout is extremely important. Thankfully, there are quite a few great options available from the community, meaning that you won’t have to go through and assign all of the various actions to specific buttons yourself.
- After you have returned to Gaming Mode, press the Steam button on the right side of your Steam Deck.
- Scroll down and select Library.
- Use the R1 button and navigate until the Non-Steam header is highlighted.
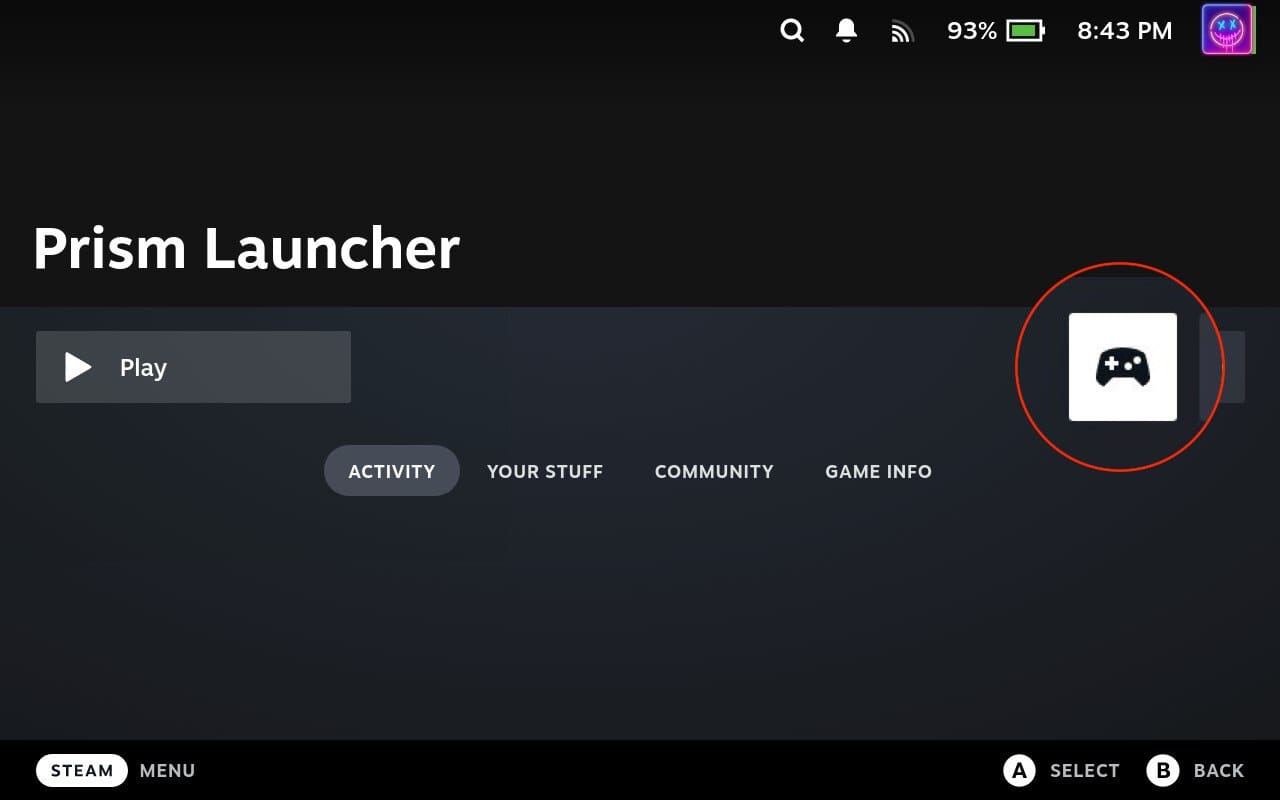
- Locate the Prism Launcher from the list of options.
- Highlight and select the Controller button on the right side of the window.
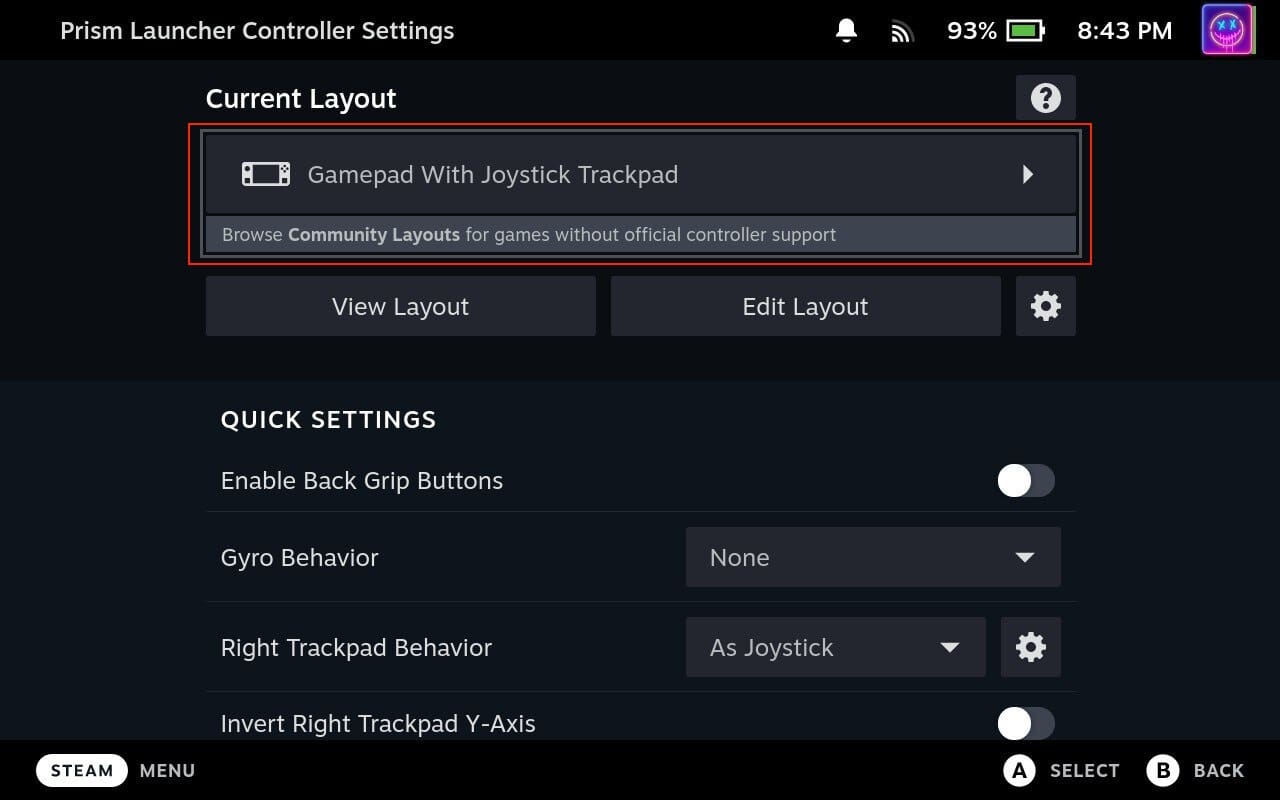
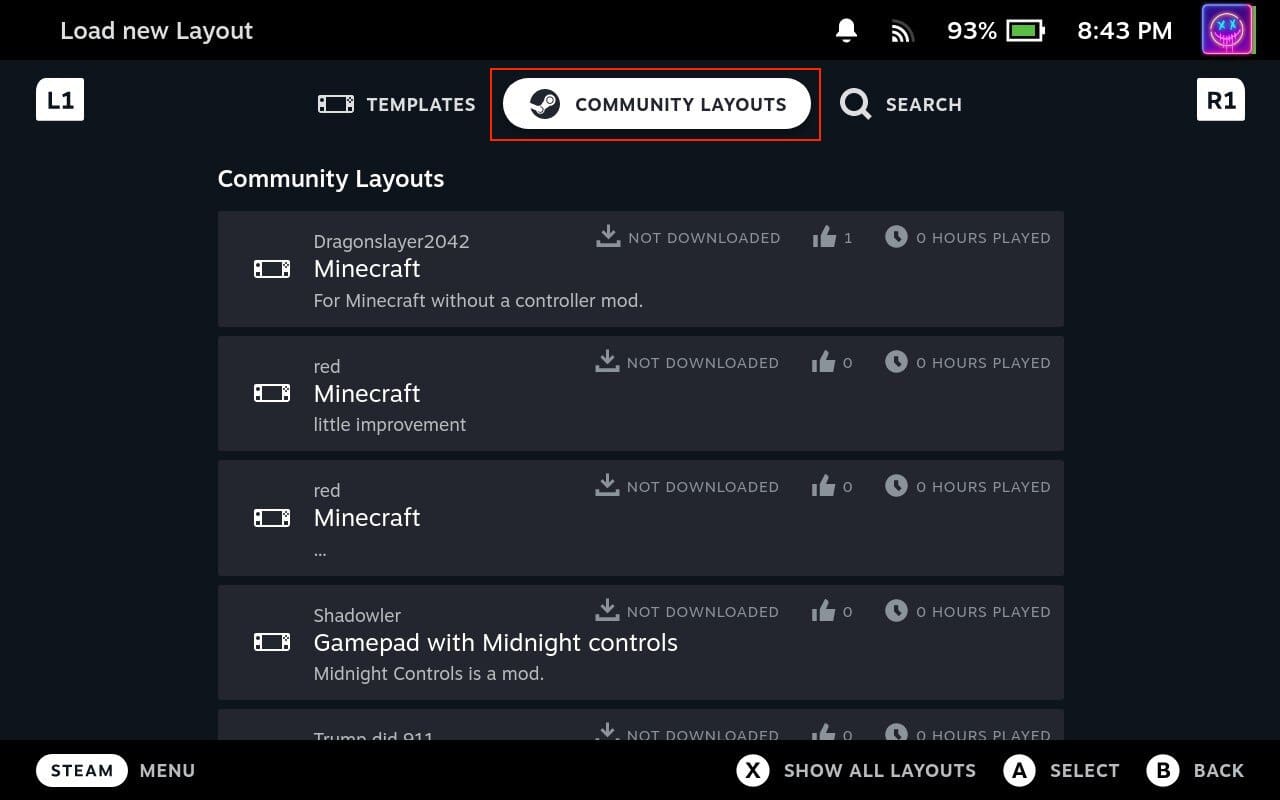
- At the top of the page, highlight and select the Gamepad with Joystick Trackpad drop-down box.
- Select Community Layouts at the top of the screen.
- Go through the list of options to see which layout you think would work best for your needs.

After you are finished selecting and downloading a controller layout, you can go back to the main Prism Launcher listing and start playing. In some instances, you might need to click the Launch button from the Prism Launcher app, but this shouldn’t be much of a problem as you can just tap the appropriate button on the touch screen.