The Steam Deck is a powerful handheld device that allows you to play PC games on the go. One of the biggest advantages of using the Steam Deck to play emulated games is the ability to play classic games from older consoles that may not be available on modern platforms. Emulators allow you to play games from consoles like the Nintendo Entertainment System, Super Nintendo, and Sega Genesis on your PC. With the Steam Deck, you can take these classic games with you wherever you go and play them on the go.
Another advantage of using the Steam Deck to play emulated games is the ability to customize your gaming experience. Emulators often come with a variety of customization options, such as the ability to adjust graphics settings, use cheat codes, and save and load game states. This allows you to tailor your gaming experience to your preferences and make the most of your favorite classic games. With the Steam Deck’s powerful hardware and customizable controls, you can play these classic games with the same level of precision and control as you would on a traditional console.
Contents
What is Emulation?

Emulation enables gamers to experience classic or retro games on modern devices without needing the original console or physical media. It also allows for various enhancements, such as improved graphics, save states, and controller customization. However, it is essential to note that the legality of downloading and using game ROMs can be a complex issue, as it may involve copyright infringement if the user does not own the original game or if the game is still commercially available.
Emulators can run game files, often referred to as ROMs or ISOs, which are digital copies of the original game cartridges or discs. These files can be loaded into the emulator to play the desired game, with the emulator handling the translation of hardware instructions and software functions from the original platform to the host system.
Overall, game emulation serves as a means to preserve gaming history, allowing gamers to enjoy titles from older consoles that might otherwise be inaccessible due to the unavailability or obsolescence of the original hardware.
Recommend Accessories For Steam Deck Emulation
Before getting started with using EmuDeck for Steam Deck Emulation, there are a few accessories that we recommend grabbing ahead of time. These will help speed up the process of getting everything set up, while also making life easier in the event that you need to start from scratch.
Storage Solutions
First up on the list of recommendations is a portable SSD. By using an external SSD, you can load all of your ROMs and other emulation files onto a portable drive, allowing you to have quick and easy access in the event that a file gets corrupted. It may seem like overkill, but this can really come in handy, as opposed to relying on cloud storage solutions to transfer files.
Next up are some of our picks for the best microSD cards that will work with the Steam Deck. Admittedly, you can use pretty much any microSD card with the Steam Deck, and we recommend doing so if you want to play some of your favorite retro and emulated games. This way, you can keep the internal storage of your Steam Deck free, allowing you to install new Steam games as they become available.
The last set of recommended accessories for the Steam Deck can really help when it comes to actually setting up EmuDeck and Steam Deck Emulation. While it’s technically possible to do everything using the combination of buttons and trackpads on the Steam Deck, it’s not exactly the most intuitive experience. And that’s with being able to use the Steam+X button to bring up the keyboard.
You’ll quickly notice that the options we’ve listed above are “combination keyboards.” These include both a keyboard and a built-in trackpad, removing the need to try and connect multiple peripherals to your Steam Deck. Instead, you can just prop up your Steam Deck, grab the keyboard, and get started.
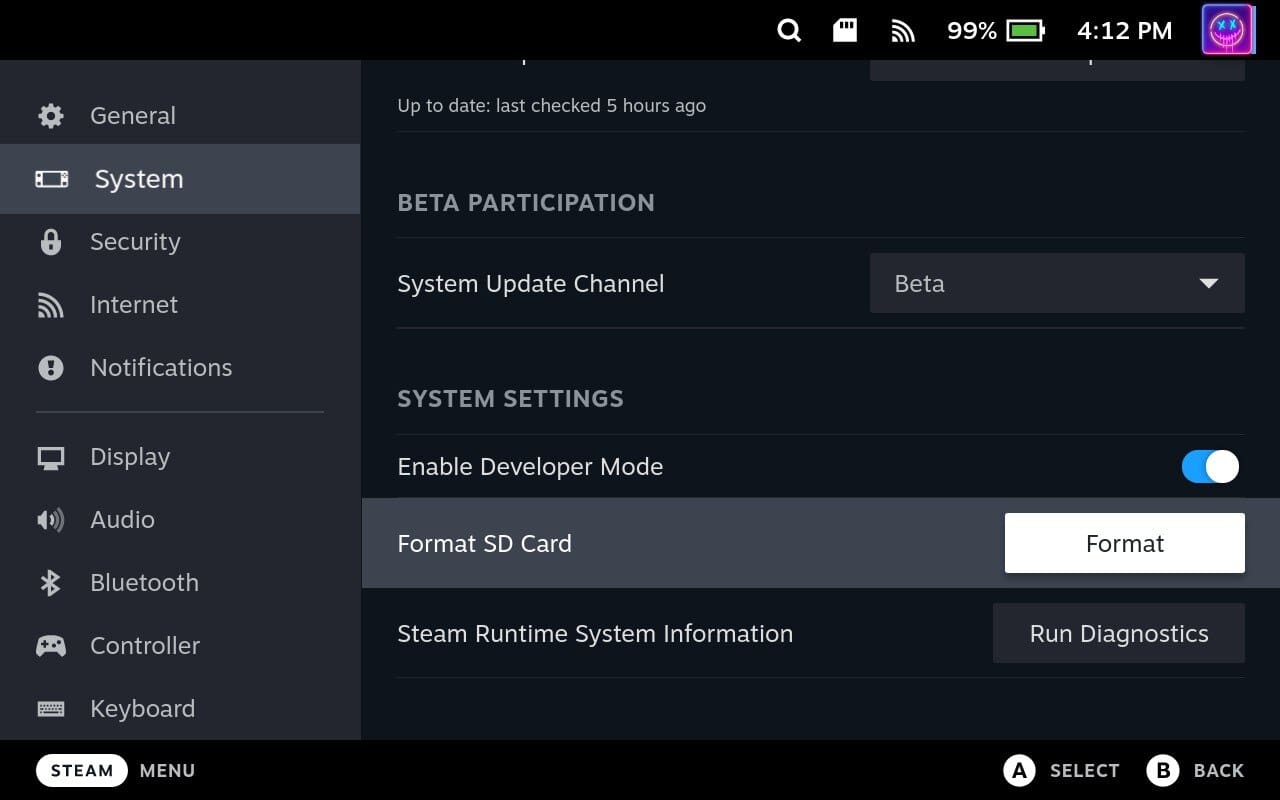
Format Your SD Card
Before getting started, it’s recommended to format your SD card in Game Mode on SteamOS. This is due to the need for the formatting to be ext4 or btrfs in order for the SD card to be compatible with EmuDeck.
- Make sure your SD Card is inserted into the Steam Deck.
- Power on your Steam Deck.
- Click the Steam button.
- Scroll down and select Settings.
- Highlight and select System.
- On the right side, locate the section named System Settings.
- Click the Format button next to Format SD Card.
- Click the Confirm button, when prompted.
Depending on the size of the SD card that you are using with the Steam Deck, you might have to wait a bit before the formatting has been completed. However, if you run into issues with formatting your SD card from SteamOS, you can read our guide here on how to format the SD card using Desktop Mode.
Steam Deck Emulation Guide: Installing EmuDeck
While the steps below may seem daunting, the reality is that EmuDeck is a MUCH EASIER solution than what you would need to do if you were to install each emulator individually. EmuDeck makes the entire process extremely easy, and these steps are reduced if you opt for the “Easy Mode” install. That being said, here’s how you can install EmuDeck on your Steam Deck!
- Press the Steam button on your Steam Deck.
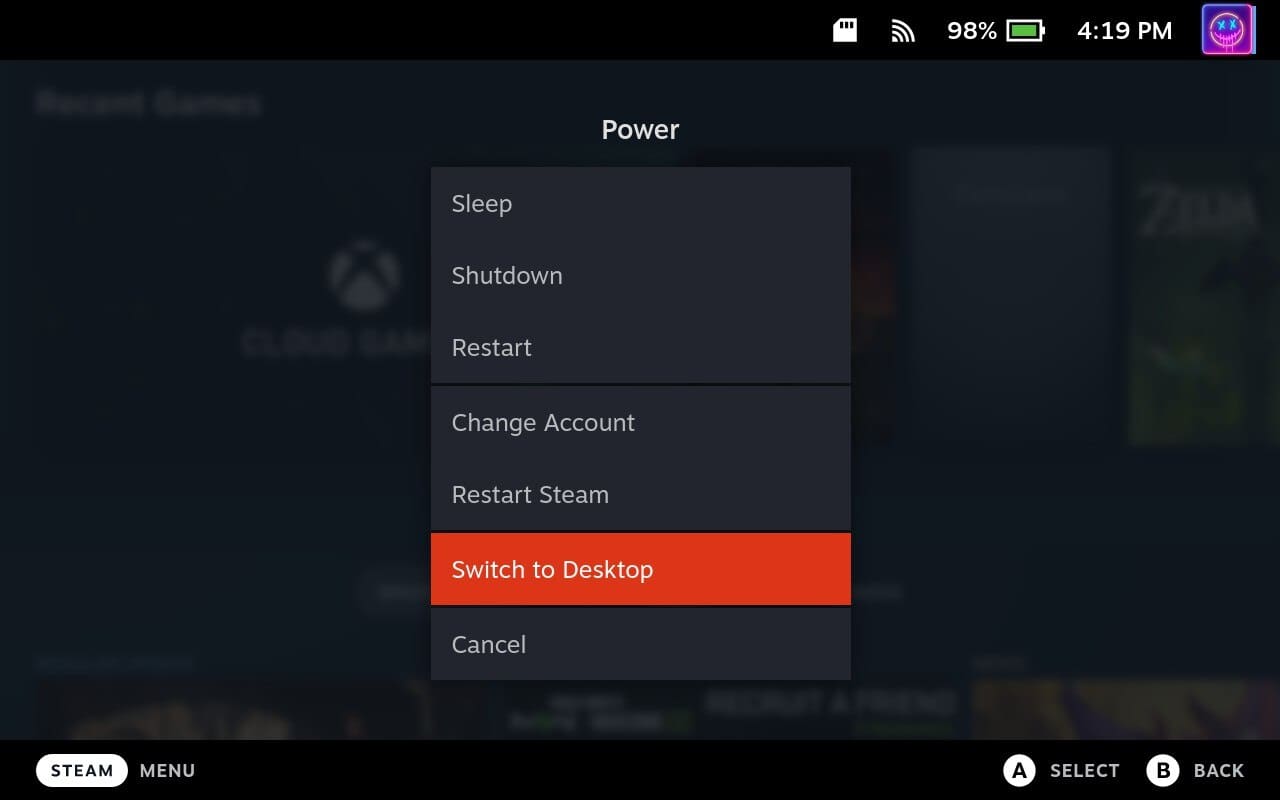
- Scroll down and select Power.
- From the Power Menu, highlight and select Switch to Desktop.

- Wait until your Steam Deck switches to Desktop Mode.
- Open a web browser and navigate to emudeck.com.
- Click the Download button in the top right corner of the website.

- Click the Download the EmuDeck Installer button.
- Open the Downloads folder on your Steam Deck.
- Drag the EmuDeck.desktop.download file to your Desktop folder.
- From the drop-down menu that appears, click the Move Here button.
- Exit the File Manager and go to your Steam Deck’s desktop.
- Double-click the EmuDeck.desktop.download file.
- From the window that appears, click the > Execute button.
- Click the Continue button.
- Wait for the EmuDeck installer to appear.
- From the EmuDeck Installer, select one of the following (NOTE: We are proceeding with the Custom Mode option):
- Easy Mode: This mode automatically installs and configures your device with our recommended settings so you can start playing right away.
- Custom Mode: This mode allows you to customize EmuDeck installs to your system. Configure Aspect Ratios, Bezels, Filters, RetroAchievements, Emulators, EmulationStation-DE themes, and Cloud Saves.
- Once selected, click the Continue button in the bottom right corner.
- Select your ROM directory, then click the Next button. If you are using a microSD Card, select that from this screen.
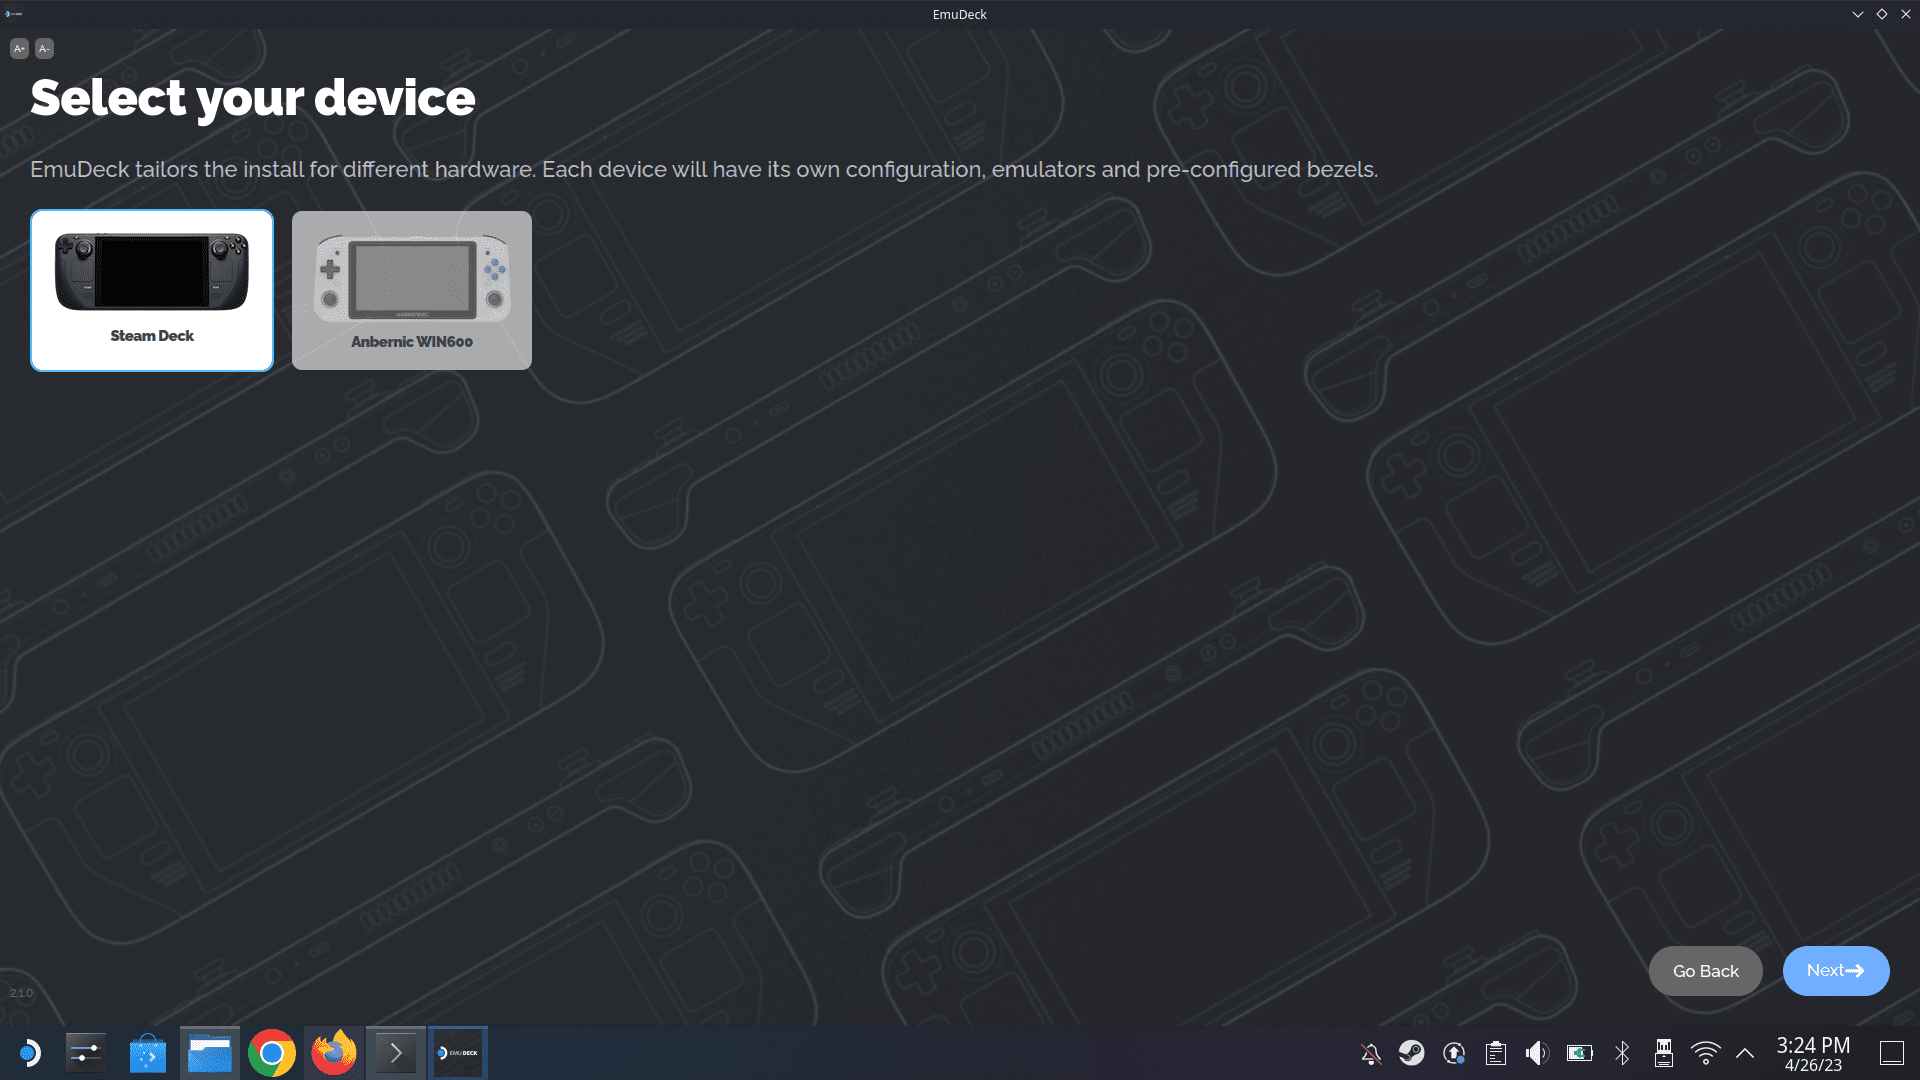
- Select Steam Deck and click the Next button.
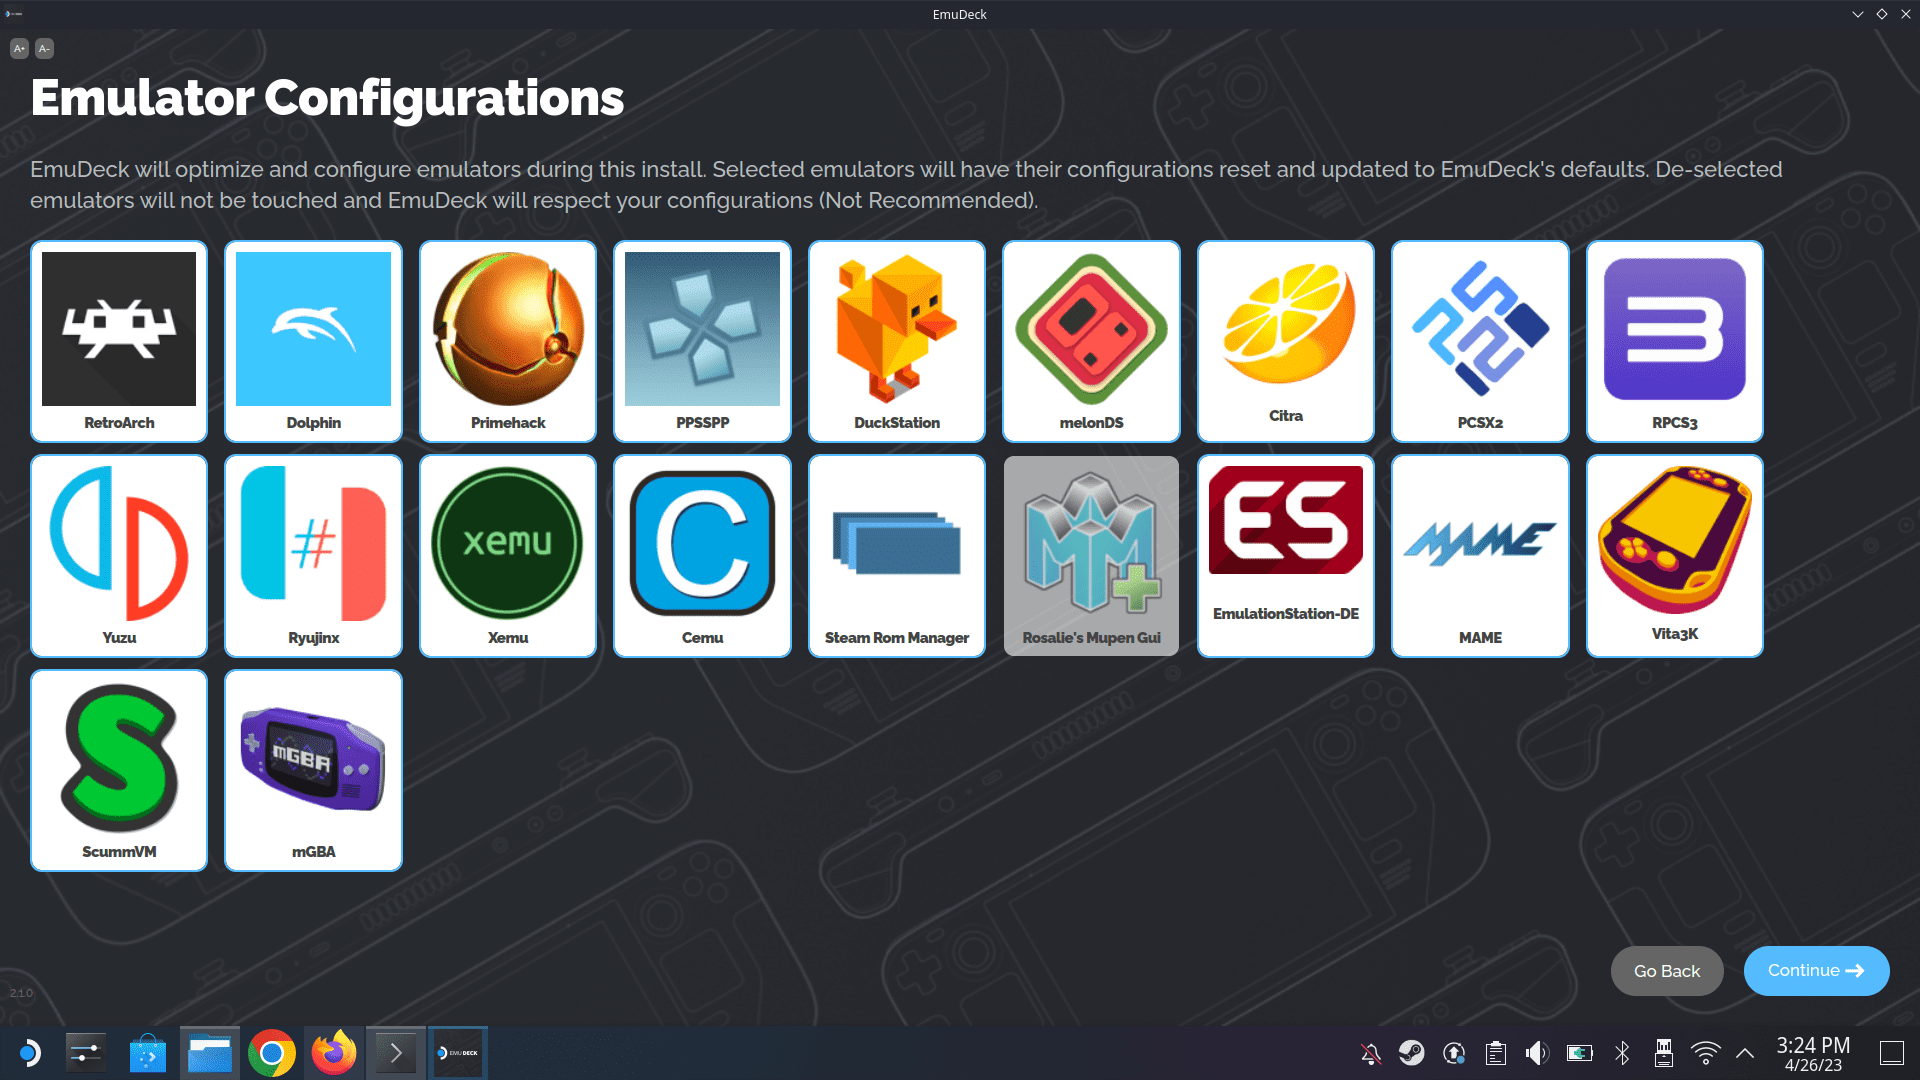
- Choose which emulators you want EmuDeck to install to your system.
- Click the Continue button.
- Unless you know how you want certain emulators to be configured, click the Continue button on the Emulator Configurations page.
- Enable or disable Auto Save for your emulators and click the Continue button.
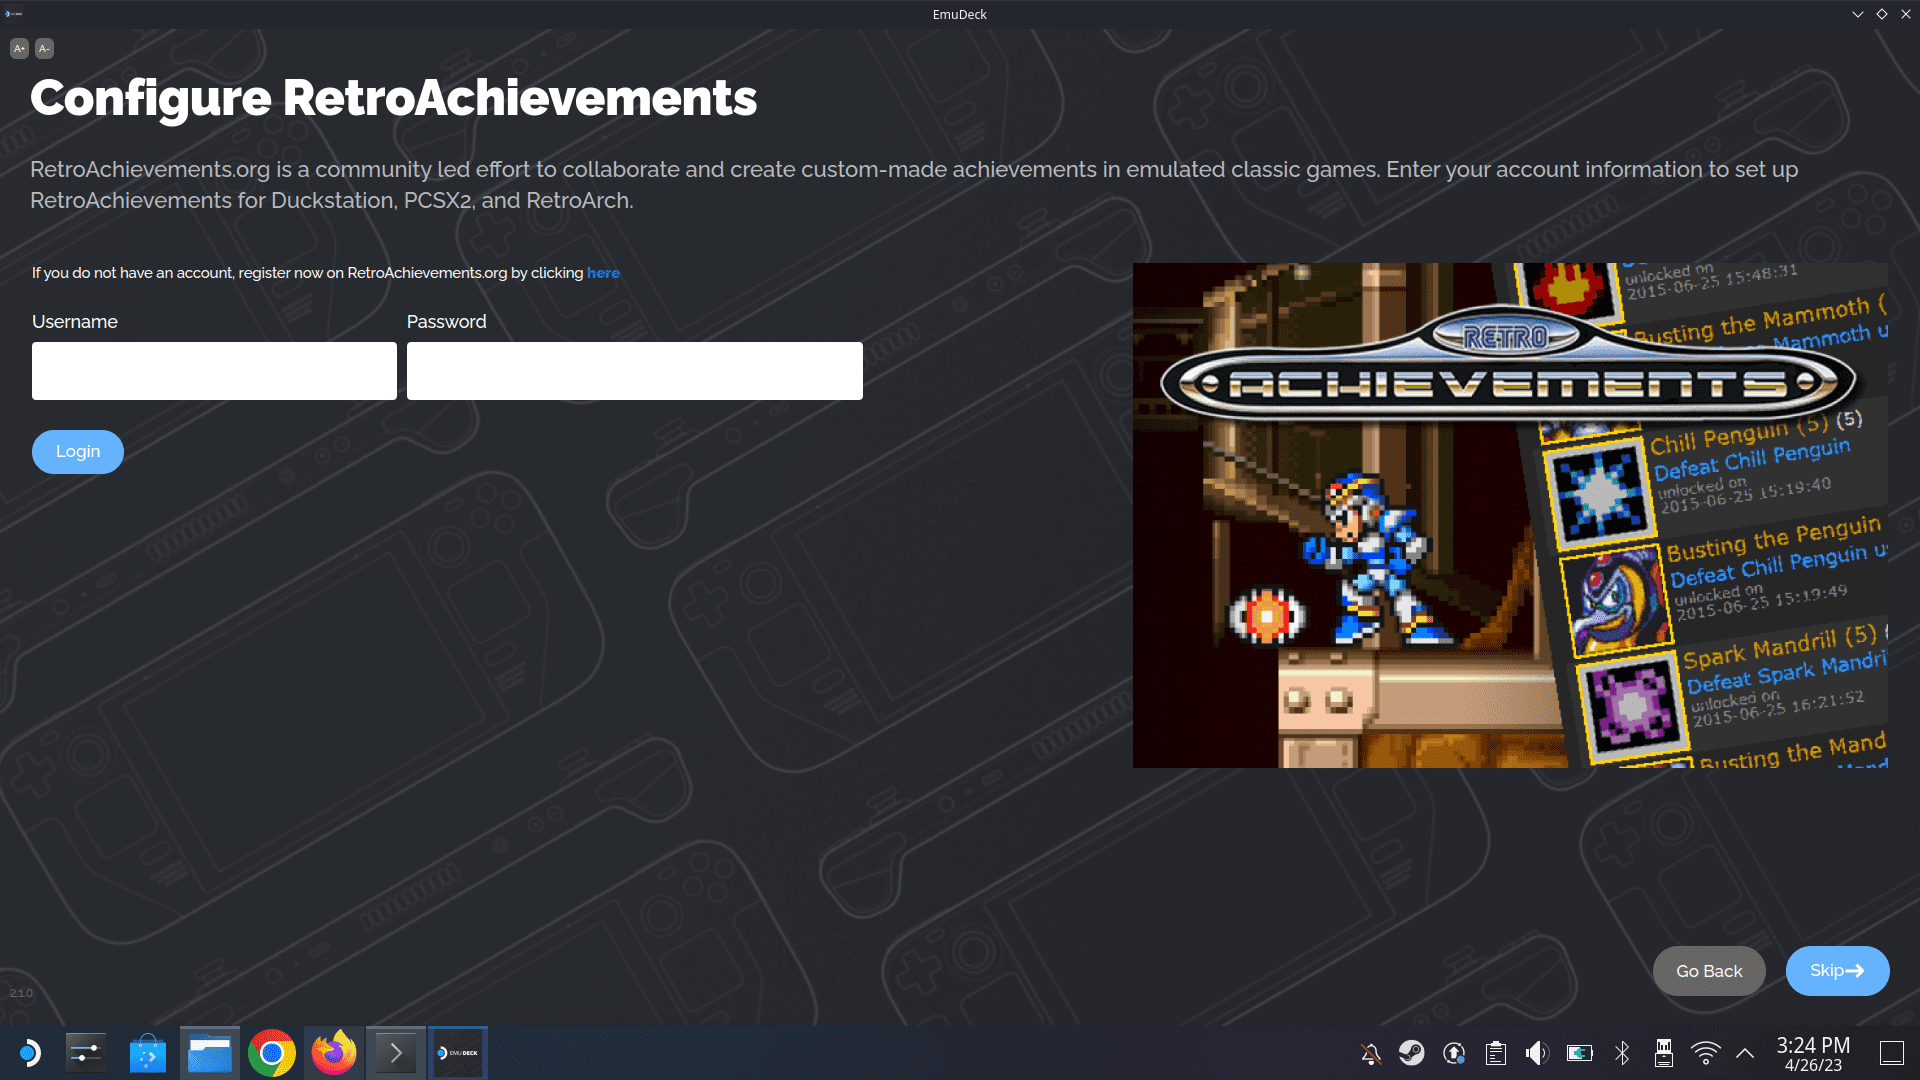
- Sign in to your RetroAchievements account, create an account, or click the Skip button.
- Enable or disable Game Bezels for 8-bit and 16-bit game systems and click the Continue button.
- If you are using Sega Systems, choose one of the following aspect ratio options:
- 4:3 – Original Aspect Ratio
- 3:2 – Smaller black bars, slight horizontal distortion
- Click the Continue button.
- If you are using Nintendo Systems, choose one of the following aspect ratio options:
- 8:7 – The real SNES Resolution
- 4:3 – Default Original
- 3:2 – Not Recommended.
- Click the Continue button.
- If you are using Classic 3D Game Systems, choose one of the following aspect ratio options:
- 4:3 – Original Aspect Ratio
- 16:9 – Widescreen using Widescreen hacks
- Click the Continue button.
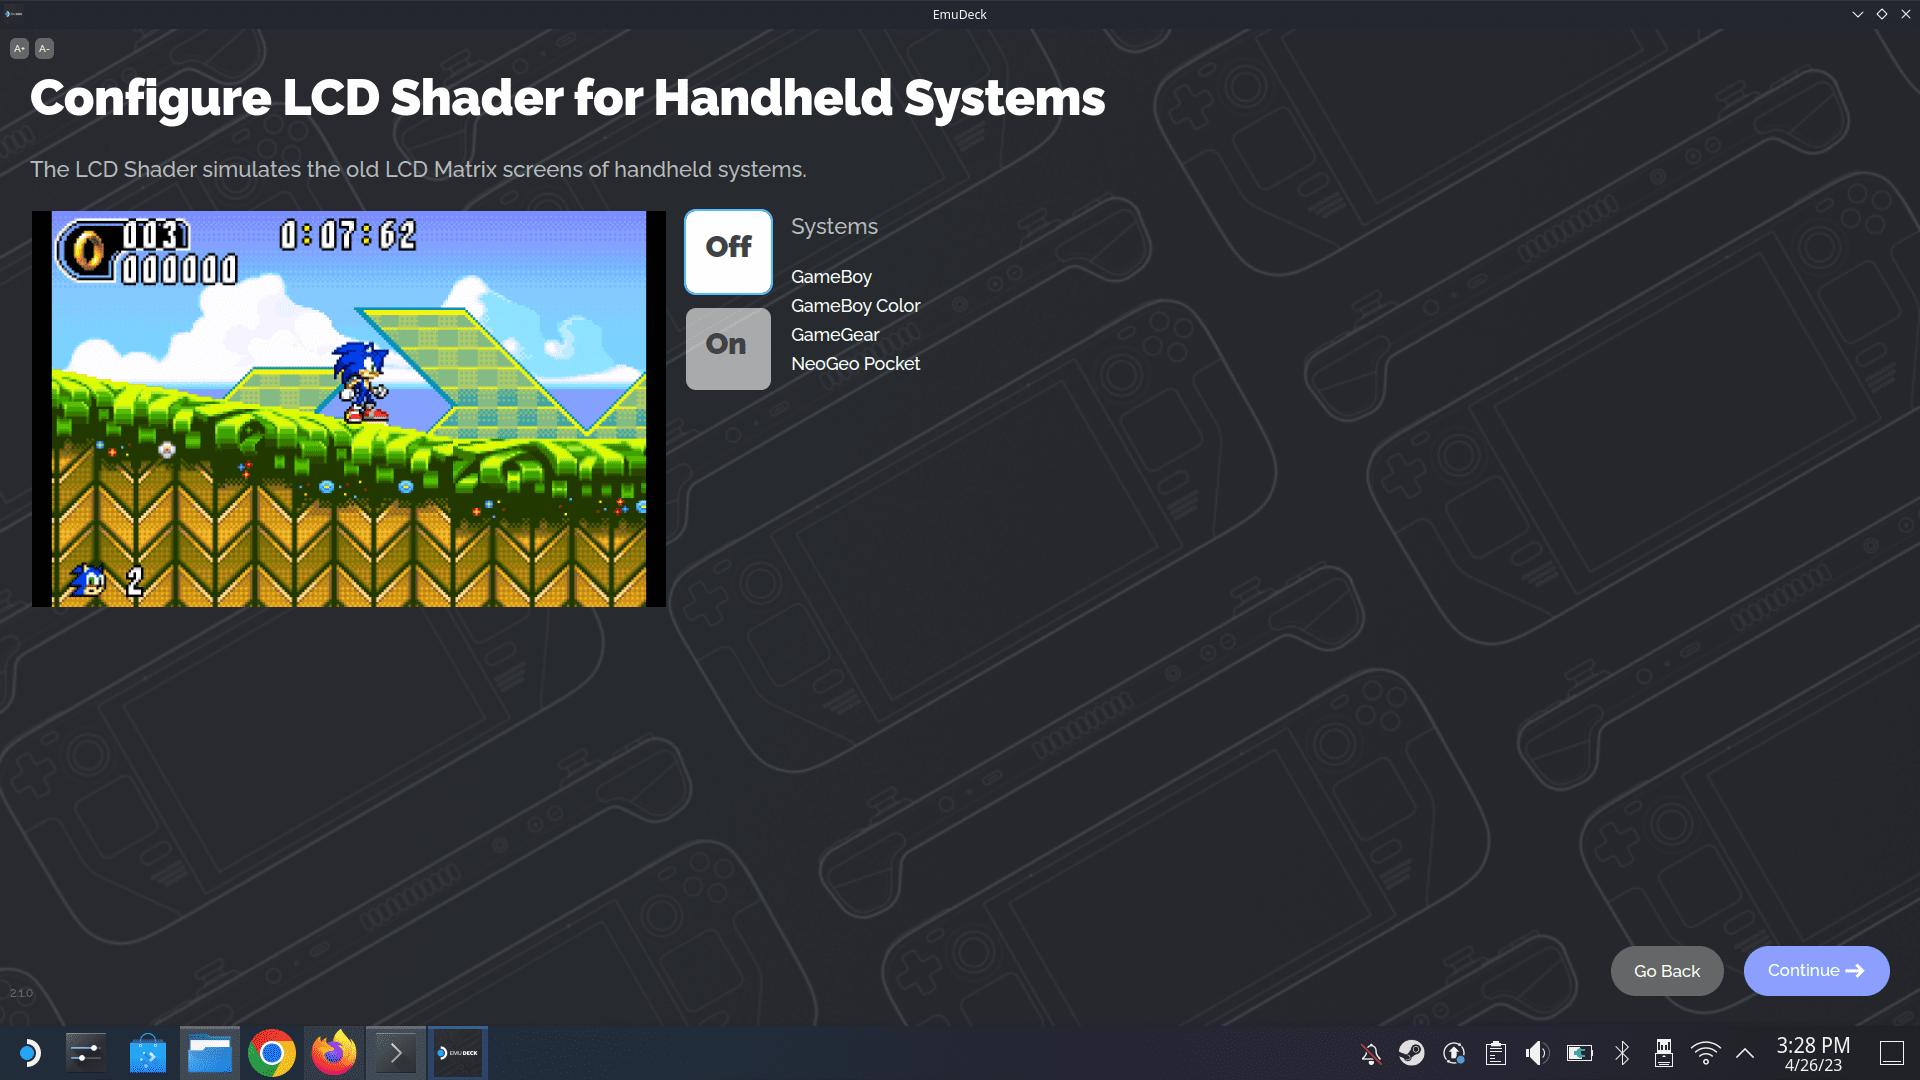
- Enable or disable LCD Shader for handheld systems.
- Enable or disable the CRT Shader for classic 2D games.
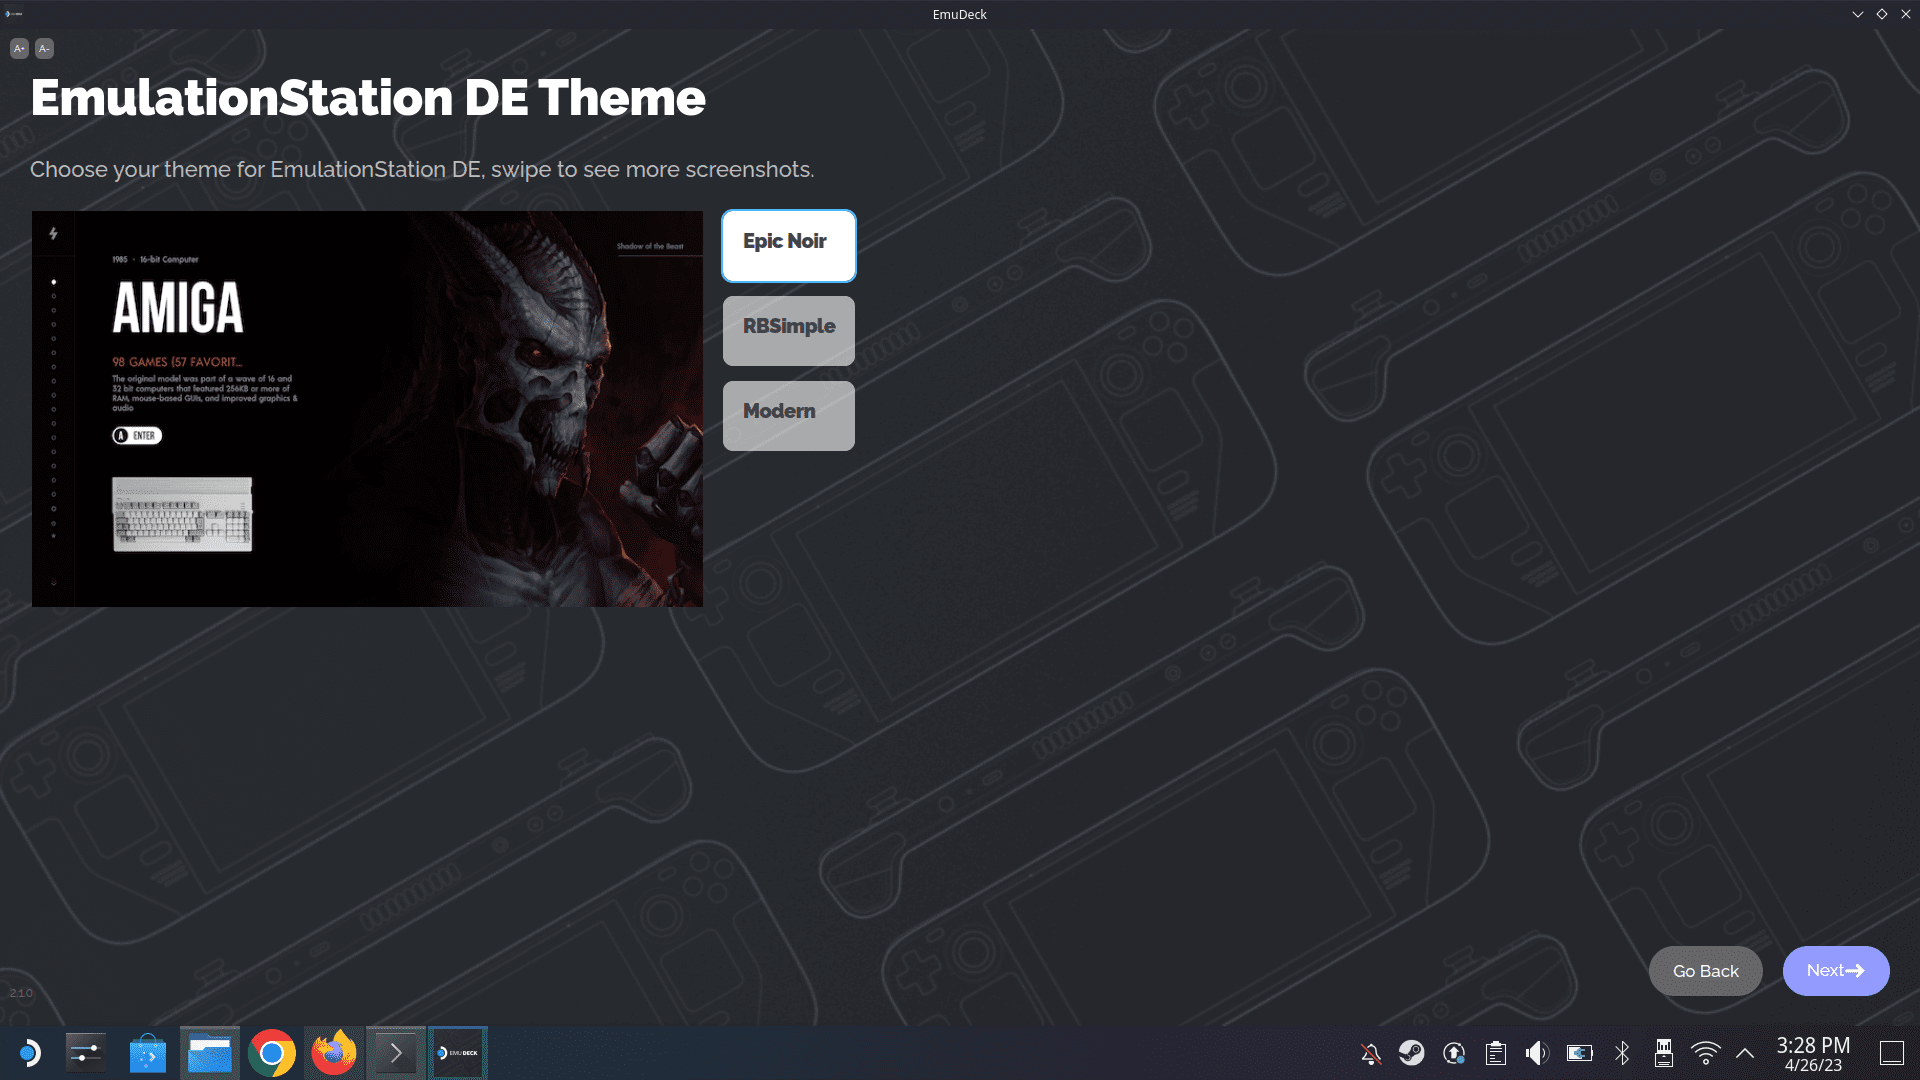
- Select a theme for EmulationStation DE:
- Epic Noir
- RBSimple
- Modern
- Click the Next button.
- Wait for the installation process to be completed.
- Click the Add Games! button.
- If you have your ROMs on an external USB Drive, plug it into the Steam Deck and follow the on-screen steps to transfer the games.


![]()
From there, you only have a few more steps to take before you’ll be able to start playing your favorite retro classics on your Steam Deck thanks to EmuDeck.
Steam Deck Emulation Guide: Importing Your ROMs and Games
Having EmuDeck installed on your Steam Deck is just one piece of the puzzle. It’s great having access to different emulators, but these are pretty useless if you can’t access your favorite games. With that in mind, here’s how you can import your ROMs, games, and BIOS files into the correct folder within EmuDeck.
- Make sure your SD card is inserted into your Steam Deck.
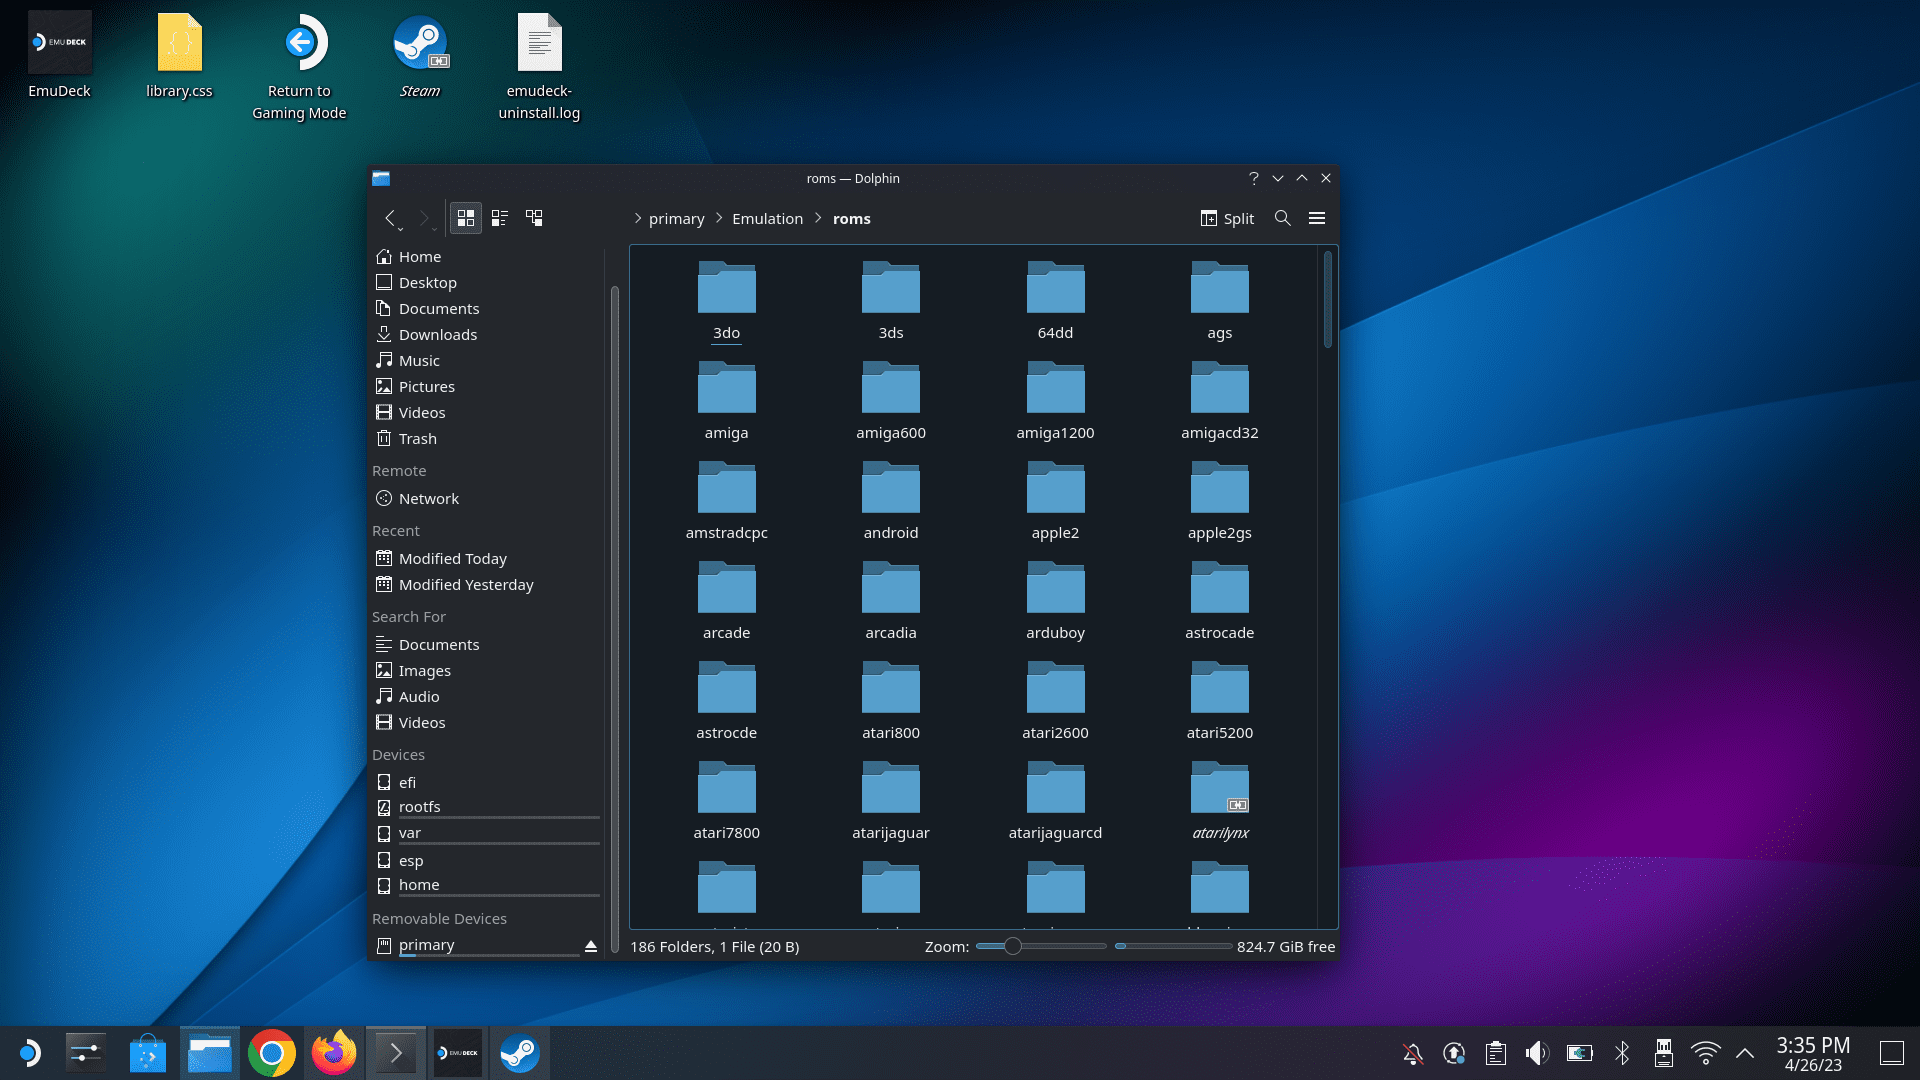
- From the Steam Deck Desktop Mode, open the File Manager app.
- Navigate to the SD Card > Emulation > roms folder.
- Open another File Explorer window.
- Navigate to your External Storage device.
- Locate the ROMs and games that you want to transfer.
- Drag and drop the files into the corresponding folder on the SD card.
- Repeat these steps for any BIOS files that you have.
Something that we recommend is to clone the layout of the Emulation folder, and then organize your various ROMs and BIOS files accordingly. This makes it extremely easy to get up and running in the event that you need or want to access these files at a later time, such as if you need to get your Steam Deck replaced, or if your microSD card becomes corrupt down the road.
Steam Deck Emulation Guide: Set Up Steam ROM Manager
The last steps you need to take in order to actually have the different games appear within SteamOS is to set up Steam ROM Manager. This is done right from the EmuDeck app, so make sure you don’t get too excited and boot back into Gaming Mode just yet.
- Open the EmuDeck app from Desktop Mode on your Steam Deck.
- Under the Tools & Stuff section, click the Launch button under Steam ROM Manager.
- From the prompt that appears, click the Yes button.
- Click the toggle next to Toggle Parsers to the Off position.
- Go through the list and enable the Parsers that you want to have shown in SteamOS.
- We recommend toggling Emulation Station and Emulators to the On position.
- Click the Preview button.
- Click the Parse button.
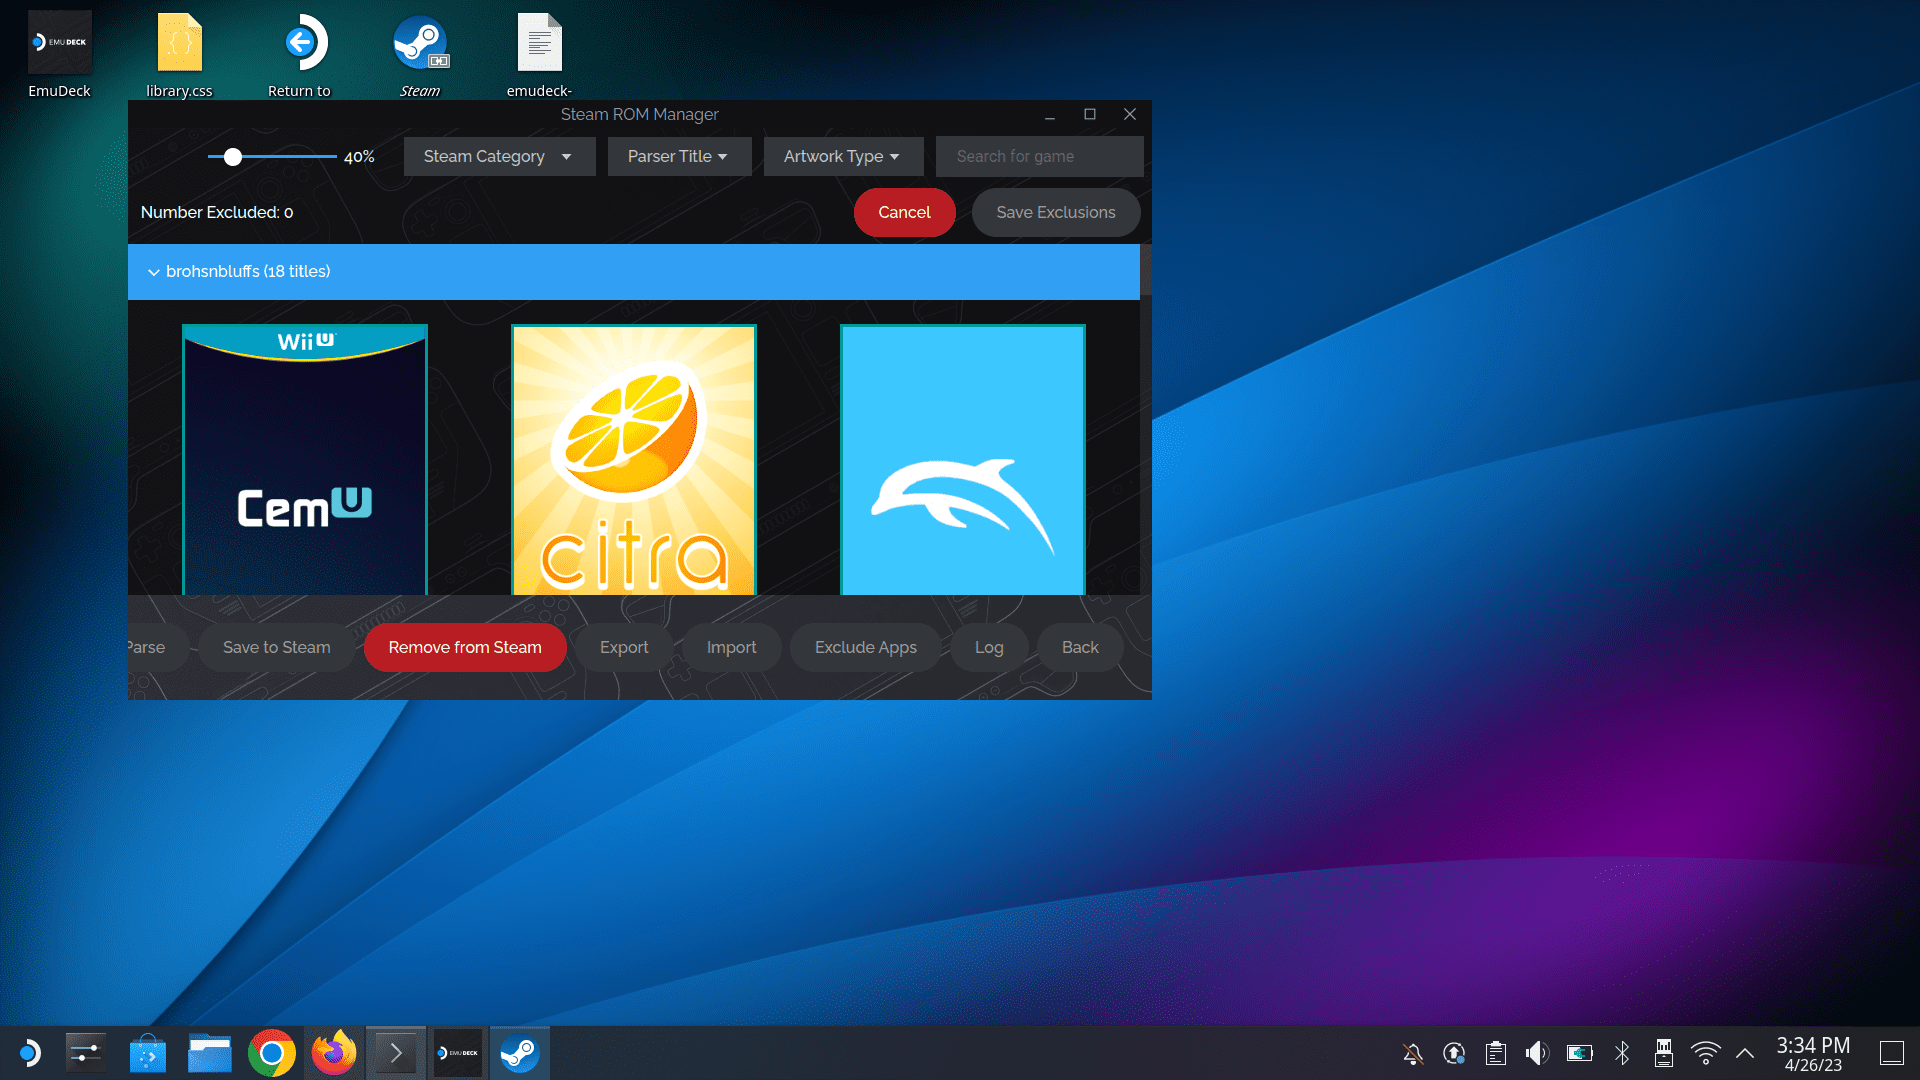
- Go through the list and make sure all of the games you want are selected.
- If you don’t want to have games added to Steam ROM Manager, click the Exclude Apps button.
- De-select the games that you don’t want to appear, then click the Save Exclusions button.
- Once you are finished, click the Save to Steam button.
- Exit the EmuDeck app in Desktop Mode.
- From the Desktop, click the Return to Gaming Mode icon.


Steam Deck Emulation Guide: Playing Games
After a few moments, you’ll be taken back into the traditional Gaming Mode within SteamOS on your Steam Deck. From here, it’s just a matter of knowing where all of your ROMs and emulators are located, so here’s where you’ll find them!
- Once you are back in Gaming Mode, press the Steam button on your Steam Deck.
- Select Library.
- Use L1 and R1 to navigate to the Collections and/or Non-Steam tab.


As we stated previously, the Steam Deck is an incredible device that is capable of playing many of your favorite Steam games. But thanks to the power of Linux and the implementation of Desktop Mode, you can install apps like EmuDeck to take your experience to the next level!