
Google Chrome, widely recognized as one of the most popular web browsers globally, is lauded for its speed, security, and user-friendly interface. However, it’s also notorious for its high memory usage, which can affect your device’s performance. To address this, Google introduced a feature known as Memory Saver (also referred to as Tab Freeze or Tab Discarding). This feature puts tabs that haven’t been used for a while into a “sleep” state to save memory. Despite its usefulness, this feature might not be ideal for everyone as it requires reloading when you revisit a “frozen” tab. In this blog post, we’ll guide you through the process of turning off Memory Saver in Google Chrome.
Contents
What Is Memory Saver in Google Chrome?
Before we delve into the steps, let’s briefly discuss what Memory Saver does. When you have multiple tabs open in Chrome, the browser automatically “freezes” tabs that you haven’t used for a certain period. This means that these tabs stop using your system’s memory. While this can help improve performance on devices with limited memory, it can also be inconvenient, as “frozen” tabs need to reload when you click on them, which can take time and use more data.
How to Turn Off Memory Saver in Google Chrome
If you find that Memory Saver is more of a hindrance than a help, you can turn it off by following these steps:
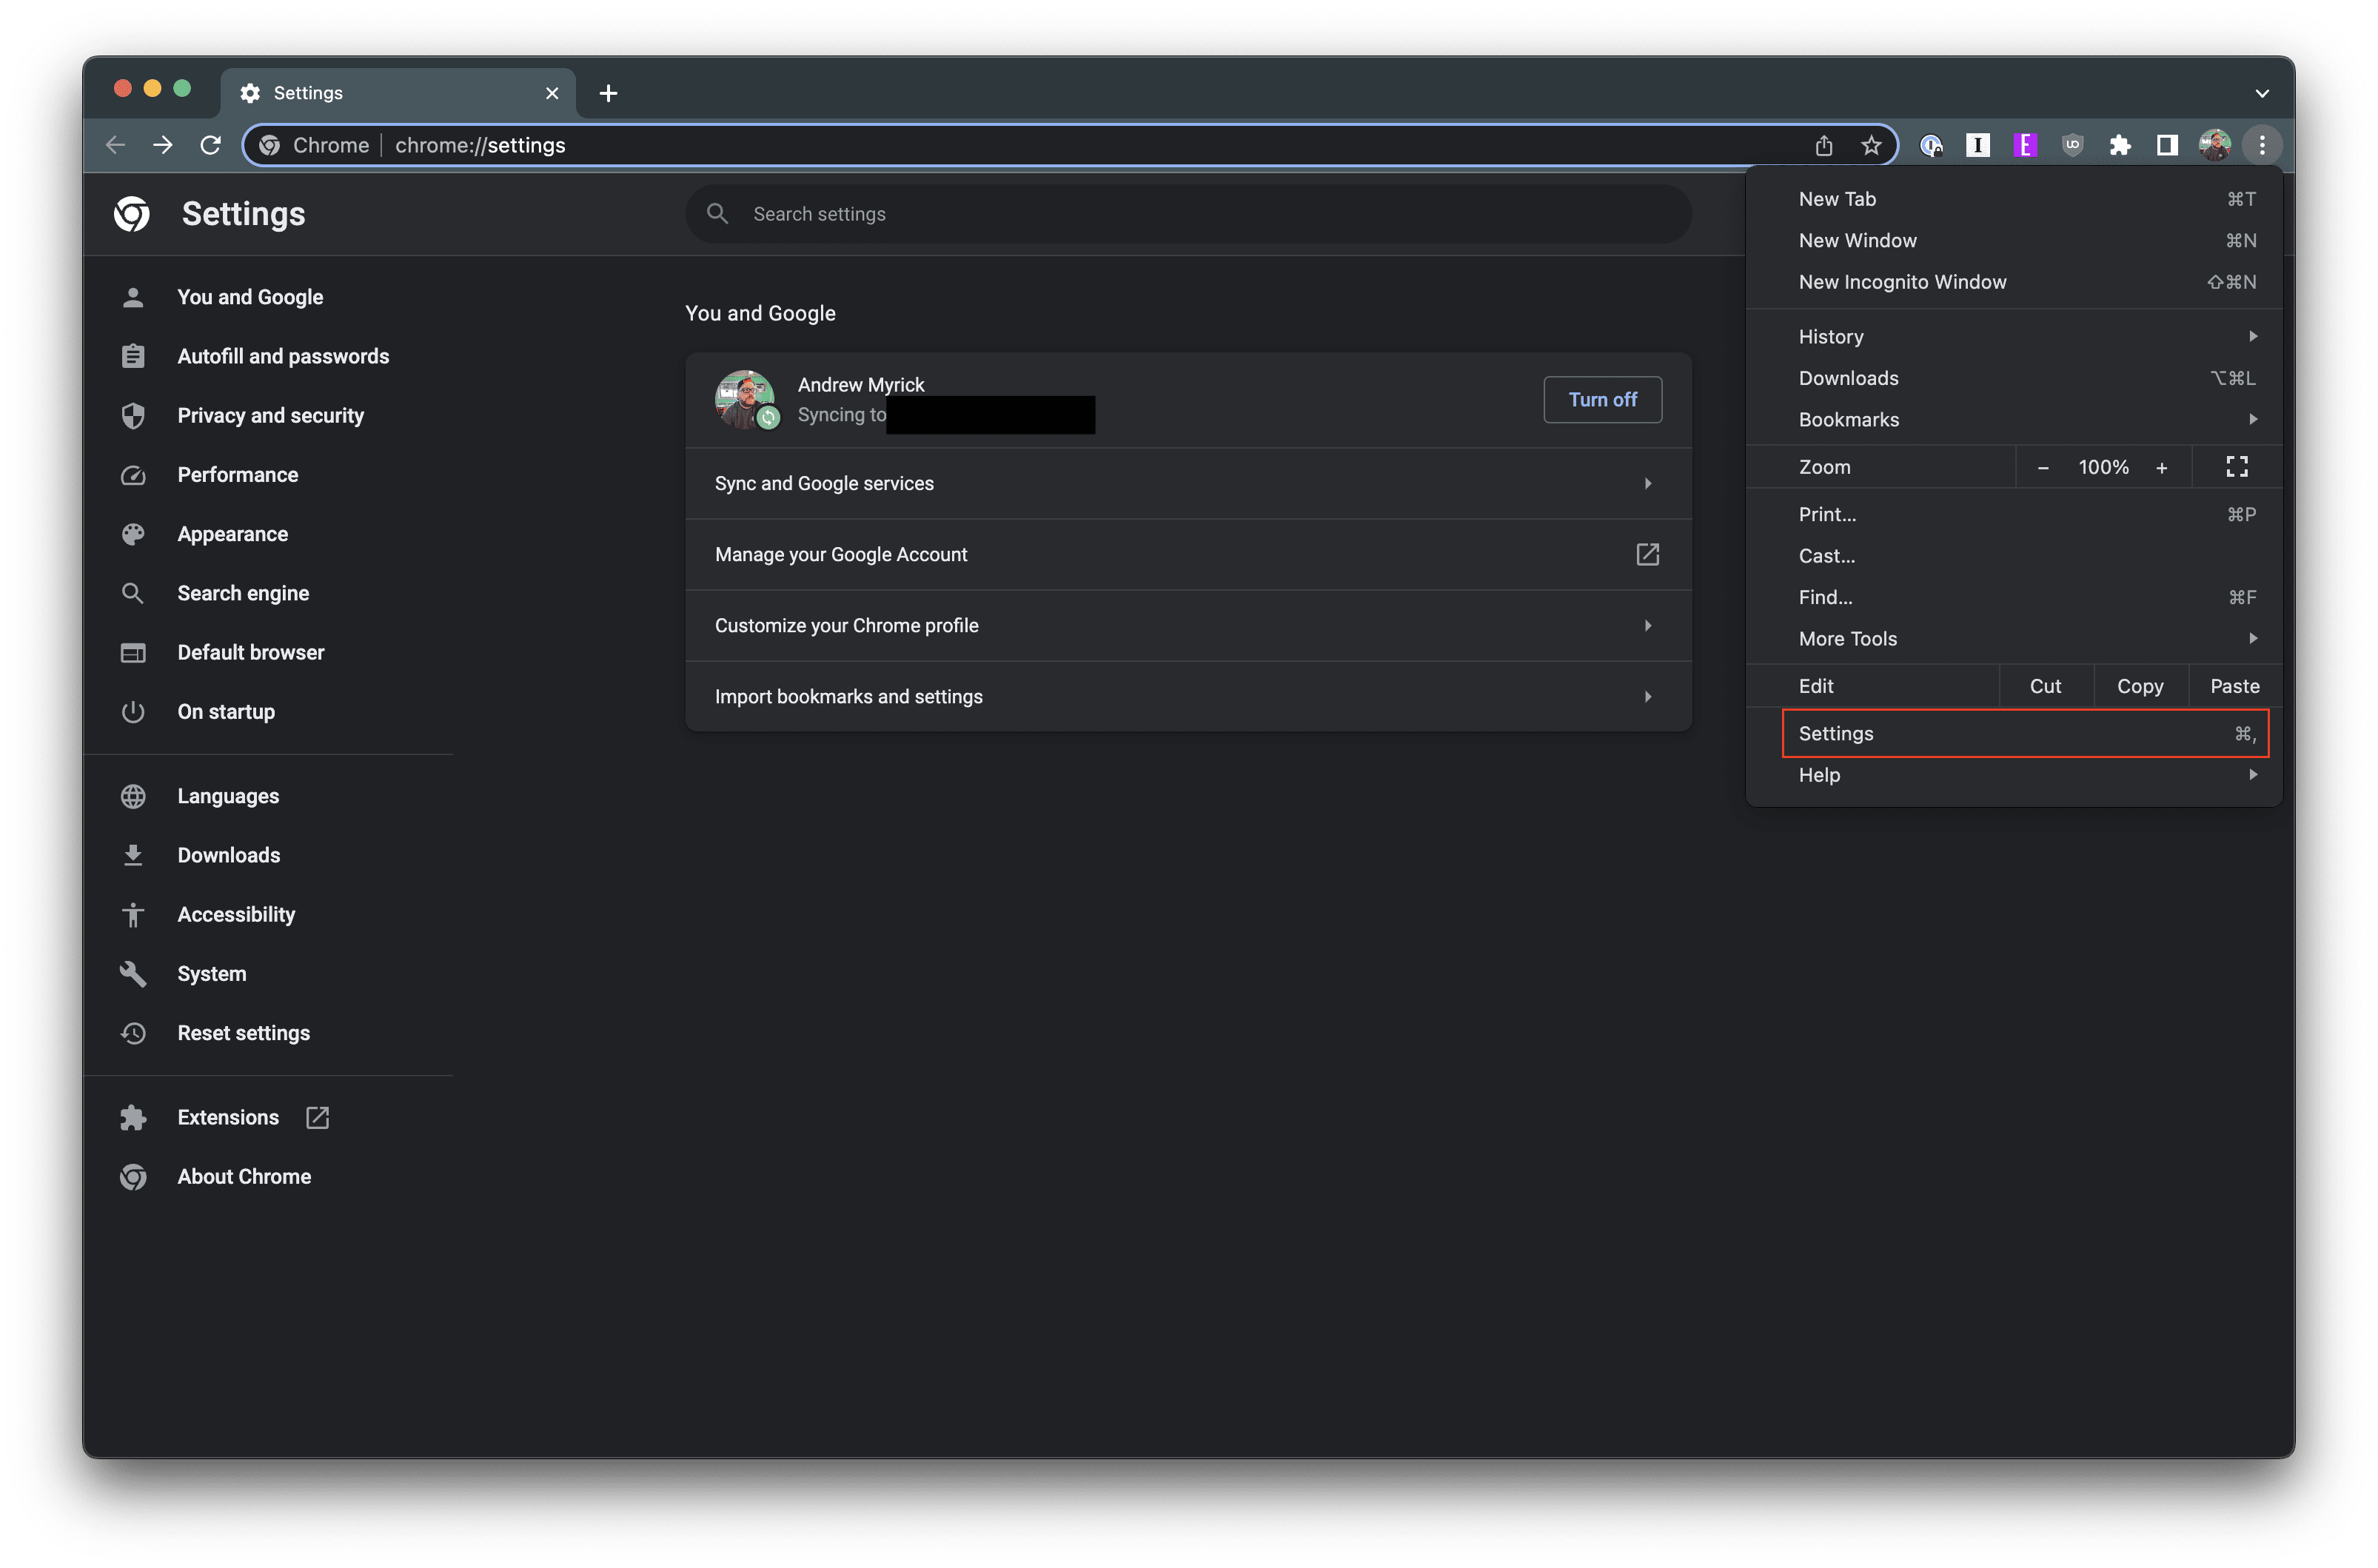
- Open the Google Chrome app on your computer of choice.
- Click the three vertical dots in the top right corner of the address bar.
- From the drop-down menu, highlight and select Settings.

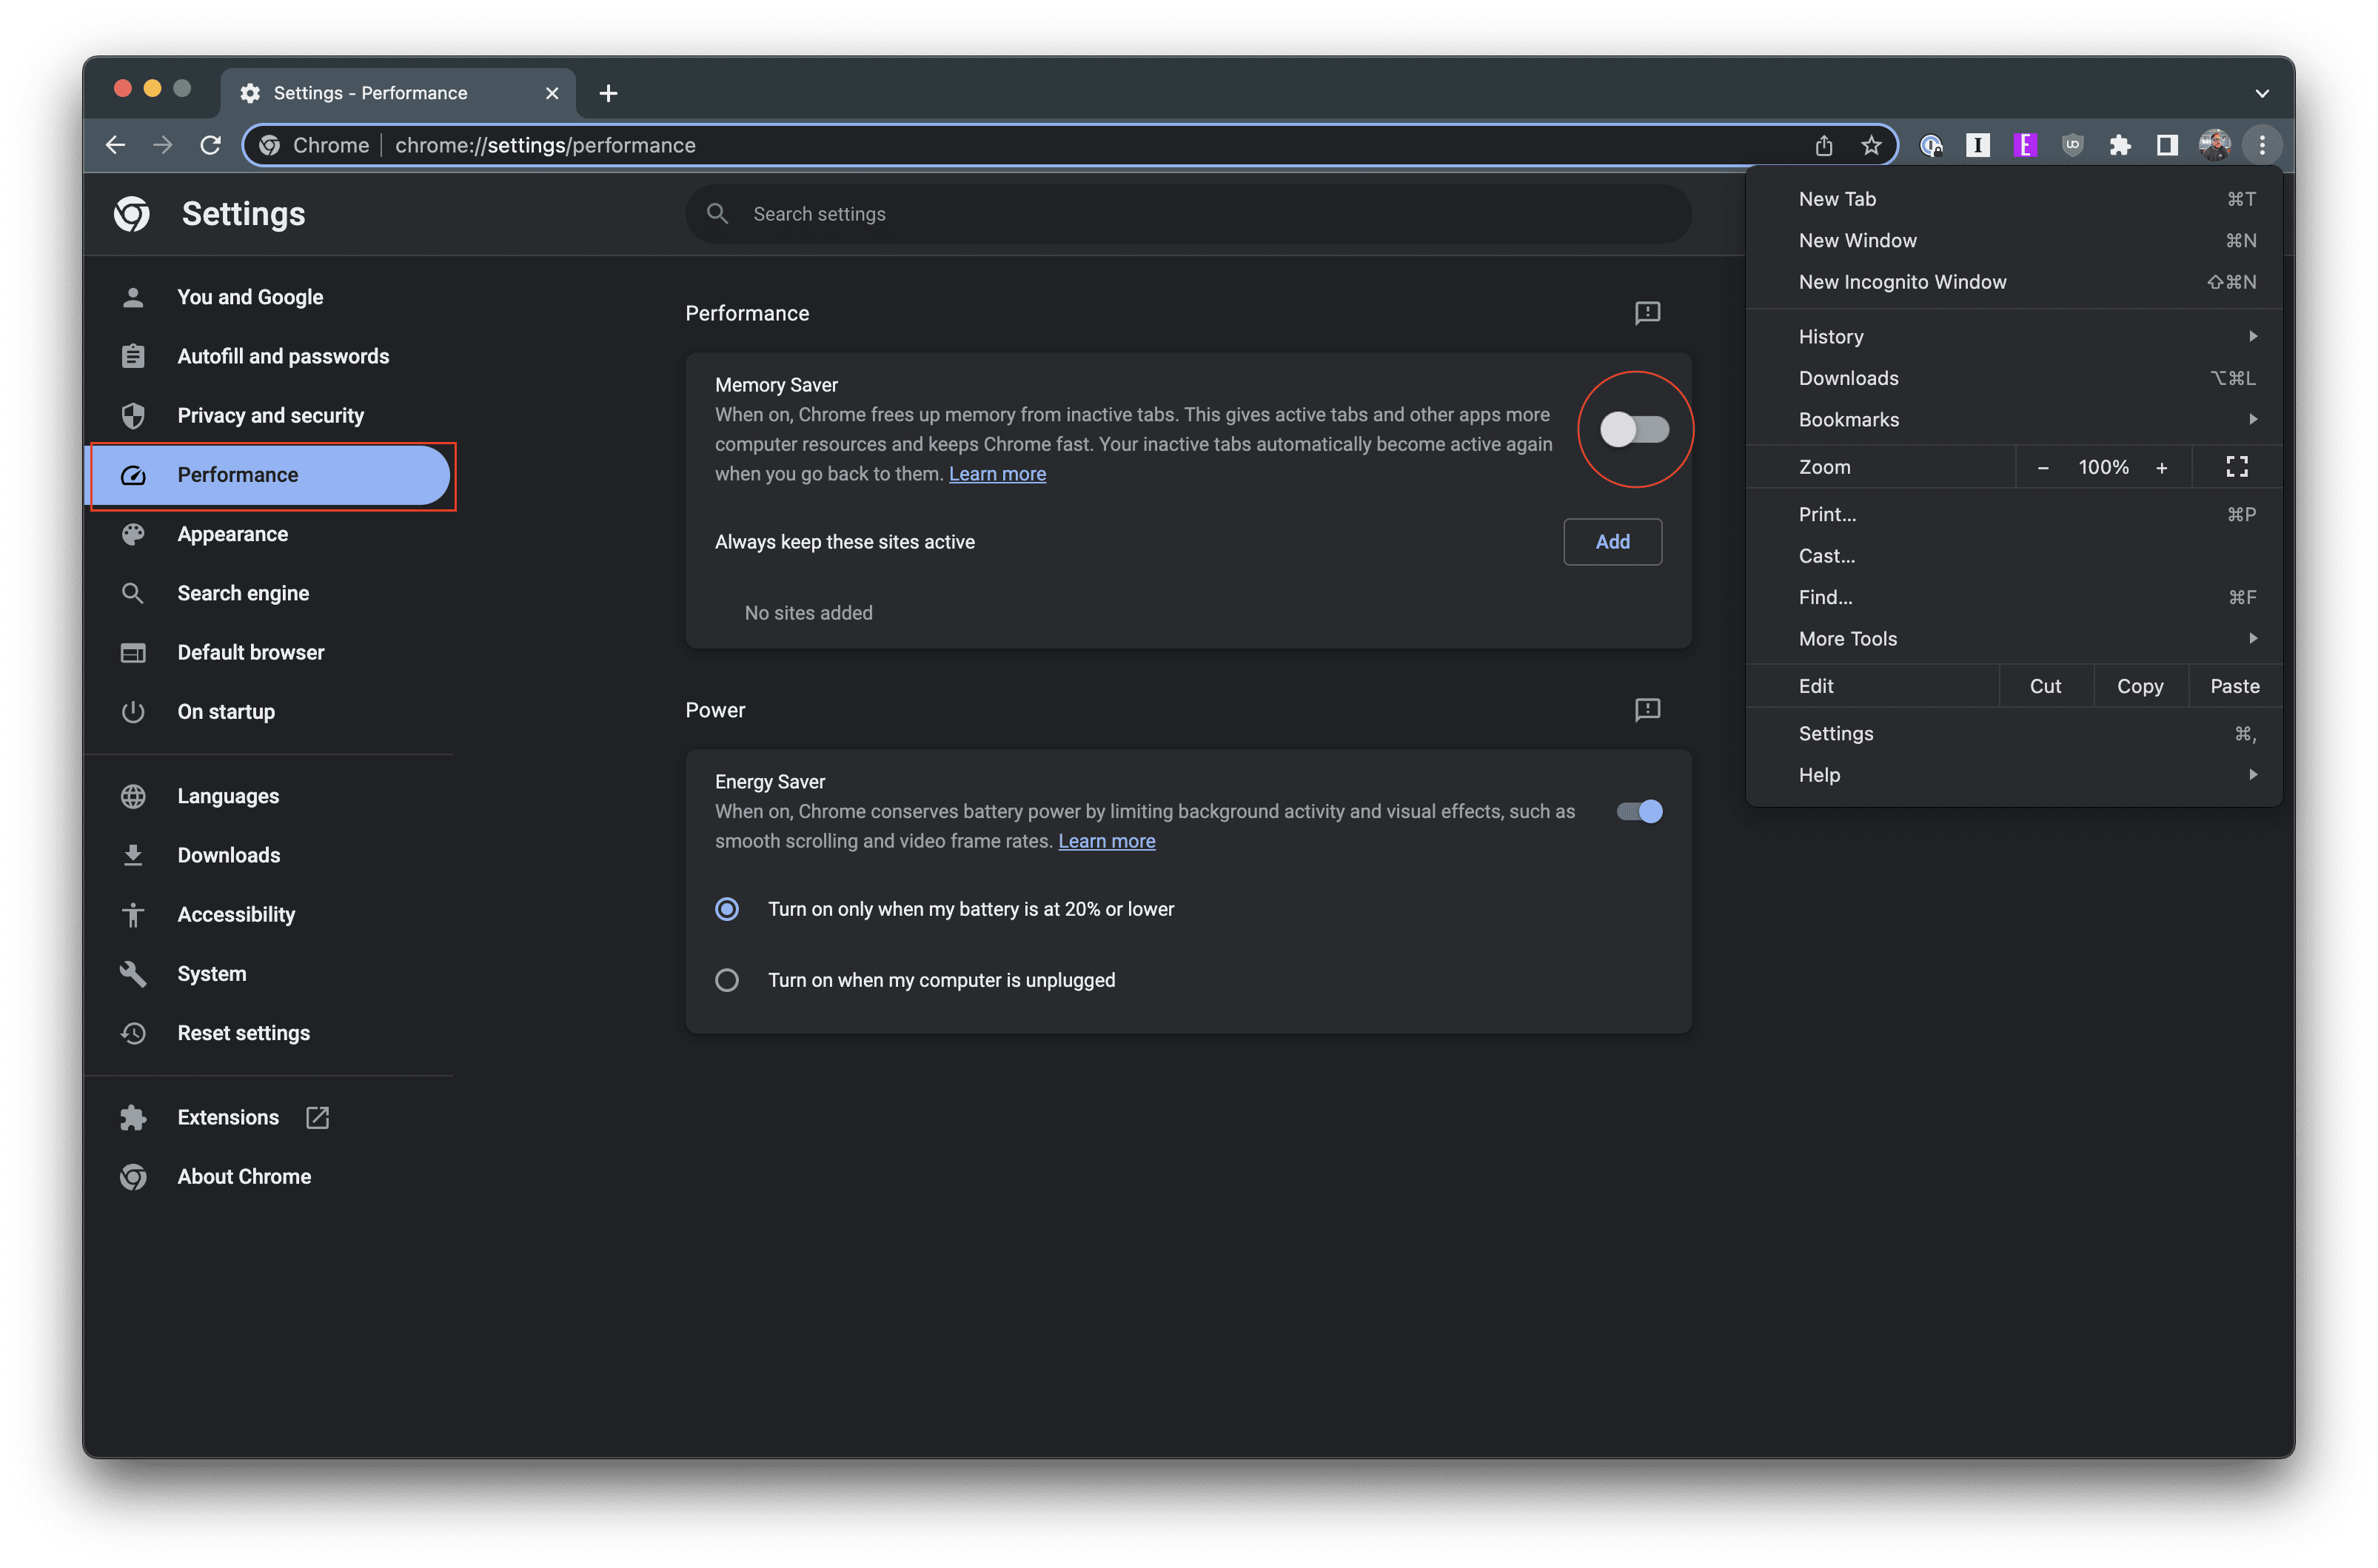
- In the sidebar on the left, click Performance.
- Click the toggle next to Memory Saver.
Disabling Memory Saver can have several effects on your browsing experience. On the one hand, it can make browsing more convenient, as tabs won’t need to reload when you click on them. This can save you time and data, especially if you often have many tabs open. On the other hand, it can increase Chrome’s memory usage, which could potentially slow down your device if its memory is limited. Therefore, whether or not to disable Memory Saver will depend on your specific needs and circumstances.
How to Add Exceptions to Memory Saver in Google Chrome
There are some that might prefer to have Memory Saver enabled but don’t want every website they visit to be removed from memory. Thankfully, Google thought of that, too, as the company also added the ability to “whitelist” or add exceptions instead of needing to turn off Memory Saver in Google Chrome.
- Open the Google Chrome app on your computer of choice.
- Click the three vertical dots in the top right corner of the address bar.
- From the drop-down menu, highlight and select Settings.
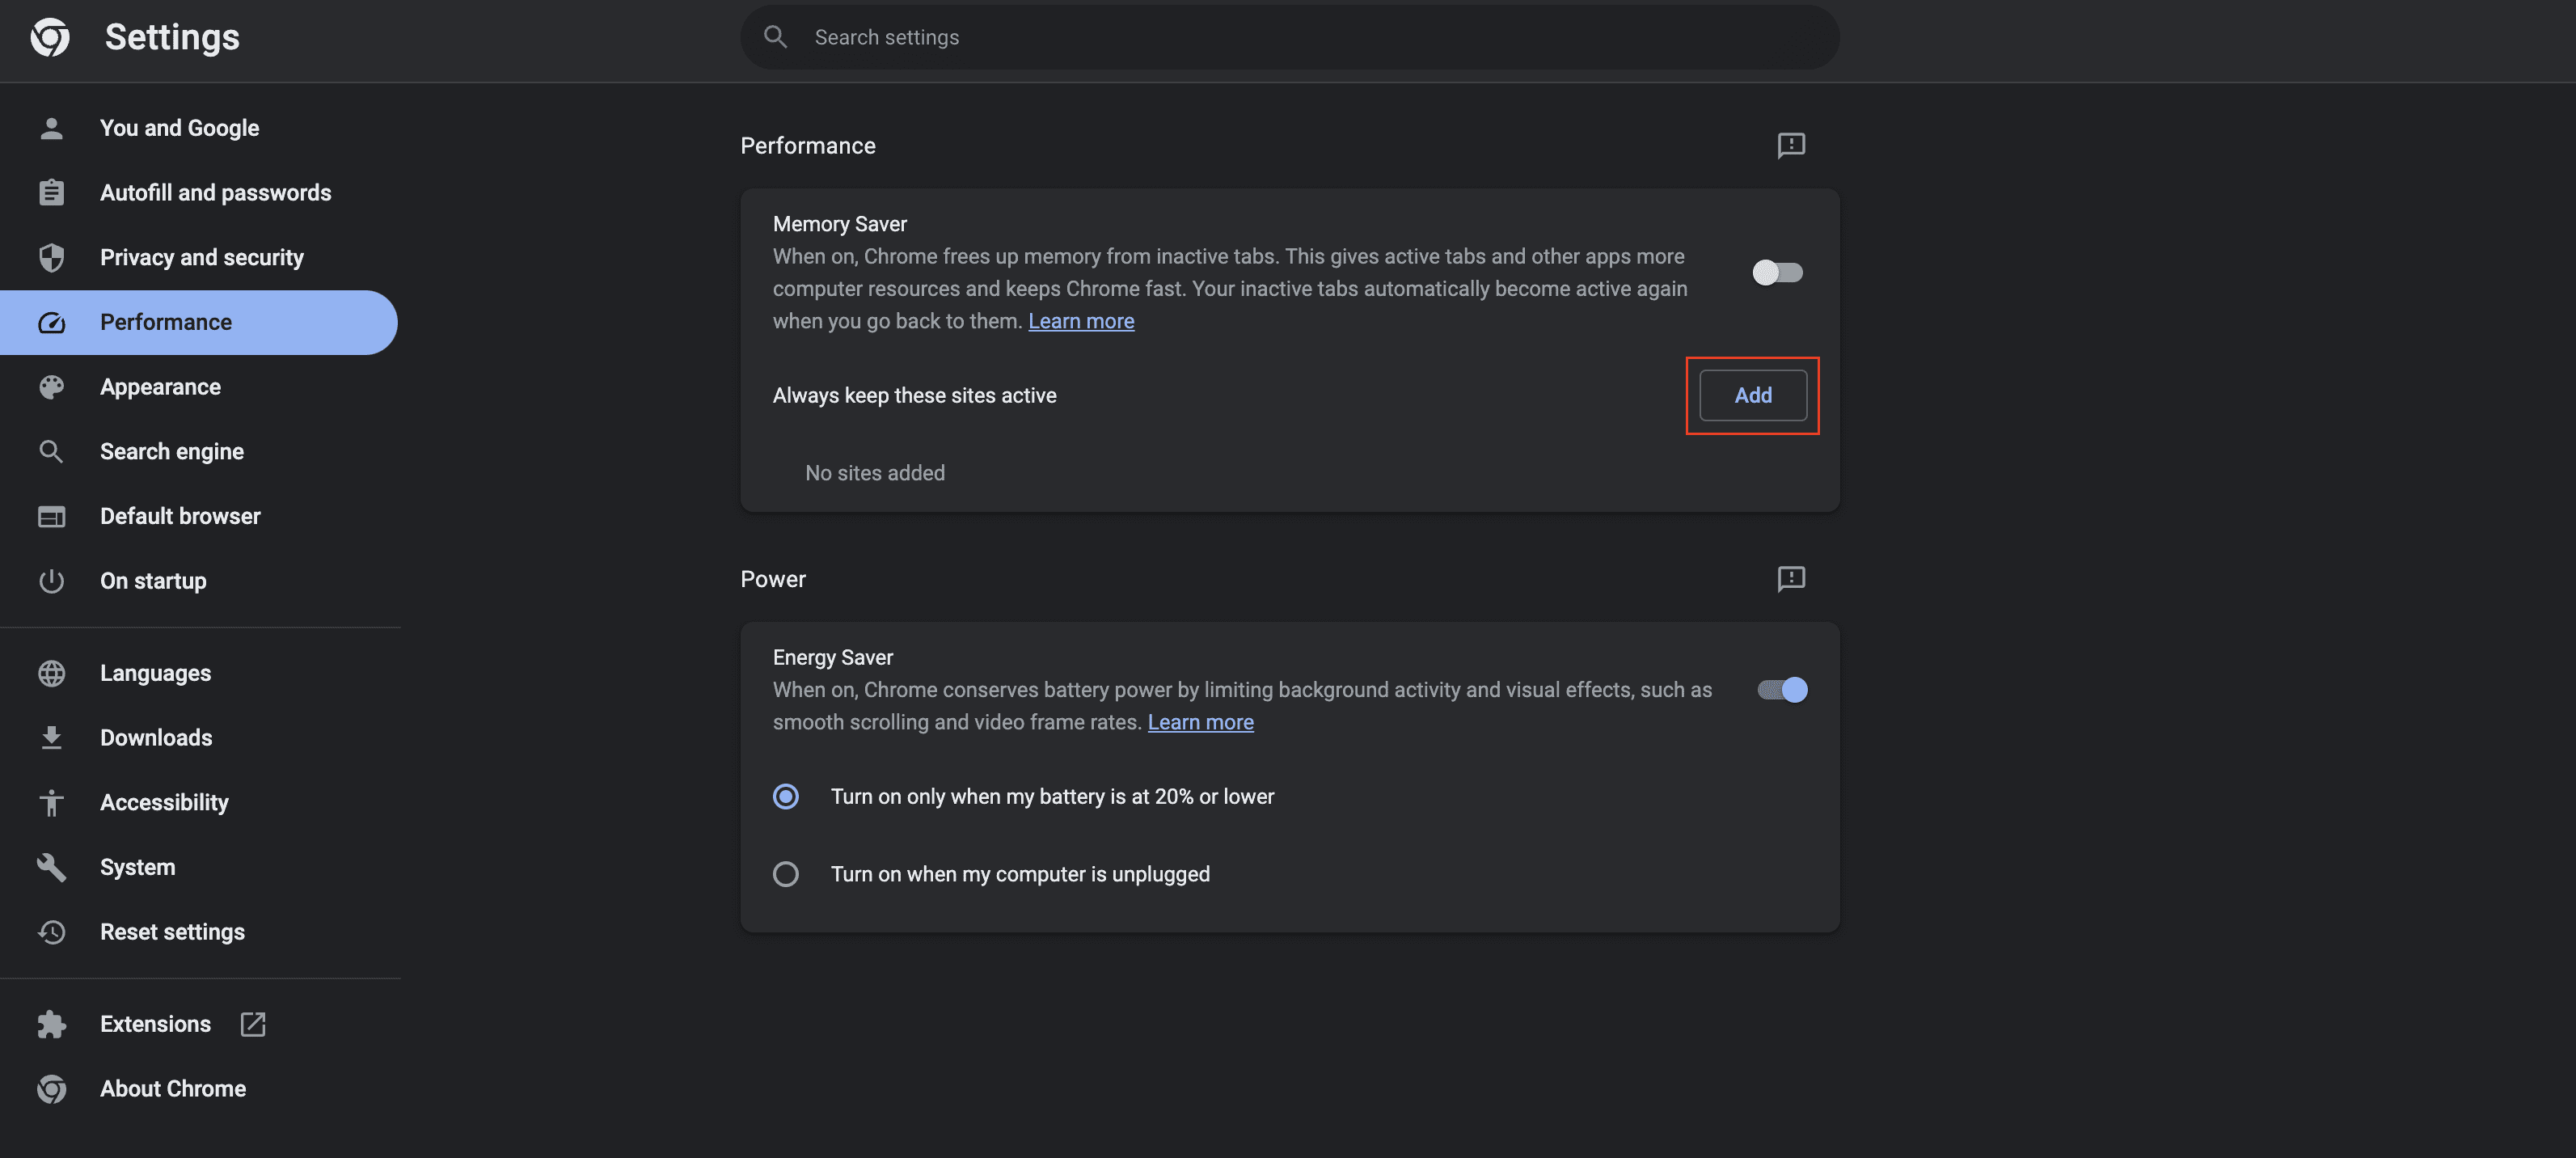
- In the sidebar on the left, click Performance.

- Click the Add button next to Always keep these sites active.
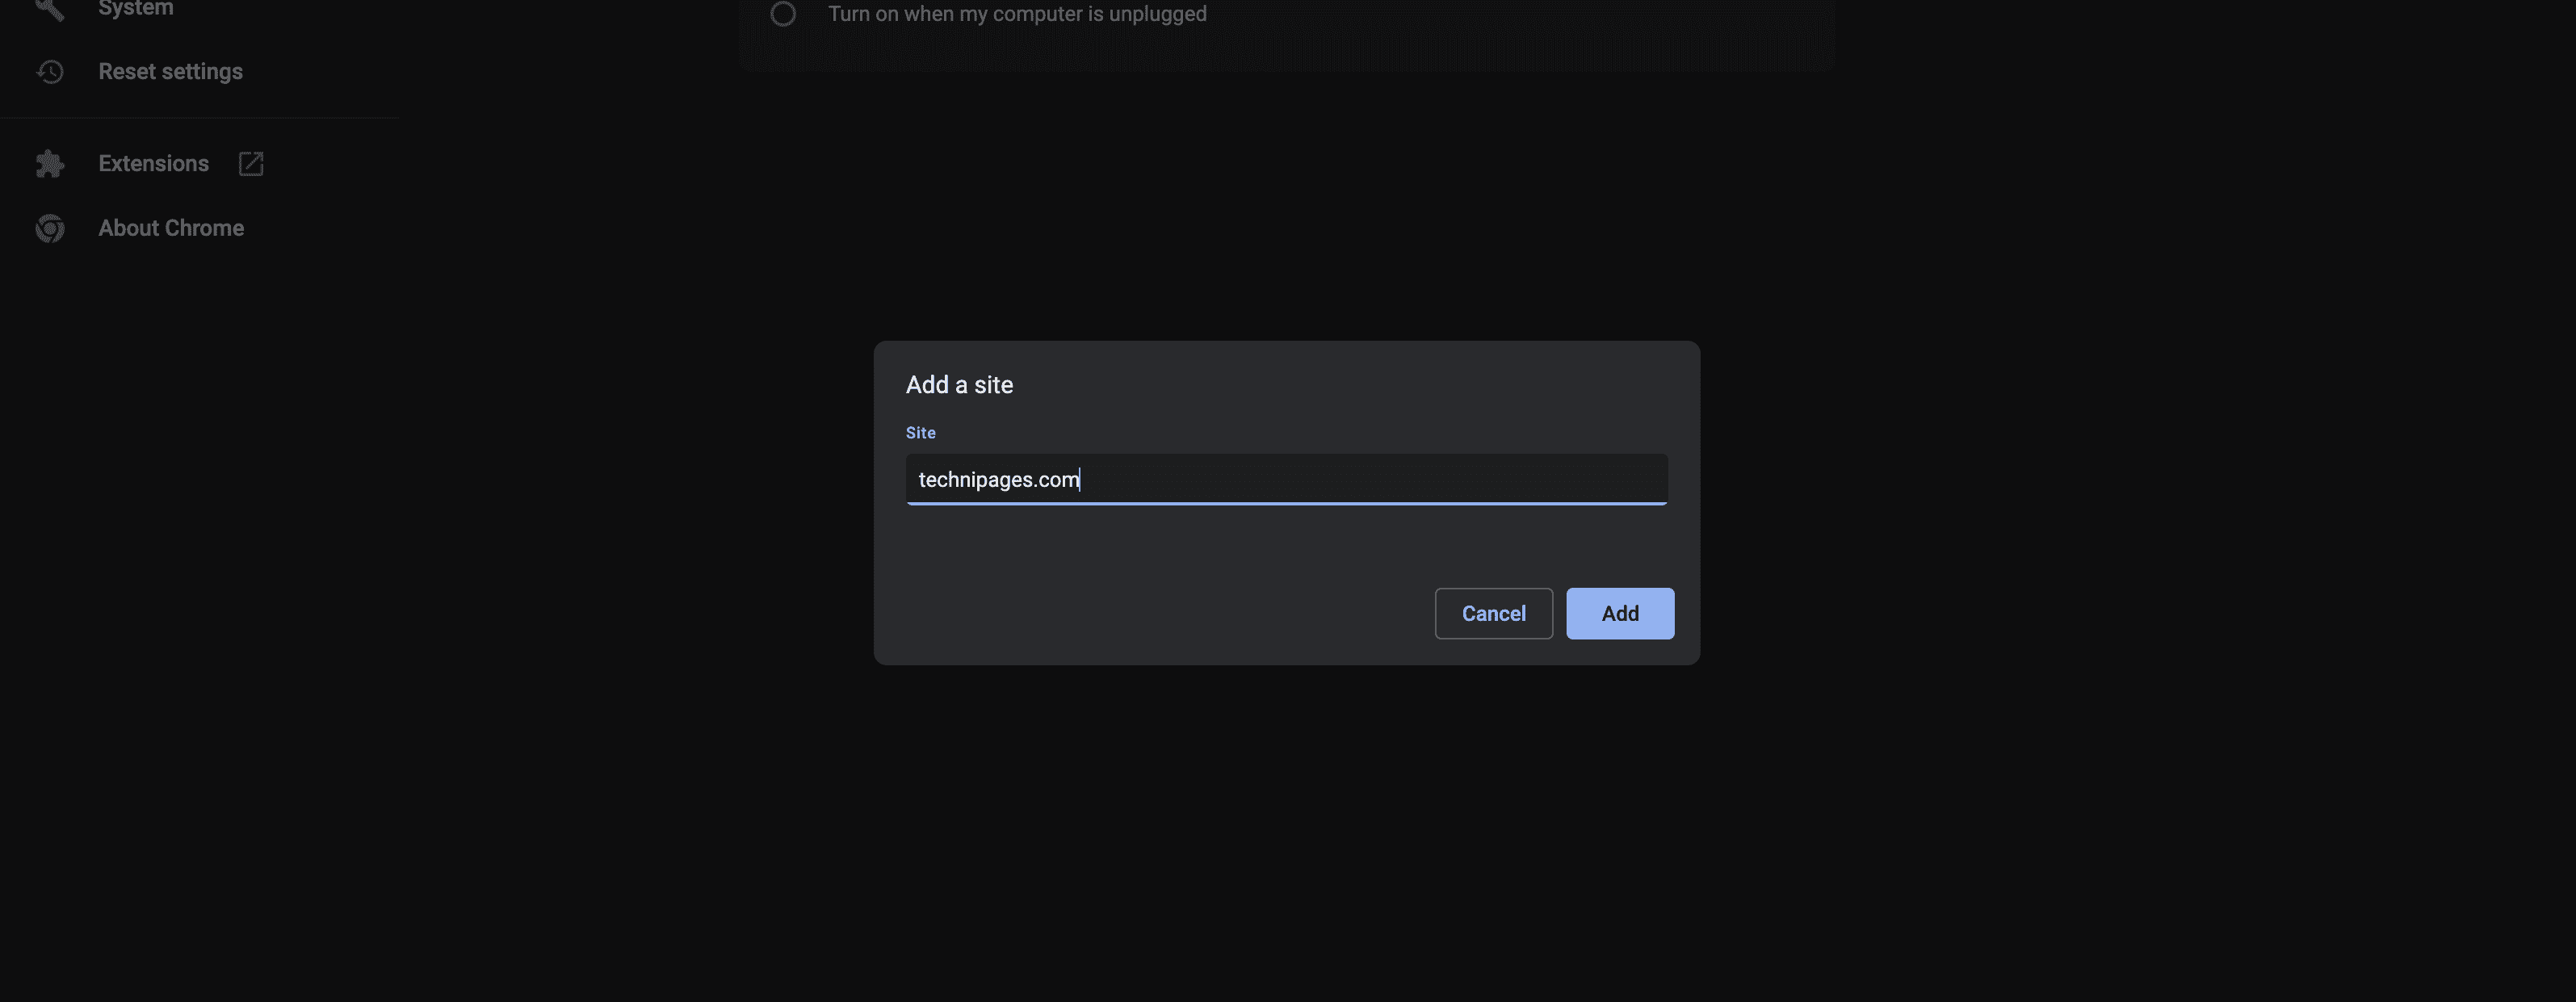
- Enter the URL of the website that you want to add as an exception.
- Click the Add button.
Any website that you add to the list will no longer be removed from your computer’s memory, while everything else not on the list will be. This can still help improve the overall speed and performance of your browsing experience without hindering the websites that you care about the most.
Conclusion
Memory Saver is a useful feature in Google Chrome that can help manage system resources, but it may not be ideal for everyone. By following the steps in this guide, you can turn off Memory Saver in Google Chrome and keep all your tabs active, regardless of how long they’ve been idle. As always, remember to manage your tabs effectively to ensure optimal browser performance. Happy browsing!