

Facebook is one of the fastest and easiest ways to keep up with friends and family, especially if you no longer live locally. You can find the latest photos of your grandkids, laugh at memes, and much more.
Contents
- 1 Make Your Profile and Cover Photo Secure
- 2 How to Adjust Privacy Settings via a Desktop Computer or Laptop
- 3 How People Find and Contact You
- 4 Hiding Your Friends List
- 5 Adjusting Your Email Privacy Settings
- 6 Timeline and Tagging Settings
- 7 How to Control Who Sees Your Personal Information on Your Profile
- 8 Use These Tips to Change Your Facebook Privacy Settings on a Computer
Related Reading:
- How to Change Your Facebook Privacy Settings on a Smartphone or Tablet
- The Most Important Facebook Privacy Features
- Facebook: How to Change the Privacy Settings for Certain Posts
- Facebook Deactivate vs. Delete: Which Option Is Best for You?
- Facebook: How to Adjust What Appears on Your News Feed
Although some people are happy to have public Facebook profiles, that isn’t the case for everyone. You might well have photos and information that you don’t want the world to see, and if that is true for you, adjusting these settings on your account will give you a greater peace of mind.
Today, you’ll learn how to adjust your Facebook privacy settings from a computer. You can use the tips we discuss for both desktop and laptop devices.
Make Your Profile and Cover Photo Secure
Although you can change your profile picture’s privacy settings, it’s important to remember that you can’t alter these for your cover photo. So, it’s worth using a generic picture that doesn’t include your face for the latter — such as a picture of your favorite city or some nice nature.
On the other hand, changing your profile picture’s privacy settings is quite easy. Here are the steps that you’ll need to follow:
- Go to your Facebook profile and click on your profile picture.
- Select See profile picture.

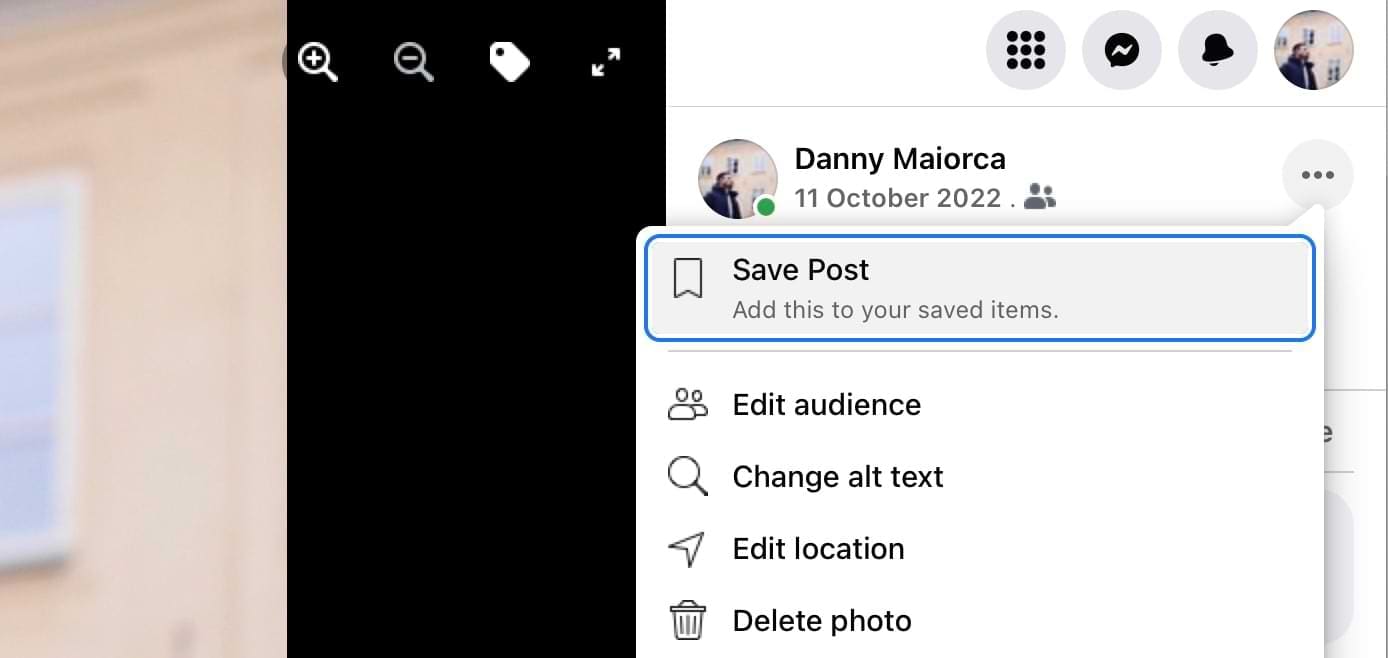
- Tap the three dots in the top right-hand corner and click on Edit audience.

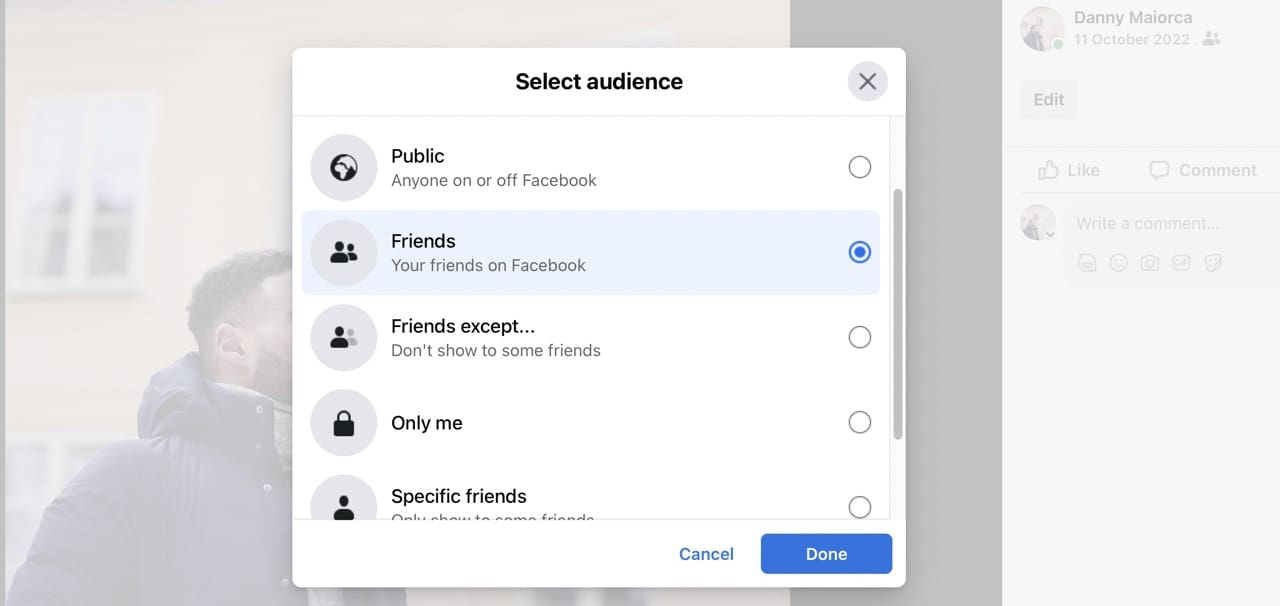
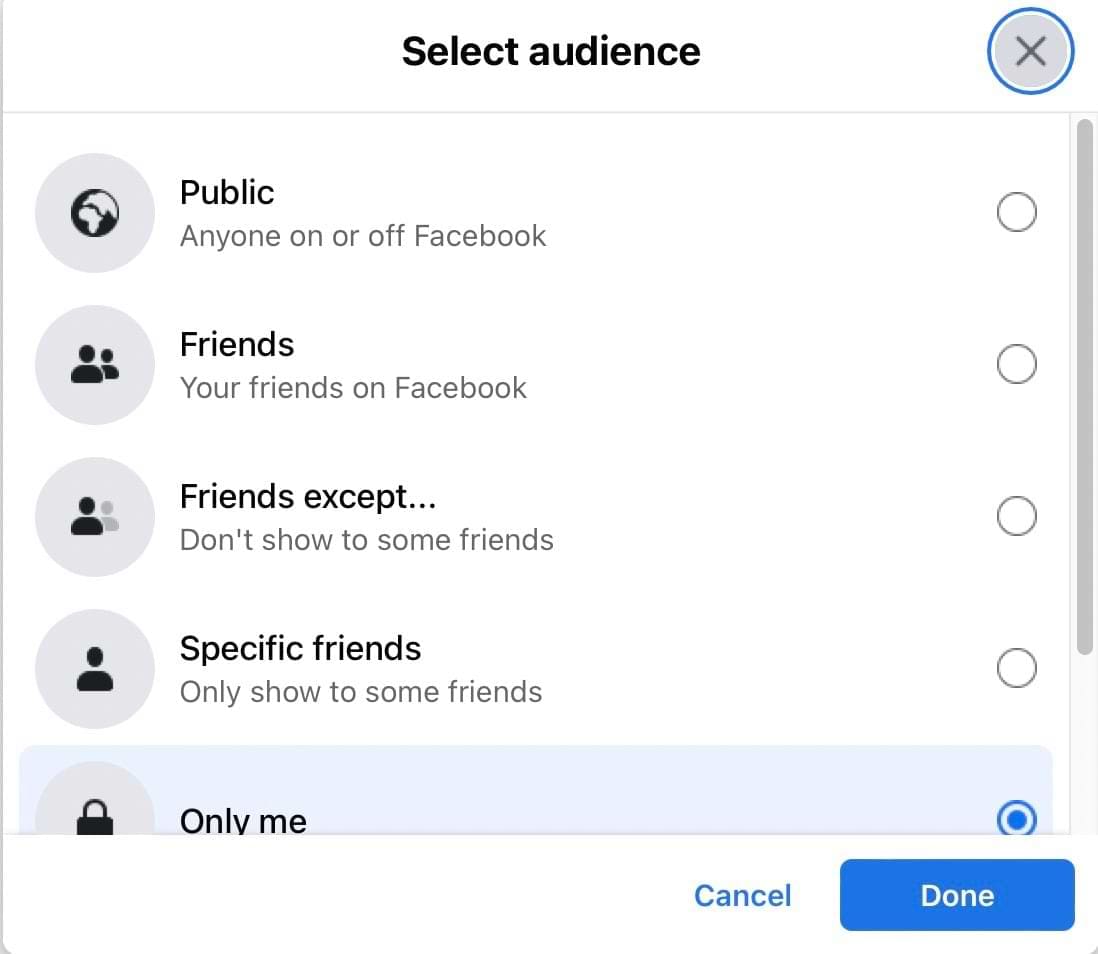
- Choose your preferred audience that can see your profile picture. Besides choosing Friends, you can also decide whether you only want specific friends to have access to your photo — along with numerous other settings.

- Tap Done when you’re happy with your changes.

How to Adjust Privacy Settings via a Desktop Computer or Laptop
Let’s take a look at some of the privacy settings you can easily adjust on Facebook to make you comfortable with what you are sharing — and who you are sharing it with.
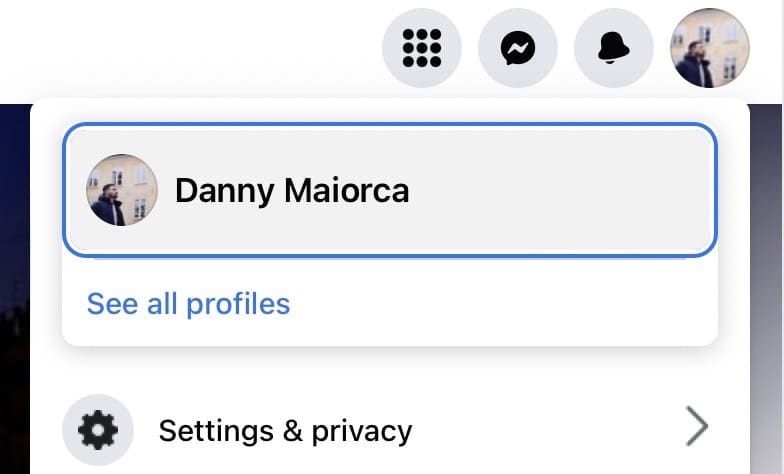
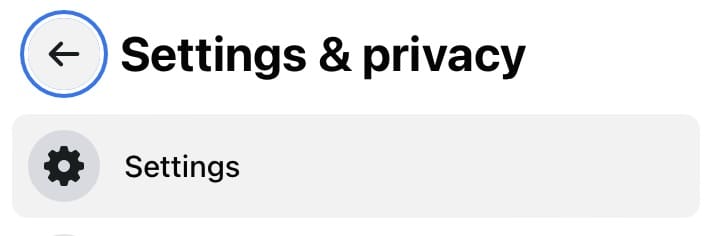
- Go to your profile picture icon in the top right-hand corner. After clicking on that, a dropdown menu will appear; select Settings & privacy when that happens.

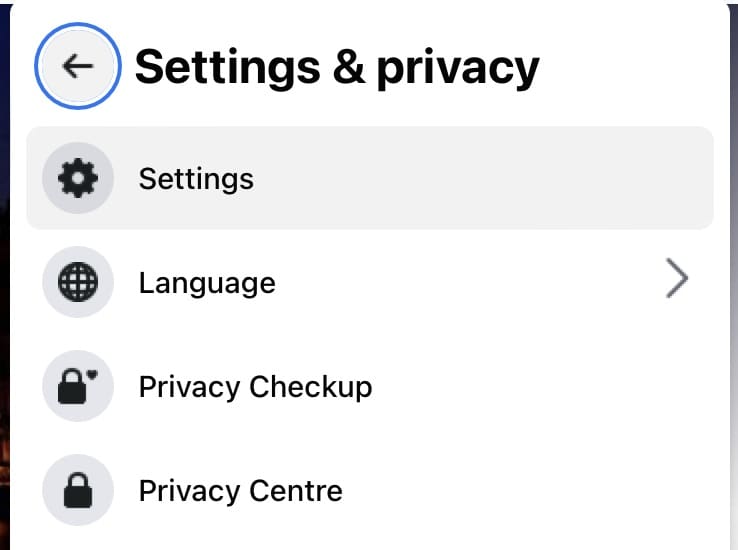
- For privacy settings, click on the Privacy Center (or Privacy Centre for our UK readers).

Facebook’s Privacy Center has several subsections for you to adjust numerous areas. For example, if you don’t want other people to see content you’ve published in the past, you can go to Sharing > How to clean up your profile > Limit past posts.

In the sections below, we’ll go into more detail on securing other areas of your profile.
How People Find and Contact You
This next section deals with choosing whether or not people can easily find your Facebook profile.
Deciding Who’s Allowed to Send You Friend Requests
If you’re sick of getting friend requests from people you don’t know, you can easily change this setting in Facebook. Her’s how to do that when you want to change Facebook privacy settings on a computer.
- After navigating to the Privacy Center, go to Sharing > Unknown friend requests and followers.

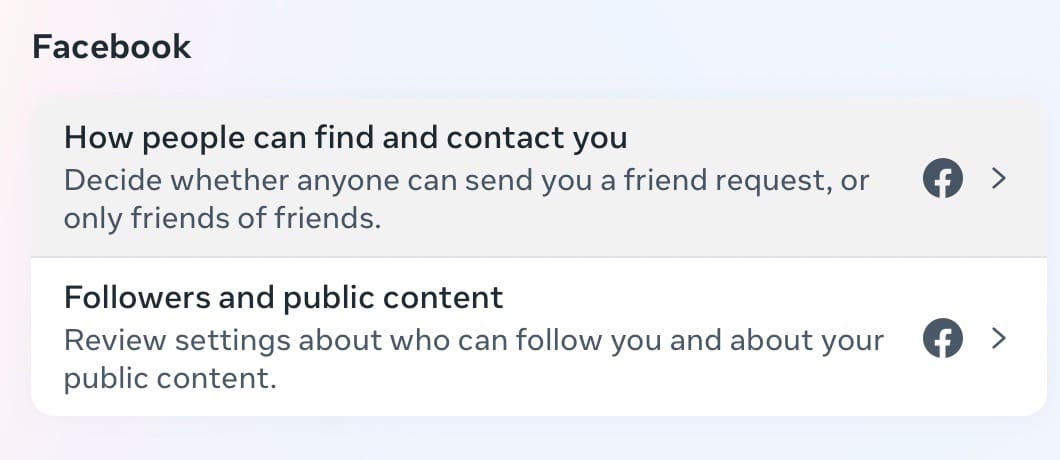
- Click on How people can find and contact you.

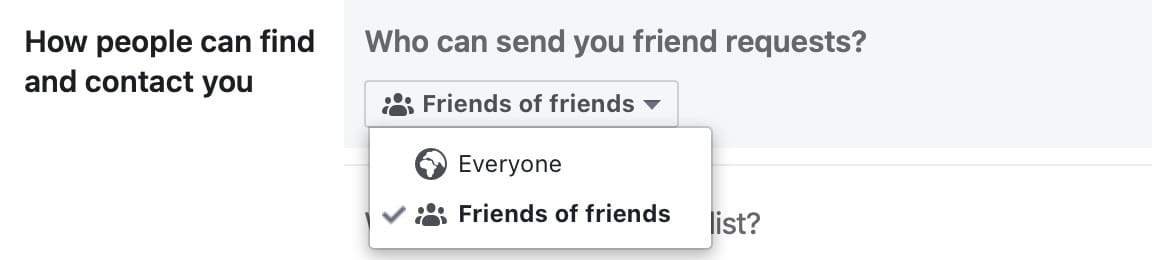
- Scroll down to How people can find and contact you, before choosing Edit next to Who can send you friend requests?.

- Choose your preferred settings for who’s allowed to send you friend requests.


If you want to limit who can see you even more, you can always stop Facebook from letting your profile page appear in search engines. Go to Do you want search engines outside of Facebook to link to your profile?, before picking No.
Hiding Your Friends List
Some people don’t mind others being able to see who they’re friends with, but that isn’t the case for everyone. First, you’ll need to go to your profile — before following these steps.
- Go to Friends, before tapping the three dots and choosing Edit Privacy.

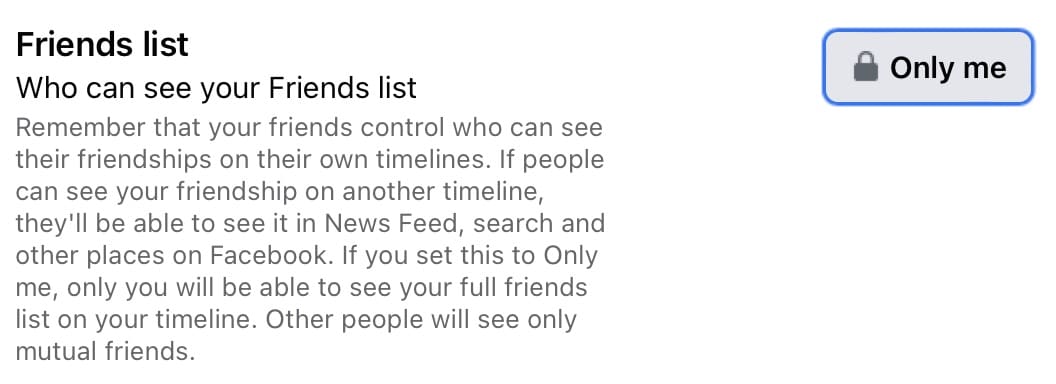
- Tap the option next to Friends list.

- Pick your preferred audience for seeing your friends list, before hitting the Done button to bring your changes into effect.


Adjusting Your Email Privacy Settings
Sometimes, people can find you on Facebook through the email address you provided. However, you can change your settings for this if you don’t want others doing that.
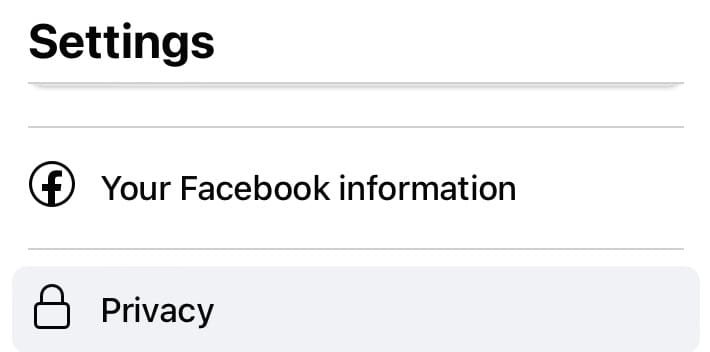
- Go to the profile picture icon and press Settings & privacy, before navigating to Settings.

- Click on the Privacy tab when the next window appears.

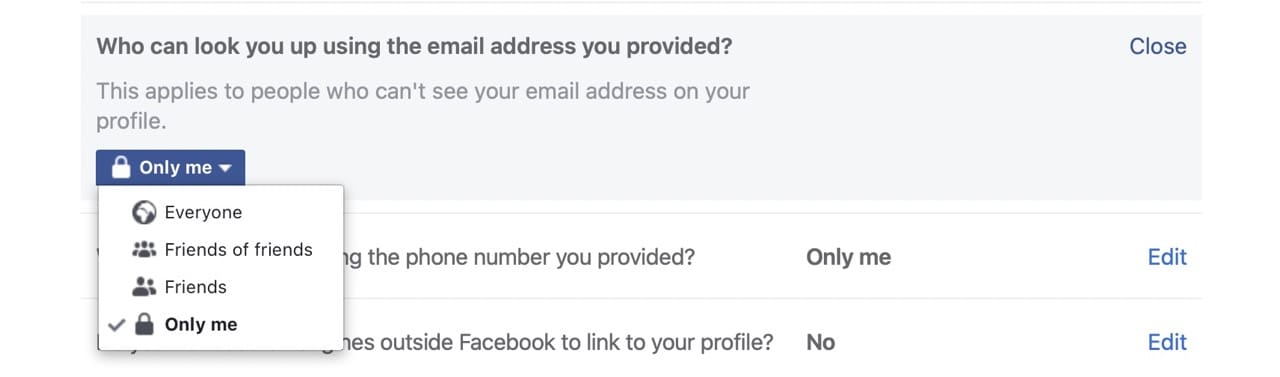
- Under How people can find and contact you, look for Who can look you up using the email address you provided?. Then, tap Edit.

- Choose your new privacy settings from the dropdown menu.

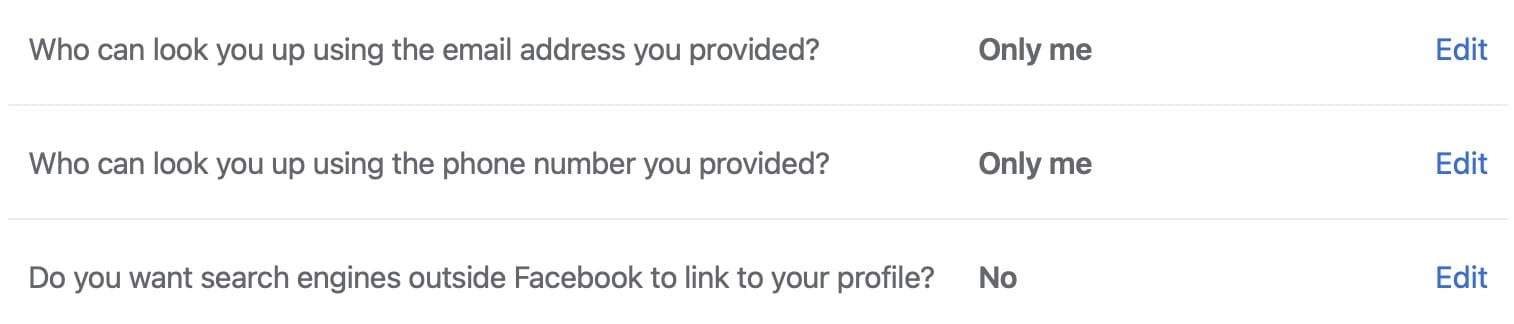
You can also change who can find you via your phone number by going to Who can look you up using the phone number you provided?.
Timeline and Tagging Settings
This section is pretty important and deals with what people are allowed to do regarding you, your information and your photos. Let’s dive right in by clicking on “Profile and Tagging” over on the left menu in your settings.
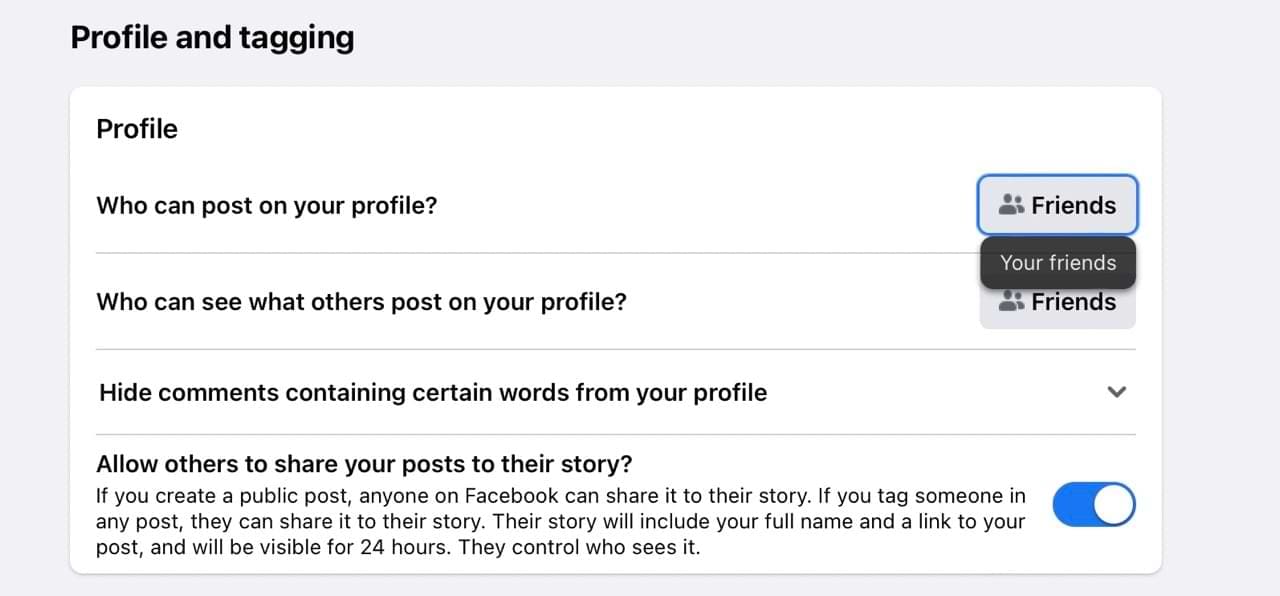
Many of the settings are easy to understand, but there are a couple that are especially essential to know.
- Who can post on your timeline?: This lets you decide whether your friends are able to post something on your timelines or if only you are able to. Most people want to have their friends post messages to them, but not everyone. If you want to be the only one posting on your timeline, choose the button on the right and click Only me from the little dropdown menu.
- Hide comments containing certain words from your timeline: This is a pretty cool feature. If, for instance, you do not want to have curse words or other profanities showing up in comments people leave for you, you can add them here. Once you hit the downward-facing arrow button, a section will pop up that allows you to choose which words or phrases you’ll no longer see when a friend types them. The friend who posted the comment WILL still see whatever they typed (example: the F-bomb), but YOU will not. Another benefit of this section is that you can choose other variations to not see, which should help in case someone tries to get around any possible blockers you’ve added.
- Who can see what others post on your profile?: With this feature, you can control who sees what others have written on your account. It’s pretty handy if you don’t want colleagues or family members seeing what you and your friends share with one another.
- Reviewing Tags: Sometimes, you’re not going to want people to automatically tag you in things — and for them to appear on your profile. If you scroll down to Reviewing, you’ll see two options. Toggle these on or off, based on your needs and preferences.


If you want to see what your profile looks like to others after adjusting your settings, go to the option at the bottom of the page in your settings. 
How to Control Who Sees Your Personal Information on Your Profile
Facebook lets you add personal information, such as where you work and the city you live in. Naturally, you might not want people you don’t know seeing these.
Next to each setting you add, you’ll see a small icon that you can click on. When you’ve done that, you can adjust who’s allowed to see your information for that specific metric.

Use These Tips to Change Your Facebook Privacy Settings on a Computer
Fortunately, it has become much easier to edit your privacy settings on Facebook in recent years. Changing your privacy settings on Facebook from a computer is simple, and you’ve got numerous customization options to determine who can and cannot see personal information — plus other content.
There are plenty of other settings that we haven’t mentioned, but adjusting what we’ve discussed in this guide should give you a solid base of profile privacy that you can later build upon if needed.


I need to know how to change the tone on my Messenger. An answer on Google was to slide the application arrow and go the messenger app, open it up on the messaging thread tap menu and goes on with the rest to change the tone. I cannot find menu no matter where I look, I have tried everything I know. Can you help me with this?