When you come across a file you don’t need any more in Windows 11, you erase it. But, to get rid of those files permanently, you’ll need to do something else than click on the delete option. When you wipe a file, it may disappear from your files, but it still accessible in the recycling bin.
The following guide will show how you can empty the recycling bin on a schedule. That way, you can worry about more important things and not whether you emptied the recycling bin or not.
- To schedule the recycling bin, open the Task Scheduler by searching for it in the search bar.
- In the Task Scheduler screen, right-click on Task Scheduler Library > New Folder…

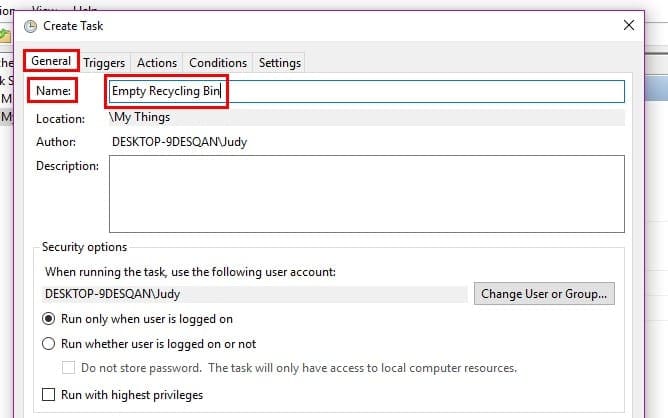
- Give the folder a name, like “Auto Del Bin” or something recognizable for the task. Right-click on the new folder and choose to Create task. On the General tab, give your task a name that describes what it does in the Name field.

- Select the Triggers tab then choose the New button at the bottom left.
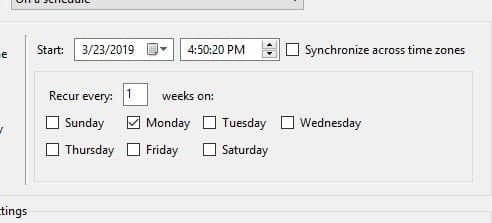
- Select the Begin the task > On a schedule.
- I recommend you choose the monthly or weekly option if the schedule option is being used as a trigger. There will also be an option where you can decide when you want the cleaning to begin. Right below that, you can also choose the day.

- Select the Actions tab, followed by the new option at the bottom right. Under Settings where it says Programs/script type cmd.exe and also under Settings, in Add arguments type:
/c "echo Y|PowerShell.exe -NoProfile -Command Clear-RecycleBin" -Force
Double-check to make sure that everything is entered correctly and click OK to finish your task.
Conclusion
The more things Windows can do for means that you’ll have more time for other useful things. Emptying the recycling bin may not seem like much, but it sure helps. Are you going to empty the recycling bin on your own, or will you have Windows do it for you automatically?