Microsoft Word has many features to keep your documents organized and easy to use. Cross-referencing is undoubtedly one of the most helpful ones. This guide will teach you how to create cross-references in Word – and why you should do it.
How to Create Cross-References in Word: A Step-by-Step Guide
You can use a cross-reference to link to other parts of the same Word document. These references appear as a hyperlink. If you click on this link, it will take you straight to the referenced item.
Here’s how to create cross-references in Word.
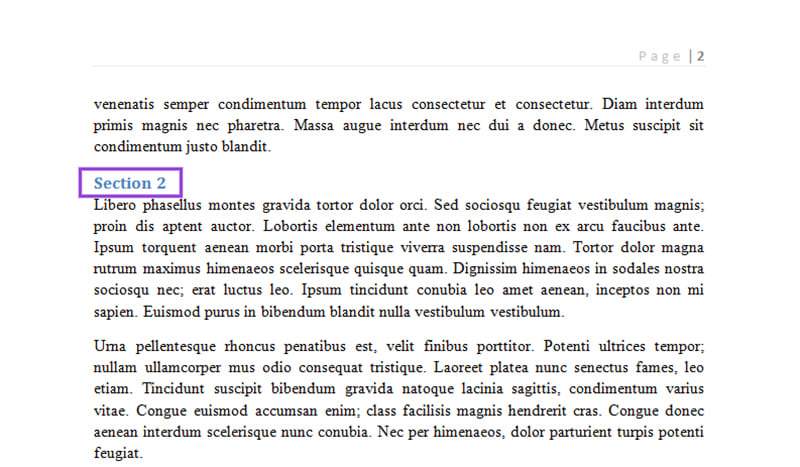
Step 1: Create the item you want to cross-reference. After all, you can’t link to something that doesn’t exist. For this guide, the referenced item will be a heading.
However, you can also link to:
- Numbered items
- Bookmarks
- Footnotes
- Endnotes
- Figures
- Equations
- Tables
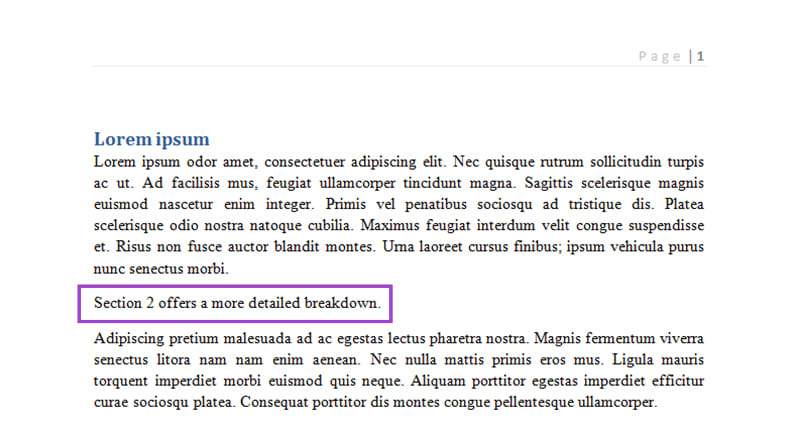
Step 2: Type the text that refers to the cross-reference.
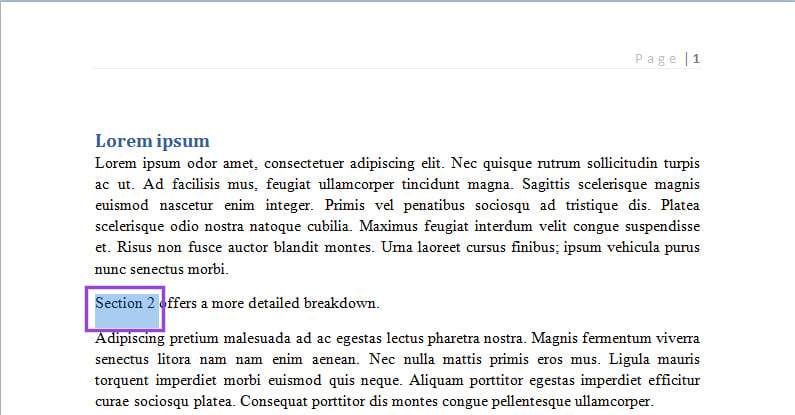
Step 3: Select the exact part of the text that should be linked to the cross-reference.
Step 4: Click on the “Insert” tab at the top of your document.
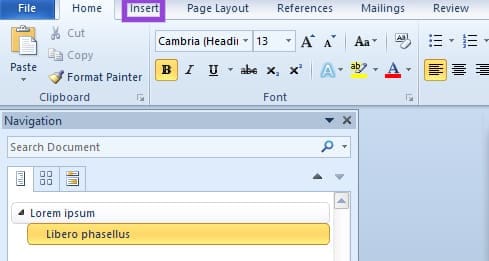
Step 5: Head to the “Links” group and click on the “Cross-reference” button. A “Cross-reference” pop-up menu will appear.

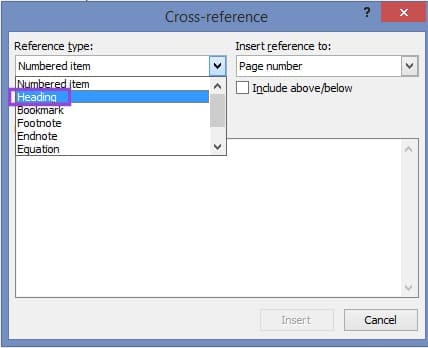
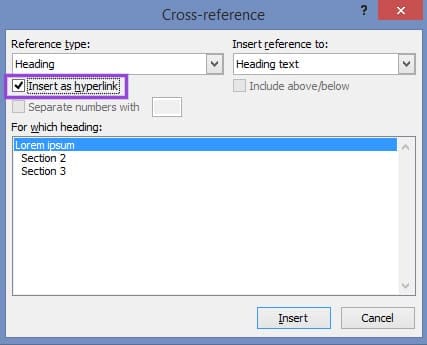
Step 6: Go to the “Reference type” section. Use the dropdown menu to select the type of your cross-reference.
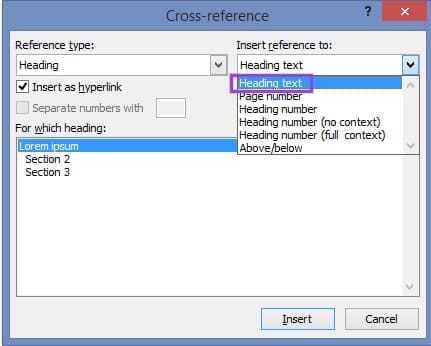
Step 7: Choose where to insert the reference. The options in the “Insert reference to” will depend on the selection you made in Step 6.
Step 8: Under “For which heading,” choose the exact heading you want to link to. Again, this section will appear different based on your previous choices.
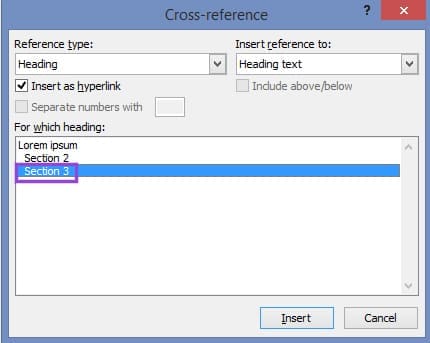
Step 9: Check the “Insert as hyperlink” box. This will allow you to jump straight to the referenced item in a single click.
If the “Include above/below” box on the right isn’t greyed out, check it as well. This will add the relative position of the referenced item to your text. Let’s say your text is on Page 5, and the referenced chart is on Page 1. The added text would then be “above,” as in “See Figure 1 above.”
Step 10: Click on “Insert” to create your cross-reference.
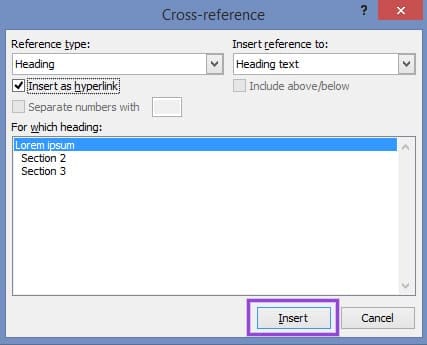
The hyperlink will now appear at your chosen location.

Word inserts cross-references as fields. And fields are automatically updated. This means that any changes you make to your cross-references will be reflected throughout the document.
Why Use Cross-References in Word
The most obvious benefit of using cross-references in Word is the improved navigation. Thanks to the handy clickable links, readers can easily jump between related sections, tables, and other elements. No more scrolling back and forth to find the information you need.
This means that cross-references also help you save time. And this doesn’t only refer to jumping from section to section. Cross-references also update automatically, so you don’t have to waste time doing it manually.
Essentially, cross-references make your Word document significantly more user-friendly. The flow of information is better, ensuring readers can stay focused on the content. And this also includes readers with disabilities. You see, screen readers can use cross-references for navigation. This means that adding these references makes your document more accessible. Of course, the document’s professional appearance also doesn’t hurt. A document with accurate cross-references truly shows your attention to detail.