So, you’ve just installed the latest drivers or updated some of your software and you encounter this ominous message:
“0x0000001D, ERROR_WRITE_FAULT. The system cannot write to the specified device.”
It’s an error write fault, which occurs when your machine can’t write properly to a certain drive or sector of a drive. Like most errors on Windows, this is an error with a number of possible causes, both hardware- and software-related. We’ve narrowed down some of the most likely causes, and present a few fixes to get your troubleshooting started.
Contents
Understanding the Error Write Fault
You might be intimidated by all the numbers and capital letters thrown onto your screen suddenly by Windows, but the error write fault is actually the operating system’s way of stopping a potential disaster in its tracks. Write errors can cause serious harm to your hardware, so Windows steps in before things cascade out of hand.
The error write fault is essentially a failure to read or write media. The operating system generates an exception to let you, the user, know that something’s not right. There are many possible causes, but here are the major culprits:
- Outdated Windows Version – Have you remembered to update your machine lately? Older Windows versions may cause software (and hardware) conflicts with other apps and parts of your PC or laptop.
- System File Damage or Corruption – Improper shutdowns, blackouts, and other data issues could’ve caused some of your files or even whole hard drive sectors to become unstable and corrupt.
- Malware – Viruses can target many parts of a system, either rendering them inaccessible or corrupting them. Some may even target key system files, essential to your machine’s health.
- Permissions – In shared workspaces with admin permissions and restricted accessibility, it could be that you don’t have the permissions to save your file in the location where you’re trying to.
- Temporary or Junk File Error – Temporary and junk files pile up quickly and, without a proper disk cleanup, can cause problems. You might also have a problem with your Temp folder in general.
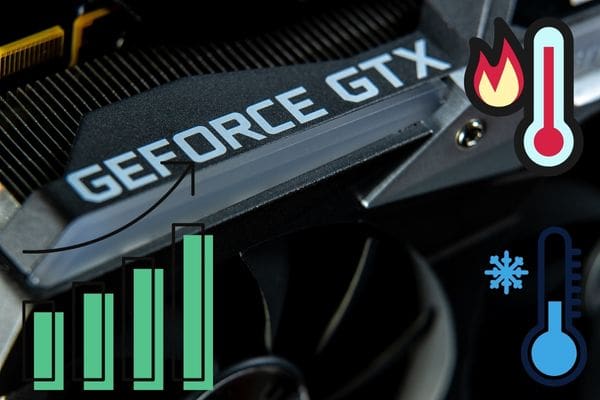
- Hardware Issue – Your hard drive could have taken one knock too many. Or, perhaps some of your RAM chips or some critical wiring on your motherboard have come loose. Physical hardware problems can also stop writing in its tracks, particularly on laptops.
How to Repair the Fault
Now you know the possible reasons for an error write message, it’s time to get busy troubleshooting. Here are some methods that might fix the problem:
Update Windows
It’s best to start simple. After a system restart – always the first step to try – check to see if Windows needs updating. To do this:
- Open up Settings (press Win + I on your keyboard) and head over to “Update & Security.”

- Click the “Check for updates” button at the top of the window. If there are any updates currently available, they’ll be listed right below.

- Choose “Download and install” for each update to be safe.
- Restart your machine when the updates are done installing.


Check Your Disk and Run SFC Scan
If you suspect a problem with your hard drive or some form of file corruption, then the following two processes run from the Command prompt may resolve the issue. They’re pretty simple to apply, too. Here’s how to run the system file checker (SFC):
- Open the Command Prompt by typing the term into the Search Bar.

- Once the program opens and you see the white cursor box flashing, type “sfc/scannow” and press Enter.

- The system file checker will run, identifying and repairing any damaged or corrupted files. Depending on the power and size of your machine, this may take a while.


The process for running the disk checker is much the same:
- Open up the Command Prompt.
- Type in “Chkdsk X:/f/r” where X is the name of your drive.

- Press Enter to start the disk checking process. Again, the time frame for this task will vary depending on your machine.


Check Your Hardware
Is everything connected and running as it should be? Before dismantling your entire machine to check, the Hardware Troubleshooter should be your first stop. You can run this tool using the PowerShell Utility. Here’s how:
- Open the Quick Link Menu (press Win + X) and select “Windows PowerShell Admin.” If you don’t have administrator privileges, you won’t see this option and will need to contact your IT Support.

- User Account Control will ask permission to make changes to your machine. Choose “Yes.”
- You’ll be greeted by the blue screen of PowerShell. Type “msdt.exe -id DeviceDiagnostic” and press Enter.

- The “Hardware and Devices” window should then appear. Click the “Next” button and allow the tool to detect any issues. If it finds any, follow the instructions to fix them.


If you suspect some parts of your machine may have been shaken loose or disconnected, then it’s best to take it to a specialist to prevent further damage.