We’re going to dive into the world of Steam Deck, the handheld gaming device from Valve Corporation. This portable gaming console has taken the gaming world by storm with its powerful hardware and the ability to play your favorite Steam games on the go. But, did you know that you can also take screenshots on your Steam Deck? Yes, you read that right! In this blog post, we’ll guide you through the process of capturing your best gaming moments on your Steam Deck. Let’s get started!
Contents
What is Steam Deck?
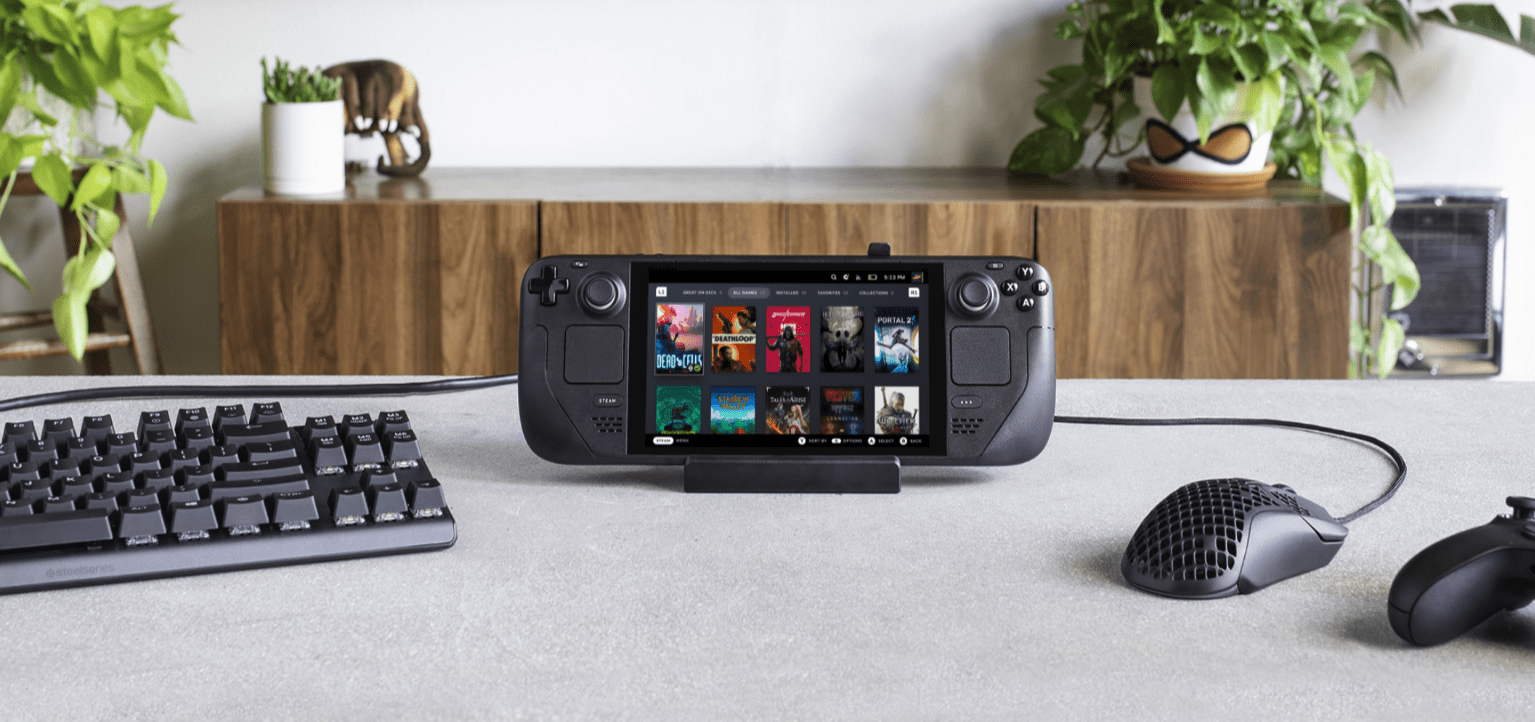
Before we delve into the screenshot process, let’s briefly discuss what Steam Deck is. Steam Deck is a handheld gaming device developed by Valve Corporation. It’s essentially a portable PC that allows you to play your Steam games wherever you want. It comes with a custom APU developed by AMD for handheld gaming, a 7″ touchscreen, and full-sized controls. It also has a dock that provides more connectivity options and allows you to connect it to a larger display.
Why Take Screenshots on Steam Deck?
Screenshots are a great way to capture and share your favorite gaming moments. Whether you’ve achieved a high score, found a beautiful game scene, or want to share an in-game tutorial with your friends, screenshots are the way to go. They allow you to share your gaming experiences with the world and keep a record of your gaming journey.
How to Take a Screenshot on Steam Deck
Now, let’s get to the main topic of this blog post. Here’s a step-by-step guide on how to take a screenshot on your Steam Deck:
- Launch Your Game: Start by launching the game you want to capture a screenshot from. You can do this by navigating to your Steam library and selecting the game.
- Play the Game: Play your game as usual until you reach the moment you want to capture.
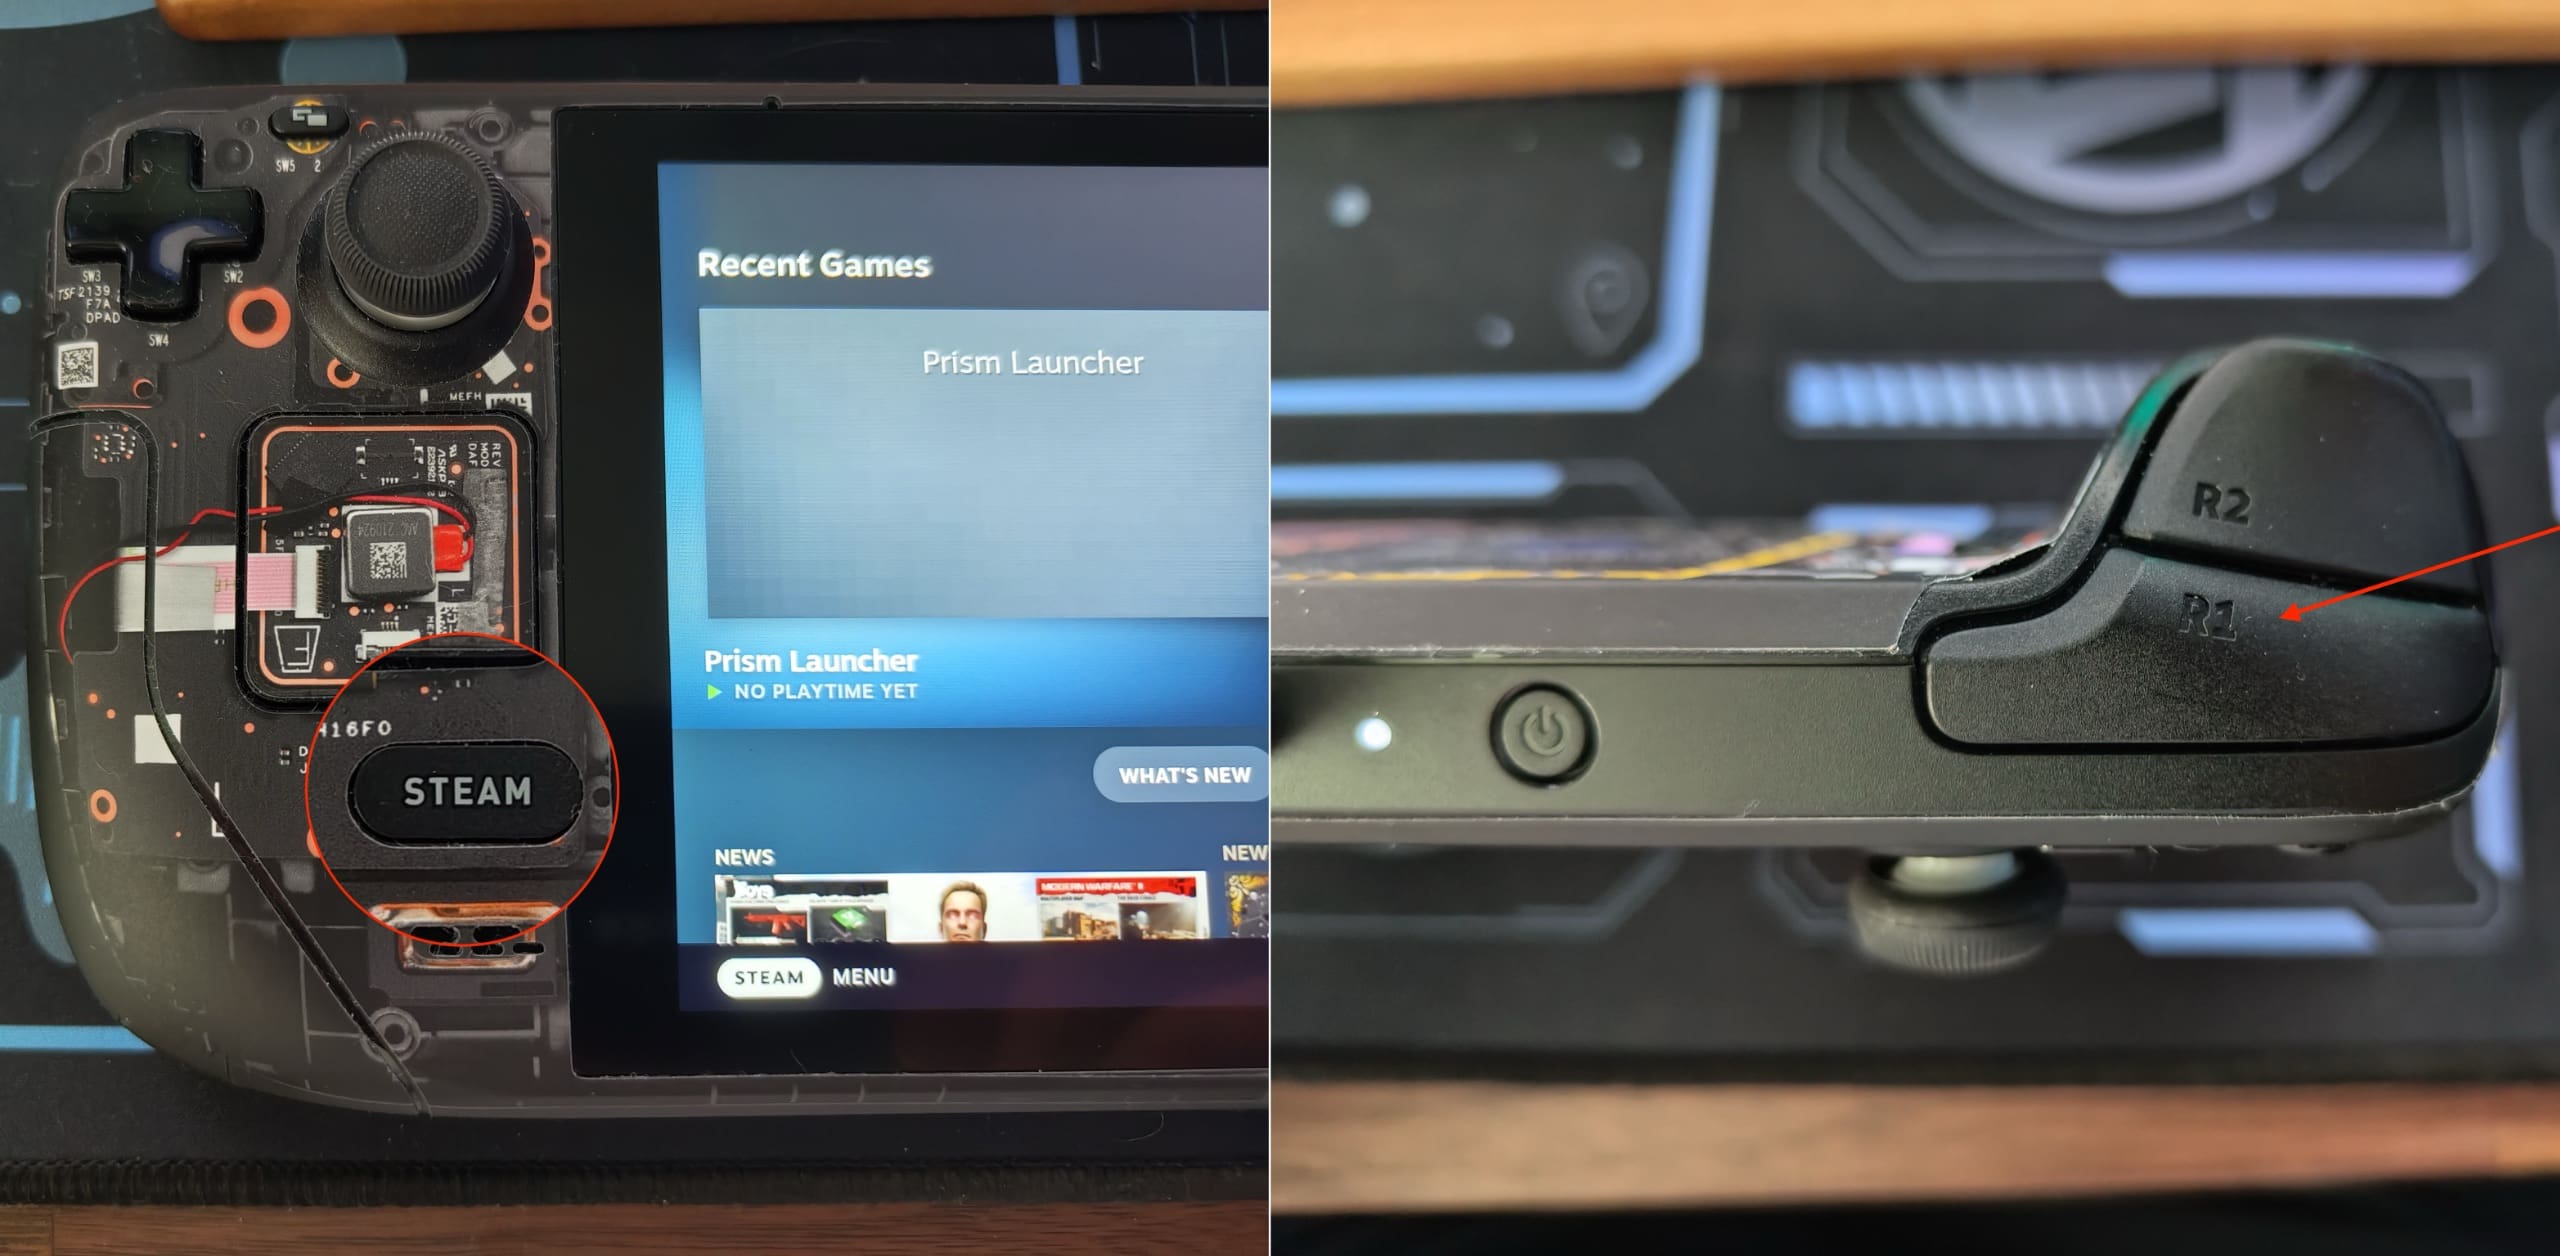
- Capture the Screenshot: To capture the screenshot, press the Steam button and the ‘R1’ button simultaneously. The Steam button is located on the left side of the device, just below the D-pad, and the ‘R1 button is on the right side, as part of the trigger array.

- Screenshot Captured: Once you press these buttons, the screenshot will be captured. You’ll see a notification confirming that the screenshot has been taken.
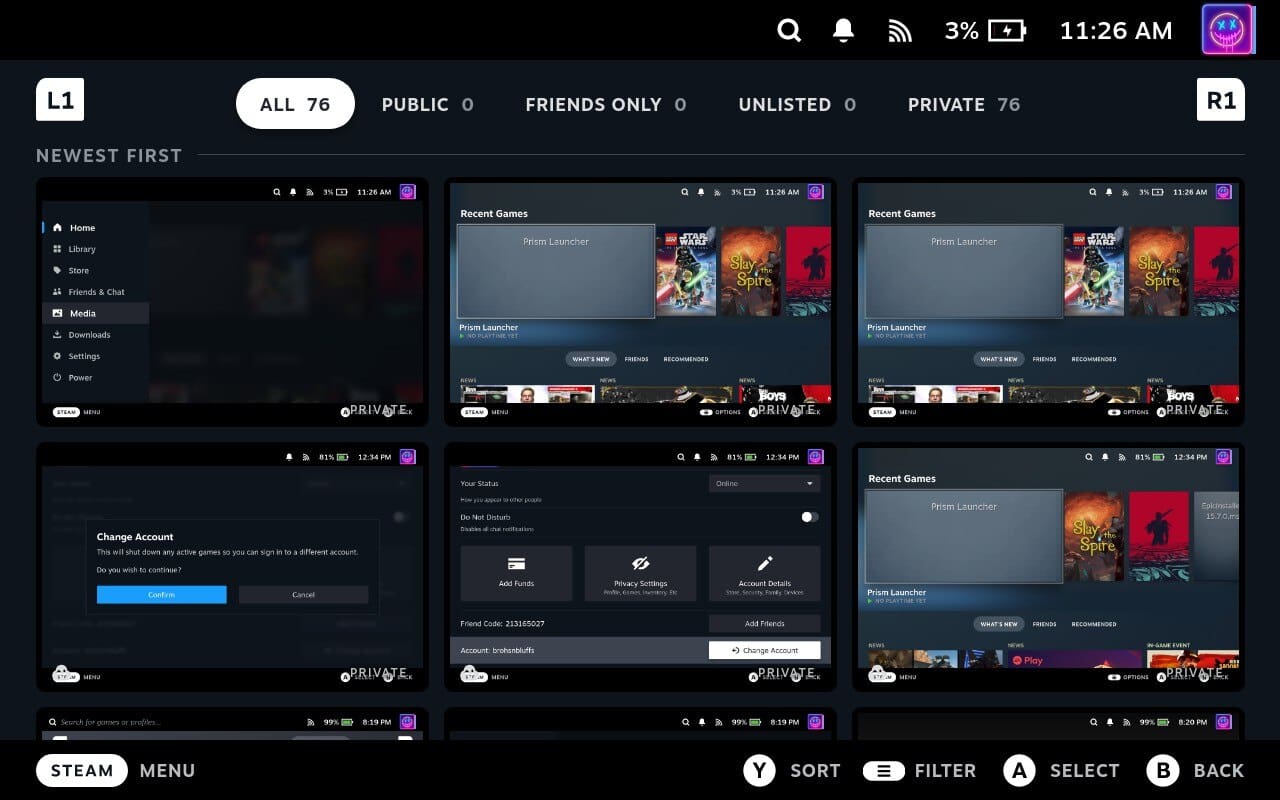
- Access Your Screenshots: To access your screenshots, navigate to the ‘Screenshots’ section in your Steam library. Here, you’ll find all the screenshots you’ve taken.
- Share Your Screenshots: If you want to share your screenshots, select the screenshot you want to share, and click on the ‘Share’ button. You can share your screenshots on various platforms like Facebook, Twitter, or directly to your Steam community profile.


And that’s it! You’ve successfully taken and shared a screenshot from your Steam Deck.
Conclusion
Taking screenshots on your Steam Deck is a simple and straightforward process. It allows you to capture your favorite gaming moments and share them with your friends and the gaming community. So, the next time you achieve a high score or experience a breathtaking game scene, don’t forget to take a screenshot and share your joy with the world!
Remember, the Steam Deck is more than just a gaming console. It’s a powerful handheld PC that allows you to do much more than just play games. So, explore, experiment, and make the most out of your Steam Deck.
Stay tuned for more tips and tricks on how to get the most out of your gaming devices. Happy gaming!
Please note that the Steam Deck’s interface and functionality may change with updates and different versions of the software. Always refer to the latest official Valve Corporation resources and your device’s manual for the most accurate, up-to-date information.