There will come a time when you’ll need to insert an image in your Google Docs document. It’s not always going to be text, so when you insert an image, you’ll need to know the steps to do it. The good news is that it’s easy and the instructions are beginner friendly.
Contents
How to Insert an Image in Google Docs
If you want to give your Google Docs document some style, you can do that by adding images. To add your first image, make sure you have the document open, then click on the Insert option at the top.

When you place the cursor on the image option, a side menu will appear with source options. You can choose from options such as:
- Upload from computer
- Search the web
- Drive
- Photos
- By URL
- Camera
Android
You can also add images from your Android device if it’s more convenient for you. Simply access the document to which you want to add the picture and tap on the plus icon at the top. Choose the Image option, followed by the source. You can choose from your device’s gallery, camera, or the web.

That’s all there is to it when adding an image from your computer and Android device. You have various sources to choose from when you’re on your computer but not too many if you’re on your Android device. But, now that you know how to add an image, you also have the option of rotating it. This is something you can only do on Google Docs web.
Click on the image to select it, and click on Image Options once it’s highlighted in blue.
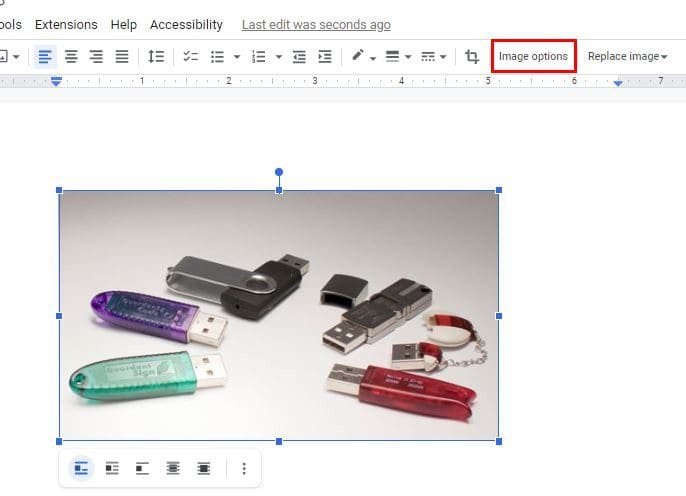
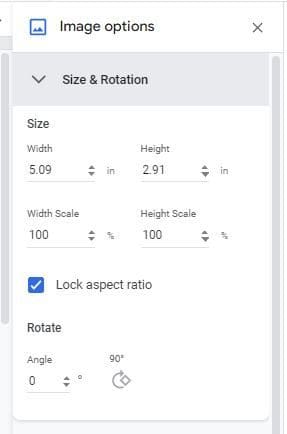
You’ll see a new set of options when you click on Image Options. One of those options will be Size and rotation. You can also get here by clicking on the dots at the bottom of the image once you select it. It is going to be the first option on the list.

When you click on Size and Rotation, you’ll see the options you need to rotate the image in the direction you need. You can modify options such as Width, Height, Width Scale, and Height Scale. Towards the bottom, you’ll see the options to rotate to a specific angle or at a 90-degree angle.
How to Rotate Images in Google Docs Using Rotation Control
There is one more way to rotate the images in your Google Docs document. There is an option called Rotation Control. You can access it by clicking on the image, so it has a blue border. At the top of the image, you’re going to see two dots on top of each other. Click on the top dot and move it around. When it’s in a position you’re happy with, let go, and you’ve just moved your image.

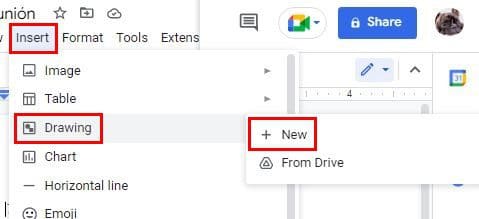
If you need to flip the image, that can also be done. To flip the image, you’ll need to click on the Insert option at the top and place the cursor on the Drawing option. When the side menu appears, choose the New option.
On the next page, click on the image icon and add the image you want to flip. When you flip an image, it makes the text backward and gives your image a mirror look, so flipping and rotating an image are two completely different things. Once you’ve added the image, click on the Actions button on the left of the above options.

Place the cursor on the rotate option at the bottom and choose the flipping option. You can choose from options such as:
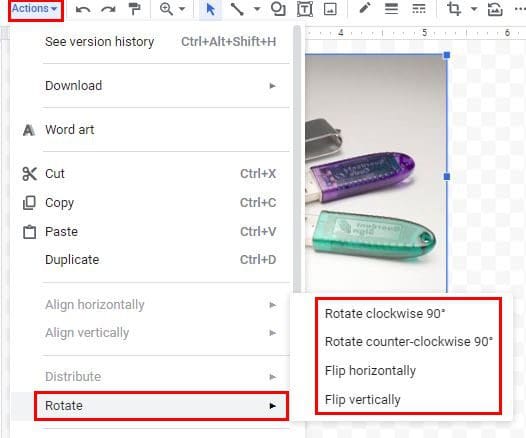
- Flip horizontally
- Flip Vertically
- Rotate clockwise 90 degrees
- Rotate counter-clockwise 90 degrees
Conclusion
If you want to do something different with your pictures, you know the various options when it comes to rotating them. There is also an option to flip them if necessary. The changes are not final; if you ever need to change something, you can. How many images do you need to flip or rotate? Share your thoughts in the comments below, and don’t forget to share the article with others on social media.