By organizing your files into folders, you can find them faster. Depending on what service you’re using, you can even add color to them. Dropbox also uses folders to help you keep your files organized and make them easy to find. You can even create sub-folders if that enables you to stay on top of things.
Even if you’re not tech-savvy, you can easily create and erase folders. Dropbox doesn’t hide these options way down in the Settings. You can easily find them on the main page.
Contents
How to Create and Erase a Folder on Dropbox
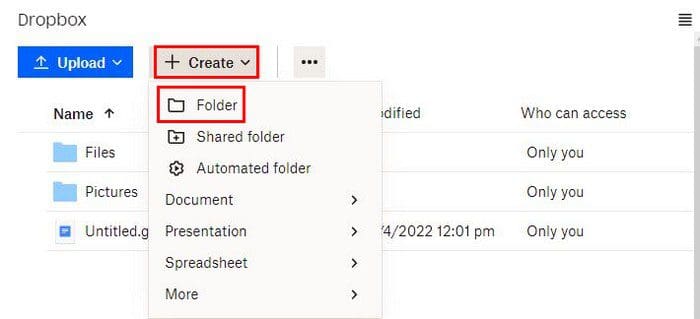
You can’t erase a folder you haven’t created, so to create a folder on Dropbox, you’ll need to click on the Create option. When the menu appears, choose the folder option.
On the next page, you’ll need to name your folder and decide who has access to it. You can choose from two options: Only you or Specific people. If you choose to share the folder with others, you’ll need to add their emails in the next step. Create on the blue Create button to start using your new folder.
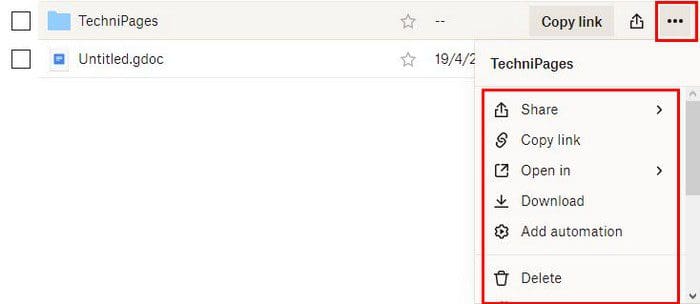
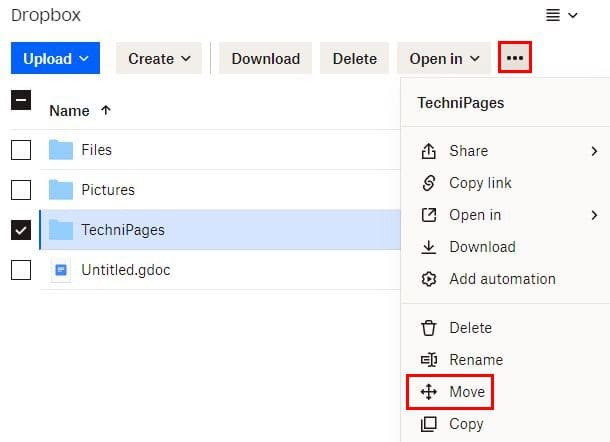
Once the folder is created, you’ll see three dots to the right. By clicking on them, you have access to options such as:
- Share
- Copy link
- Open in
- Download
- Add automation
- Delete
- Rename
- Move
- Copy
- Star
- Pin to Dropbox
- Activity
The Add Automation option lets you organize the files in your folder in various ways. For example, you can choose from options such as:
- Choose a category to sort files by – When a file is added, it’s organized into folders grouped by month or year.
- Set a rule that renames files – When you add a file, it’s renamed by date, the initials are capitalized, and the separators are charged to spacer/underscore/dashes.
- Convert files to PDFs – Converts the file into PDFs.
- Choose an image format to convert files to – When you add a file you marked as supported, Dropbox automatically converts it to JPG OR PNG.
- Choose a file format to convert videos to – When you choose the type of files you want Dropbox to recognize, you can save them as MP4or MOV.
- Unzip files – Does just as the name says
- Choose a file format to convert audio files to – After choosing the types of audios files you want your files to support, you can have Dropbox save them to MP3 WAV or M4A.
Erasing the Folder
If you ever need to erase your folder, select it so that it’s highlighted and click on the Delete option at the top.

How to Add Tags to Dropbox Folders
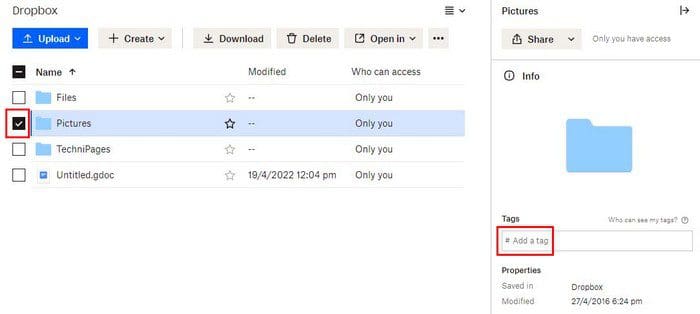
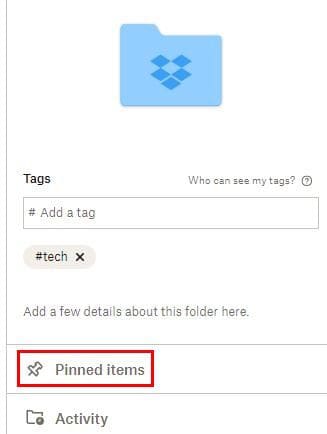
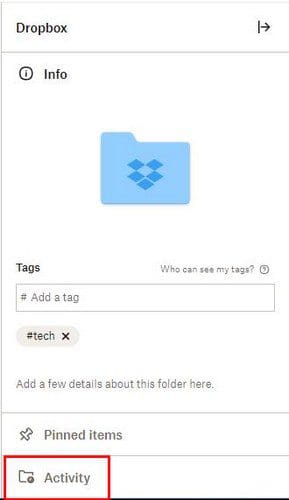
After a while, you can create so many folders that they can get challenging to find. You can easily find them in the search bar by adding tags. To add a tag to any folder, click on the box to the folder’s left. The box will appear when you place the cursor on it. On the right pane, you’ll see this pace where you can add your tags.
The next time you search for that tag, Dropbox will show you a list of all the available folders with that tag.
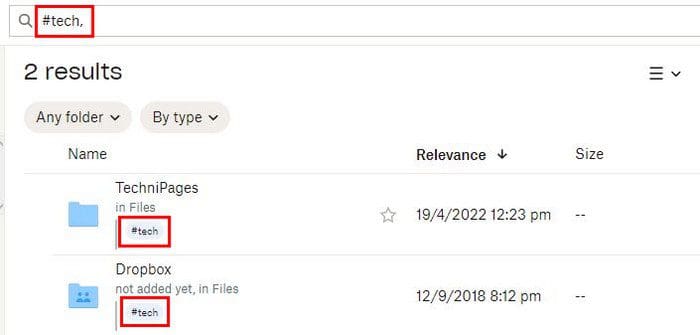
When creating tags, remember that they must be less than 32 characters long and can only have underscores, letters, and numbers. You can add as many as 20 tags to a single folder. Besides using the search bar at the top, you’ll also see the tags you’ve created on the right pane. Click on one tag, and Dropbox will show you all the folders with that tag.
Removing Tags
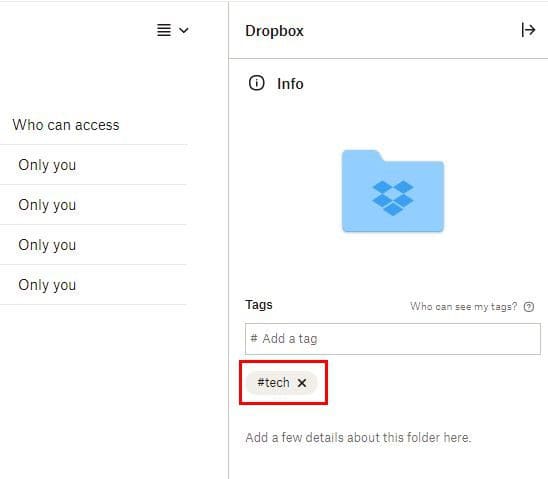
If you need to remove a tag from a folder, check the box to the left of the box to select the folder. Now, click on the X of the tag you’ll see on the right pane. That’s all there is to it. If other folders need to have a tag removed, simply repeat the process for each folder.
Putting One Dropbox Folder Inside Another
It’s also possible to move one folder inside another if that’s something you need to do. Selected the folder so that it’s highlighted, click on the dots at the top, and choose the Move option.
You’ll need to choose what folder you want to move it to in the next window.
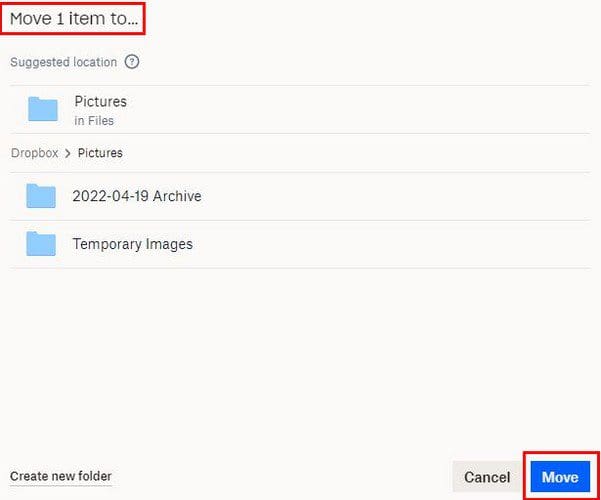
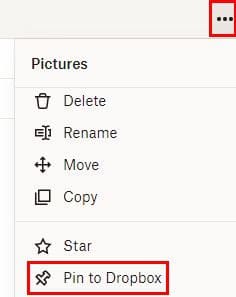
Don’t forget to click on the blue Move button to finish and save your changes. You can also make a folder more straightforward to find by pinning it. Click on the dots to the right and choose the Pin to Dropbox option.
Once you’ve pinned the folder, you can find those pinned folders on the right pane under Pinned items.
You know what they say, ¨sharing is caring¨. When there is a folder you want to share, place the cursor over the folder you want to share. The Share button will appear; it has an arrow pointing up.

In the next step, you’ll need to add the emails. But one thing to look over is what these people are allowed to do with the file. By default, it’s going to be set to anyone can edit. Click on the dropdown menu to only allow them to view the folder and not edit.
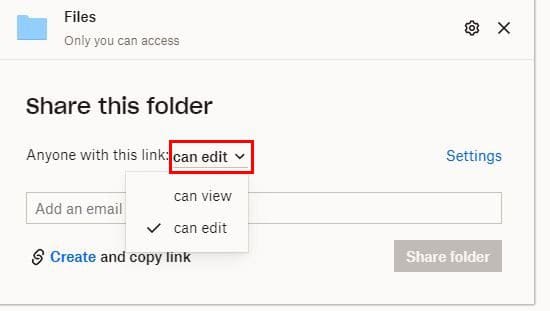
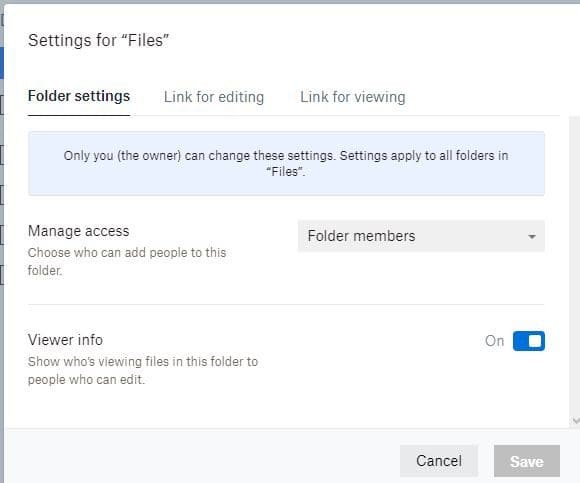
By clicking on Settings, you can get the link for editing and viewing. You can also manage access and choose between folder members or only the owner.
How to See Your Dropbox Activity
Knowing how to view your Dropbox activity can be helpful. For example, you created so many folders and other things that you can’t remember the name of one of them. In the viewing your activity option, you can filter your activity by what you did. You can filter by things such as:
- Added
- Deleted
- Edited
- Moved or renamed
- Rewound
Conclusion
As you can see, there is a lot you can do with your Dropbox folders. You can easily create as many as you need and erase them. You can have Dropbox convert your files to what you’ve chosen when a new file is added. Then there is the option of adding one folder inside another for an easy find. How do you keep your folders organized? Share your thoughts with me in the comments below, and don’t forget to share the article with others on social media.