Do you feel your Windows 11 PC has been laggy or choppy recently? Does it take too long to shut down, sleep, or boot up? You need to reinstall Windows 11 to experience improved performance like a new PC.
Those days are gone when you had to break the bank to get a Windows operating system to reinstall Windows on your laptop or desktop. Today, Microsoft has made Windows 11, 10, and other popular operating systems available on its website.
You can get the latest Windows OS for free for reinstalling Windows 11 on your PC, provided that you have the previous Windows activation key. Moreover, if your existing Windows PC comes with a digital license, you don’t need activation keys.
However, the main challenge is understanding the features and attributes of various processes to reinstall Windows 11 on a laptop or desktop computer. Read on as I explain Windows 11 reinstallation methods for a working and problematic PC.
Contents
Preparations to Reinstall Windows 11
Perform these everyday tasks before you start reinstalling Windows 11:
- Move personal files, documents, downloaded content, game profile data, etc., from the existing Windows installation drive to another drive on the same PC.
You’ll lose existing third-party apps and manufacturer-supplied apps if you perform a fresh reinstallation of Windows 11. Ensure you know where to download these apps when the PC is up and running.

- Find the edition of your Windows PC by going to Settings> System > About > Windows specifications > the name beside the Edition field. You must install the same edition else you won’t be able to activate Windows 11.
- If you haven’t done already, sign in to the device using your Microsoft account to link the digital license to your Microsoft account. Go to Settings > Accounts > Your Info > select Sign in with your Microsoft account instead URL. You won’t see this option if you’ve done this already.
- If you’re doing a significant PC upgrade, like changing the motherboard, you’ll need to activate the Windows 11 edition by logging in to your linked Microsoft account. If yours is a business PC, you may need to contact the organization’s IT support team for activation support.
Understand Various Methods for Reinstalling Windows 11
You can perform Windows 11 reinstall process in many ways. However, you must know the features of all these methods to choose the suitable method for your PC. Checkout the table below to learn more:
| Methods | Reinstall Modes | Third-Party Apps | Personal Data | Files in Other Drives/ Folders | Storage Requirements |
| Reset Windows 11 | Keep files | Removed 3rd party apps added by you | Keeps all personal data on Windows installation drive | Stays | Medium |
| Remove all | Removed 3rd party apps added by you | Deletes all personal data on Windows installation drive | Deleted | Low | |
| Reinstall Windows 11 using USB/DVD/ISO | Default | All apps and settings stay untouched | Keeps all personal data on Windows installation drive | Stays | High |
| Keep own data | Deletes all apps | Keeps all personal data on Windows installation drive | Stays | Medium | |
| Delete all | Deletes all apps | Deletes all personal data on Windows installation drive | Deleted | Low | |
| Clean Install Windows 11 using USB/DVD/ISO | N/A | Deletes all apps | Deletes all personal data on Windows installation drive | Deleted | Very low |
If you’re still learning various nuances of Windows 11, you should use the Reset Windows 11 route to reinstall Windows 11 and resolve performance issues. This will consume extra space on your PC, but that’s okay.
However, if you have enough knowledge of BIOS, WinRE, PC hardware, disc drives, boot partitions, etc., then you may want to choose the Reinstall Windows 11 using USB/DVD/ISO, etc., by formatting the Windows installation drive. This method requires less storage space and doesn’t clutter the Windows installation drive.
Continue reading as I show you multiple options for reinstalling Windows 11 and reinstalling Windows 11 without losing files.
Method 1: Reset to Reinstall Windows 11
Resetting Windows 11 is just like a factory data reset of an Android or iOS smartphone. Your PC goes back to the state when you received it for the first time from a shop or office.
The process removes all 3rd party apps. It depends on the Reset Windows 11 mode you choose for personal files.
Here’s how you can perform Windows 11 reinstall via the Reset Windows 11 method:
- Open the Windows Settings app by pressing Windows + I on the keyboard.
- From Settings, choose System.
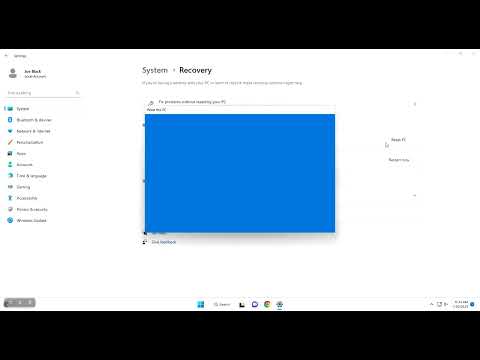
- Inside System, locate Recovery and select it.
- You should now see the Reset this PC option.
- Click Reset PC.
Not Going to Home
If the PC isn’t going to the Home Screen or Desktop, follow these steps instead:
- Long press and hold the shutdown/power on button of the PC case.
- The PC will immediately turn off.
- Now, press the button once to switch it on.
- As soon as you see the manufacturer’s logo, long press the power button again until the PC shuts down.
- Repeat the above process two to three times until you see the Windows Recovery Environment (WinRE) screen.
- It’s a blue screen with the Choose an option text and three options: Continue, Troubleshoot, and Turn off your PC.
- Click Troubleshoot to find the Reset PC option.
Now that you’re on the Reset this PC screen either on the WinRE environment or from the Windows 11 Settings> Recovery screen, the steps to perform the rest are similar. Follow these instructions to reset the PC:
- On the Reset, this PC screen, choose Remove everything if you want fresh installation or go with Keep my files if you want to keep personal files and only remove apps and settings.
- Let’s pick Remove everything for this tutorial.
- Windows 11 will now show you two options to get Windows 11 installation media. These are Cloud download and Local install. Choose Cloud download if you don’t have a bootable DVD or USB for Windows 11.
- Cloud download will require a working internet connection. Ensure you’ve got Wi-Fi or LAN.
- Now, Windows need to know whether you want to delete files from all the drives or just the Windows drive. Choose Only the drive where Windows is installed option.
- The next step is to decide between Just remove my files and Full clean the drive. If you’re keeping the PC, select Just remove my files.
- Now, you must be on the Reset this PC final step. Review the changes you’re making and then click Reset.
Windows will take over from here. The PC may restart a few times while resetting it.
When you see the out-of-the-box experience (OOBE) window to set your country or region, consider you’ve reinstalled Windows 11 using the Reset mode.
Method 2: Reinstall Windows 11 Using Media Creation Tool
You can also use the Media Creation Tool to download, create a bootable USB/DVD, and then reinstall Windows 11. Here’s a list of all the steps:
- Go to Create Windows 11 Installation Media page and click Download Now.
- Media Creation Tool will download on your PC.
- Go to the Downloads folder and double-click on the app to run it.
- Click Accept on the licensing page.
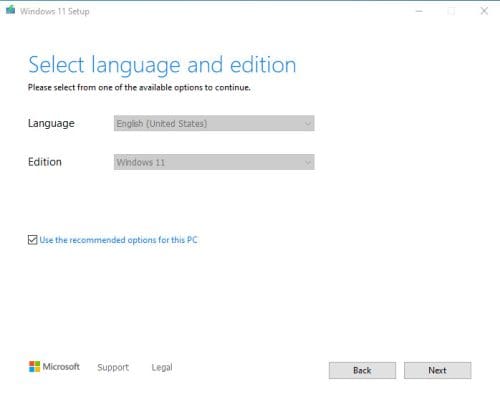
- The edition and language will be selected automatically. Click Next to proceed.
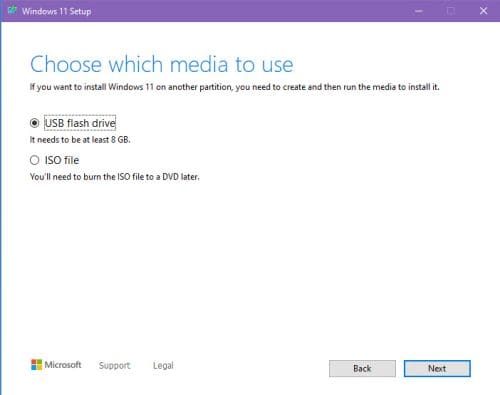
- Now, you’ll see the option to choose between an ISO file and a USB flash drive.
- Choose ISO file if you plan to use a DVD for reinstalling Windows 11.
- You’ll later need to burn the image on a DVD of 8GB or more. If you find this complicated, choose USB flash drive.
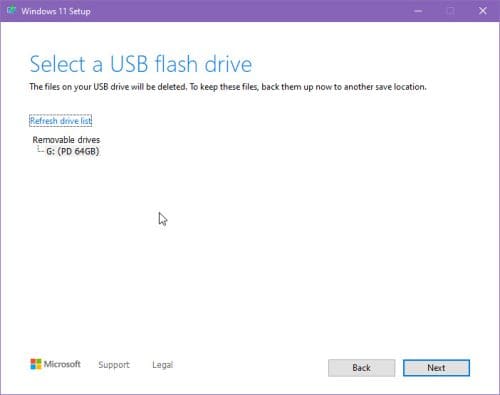
- On the next screen, select the USB drive name from the Removable drive list and click Next.
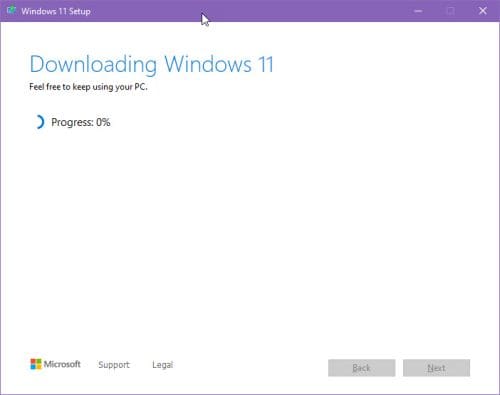
- Now, you must see the Downloading Windows 11 screen.
- Once the downloading is complete, Media Creation Tool will have finished creating the bootable USB.
- Detach and reconnect the USB to the Windows PC.
- Go to its folder from This PC, Computer, or File Explorer.
- Double-click the Setup.exe file.
- You should now see the Windows 11 installation wizard.
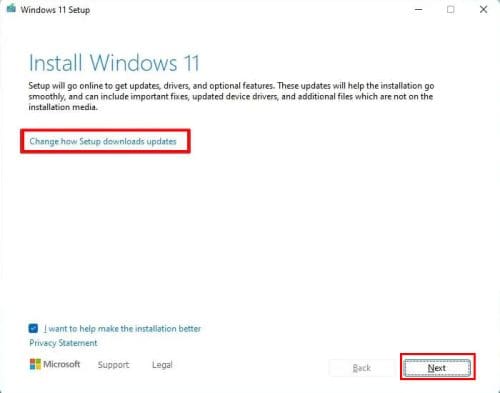
- On the Install Windows 11 page, select Change how Windows Setup downloads updates.
- Choose Not right now.
- Select Next and then click Accept to agree to the terms and conditions.
- On the next window, choose Change what to keep.
- Depending on your choice, select one of three options. For a fresh installation, click Nothing and then choose Next.
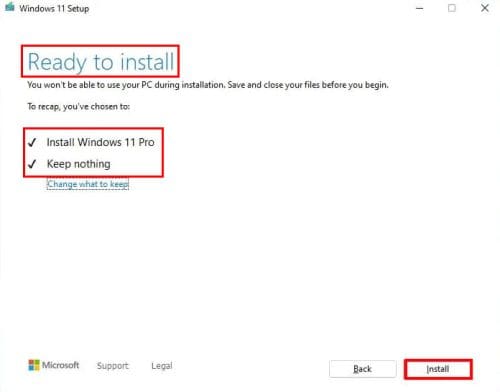
- On the Ready to install screen, click the Install button.
- The PC will restart as needed.
- When you arrive on the ODBE screen, the Windows 11 reinstall process is complete.
Method 3: Reinstall Windows 11 from WinRE
This is the manual process for the clean reinstallation of Windows 11. Follow these steps on your end:
- Connect the Windows 11 bootable USB stick to your PC.
- You can follow the steps in the previous method to create a bootable USB stick.
- Now, restart the PC.
- When you see the motherboard or PC manufacturer’s logo, hit F2 or Delete, or both simultaneously.
- You should now see the UEFI or BIO menu.
- Select Boot Options or Boot Menu.
- In the Boot Drive or Boot Preferences option, select the connected USB stick.
- Press F10 and hit Enter to save the changes and restart the PC.
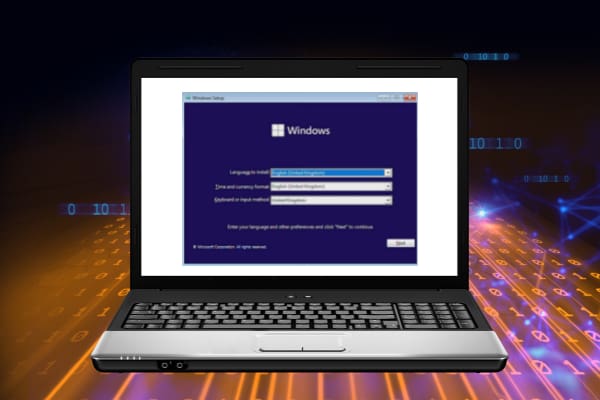
- You should see the Windows Setup wizard after the PC reboots.
- Select Language, Time, and Keyboard, as per your choice. Then click Next.
- Select Install Now.
- Choose I don’t have a product key on the next screen.
- Select the Install Custom installation option.
- Now, Windows will show you a list of drives on your PC.
- Choose the C: drive. This is the default location for Windows OS.
- Click Format to delete everything in the drive.
- Select Next to start the installation process.
- The appearance of the OOBE screen will confirm that the process was completed successfully.
Conclusion
So far, you’ve gone through three different methods to reinstall Windows 11 on your PC. Choose the method that suits your situation.
You might also want to check this out: Windows 11 22H2 Download.