You might not always give it much thought, but one of the most ubiquitous functions of a smartphone is the ability to capture a screenshot. Over time, the ways to snap these screenshots have evolved for various reasons, be it the addition or removal of physical buttons or the introduction of new software features.
The Samsung Galaxy Z Fold 5 follows this trend. Despite its expansive display and impressive design, there exist several methods for taking screenshots. Let’s delve a bit deeper into the topic and uncover the various ways to capture a screenshot on the Galaxy Z Fold 5.
Contents
Take a Screenshot on the Galaxy Z Fold 5: Using Buttons
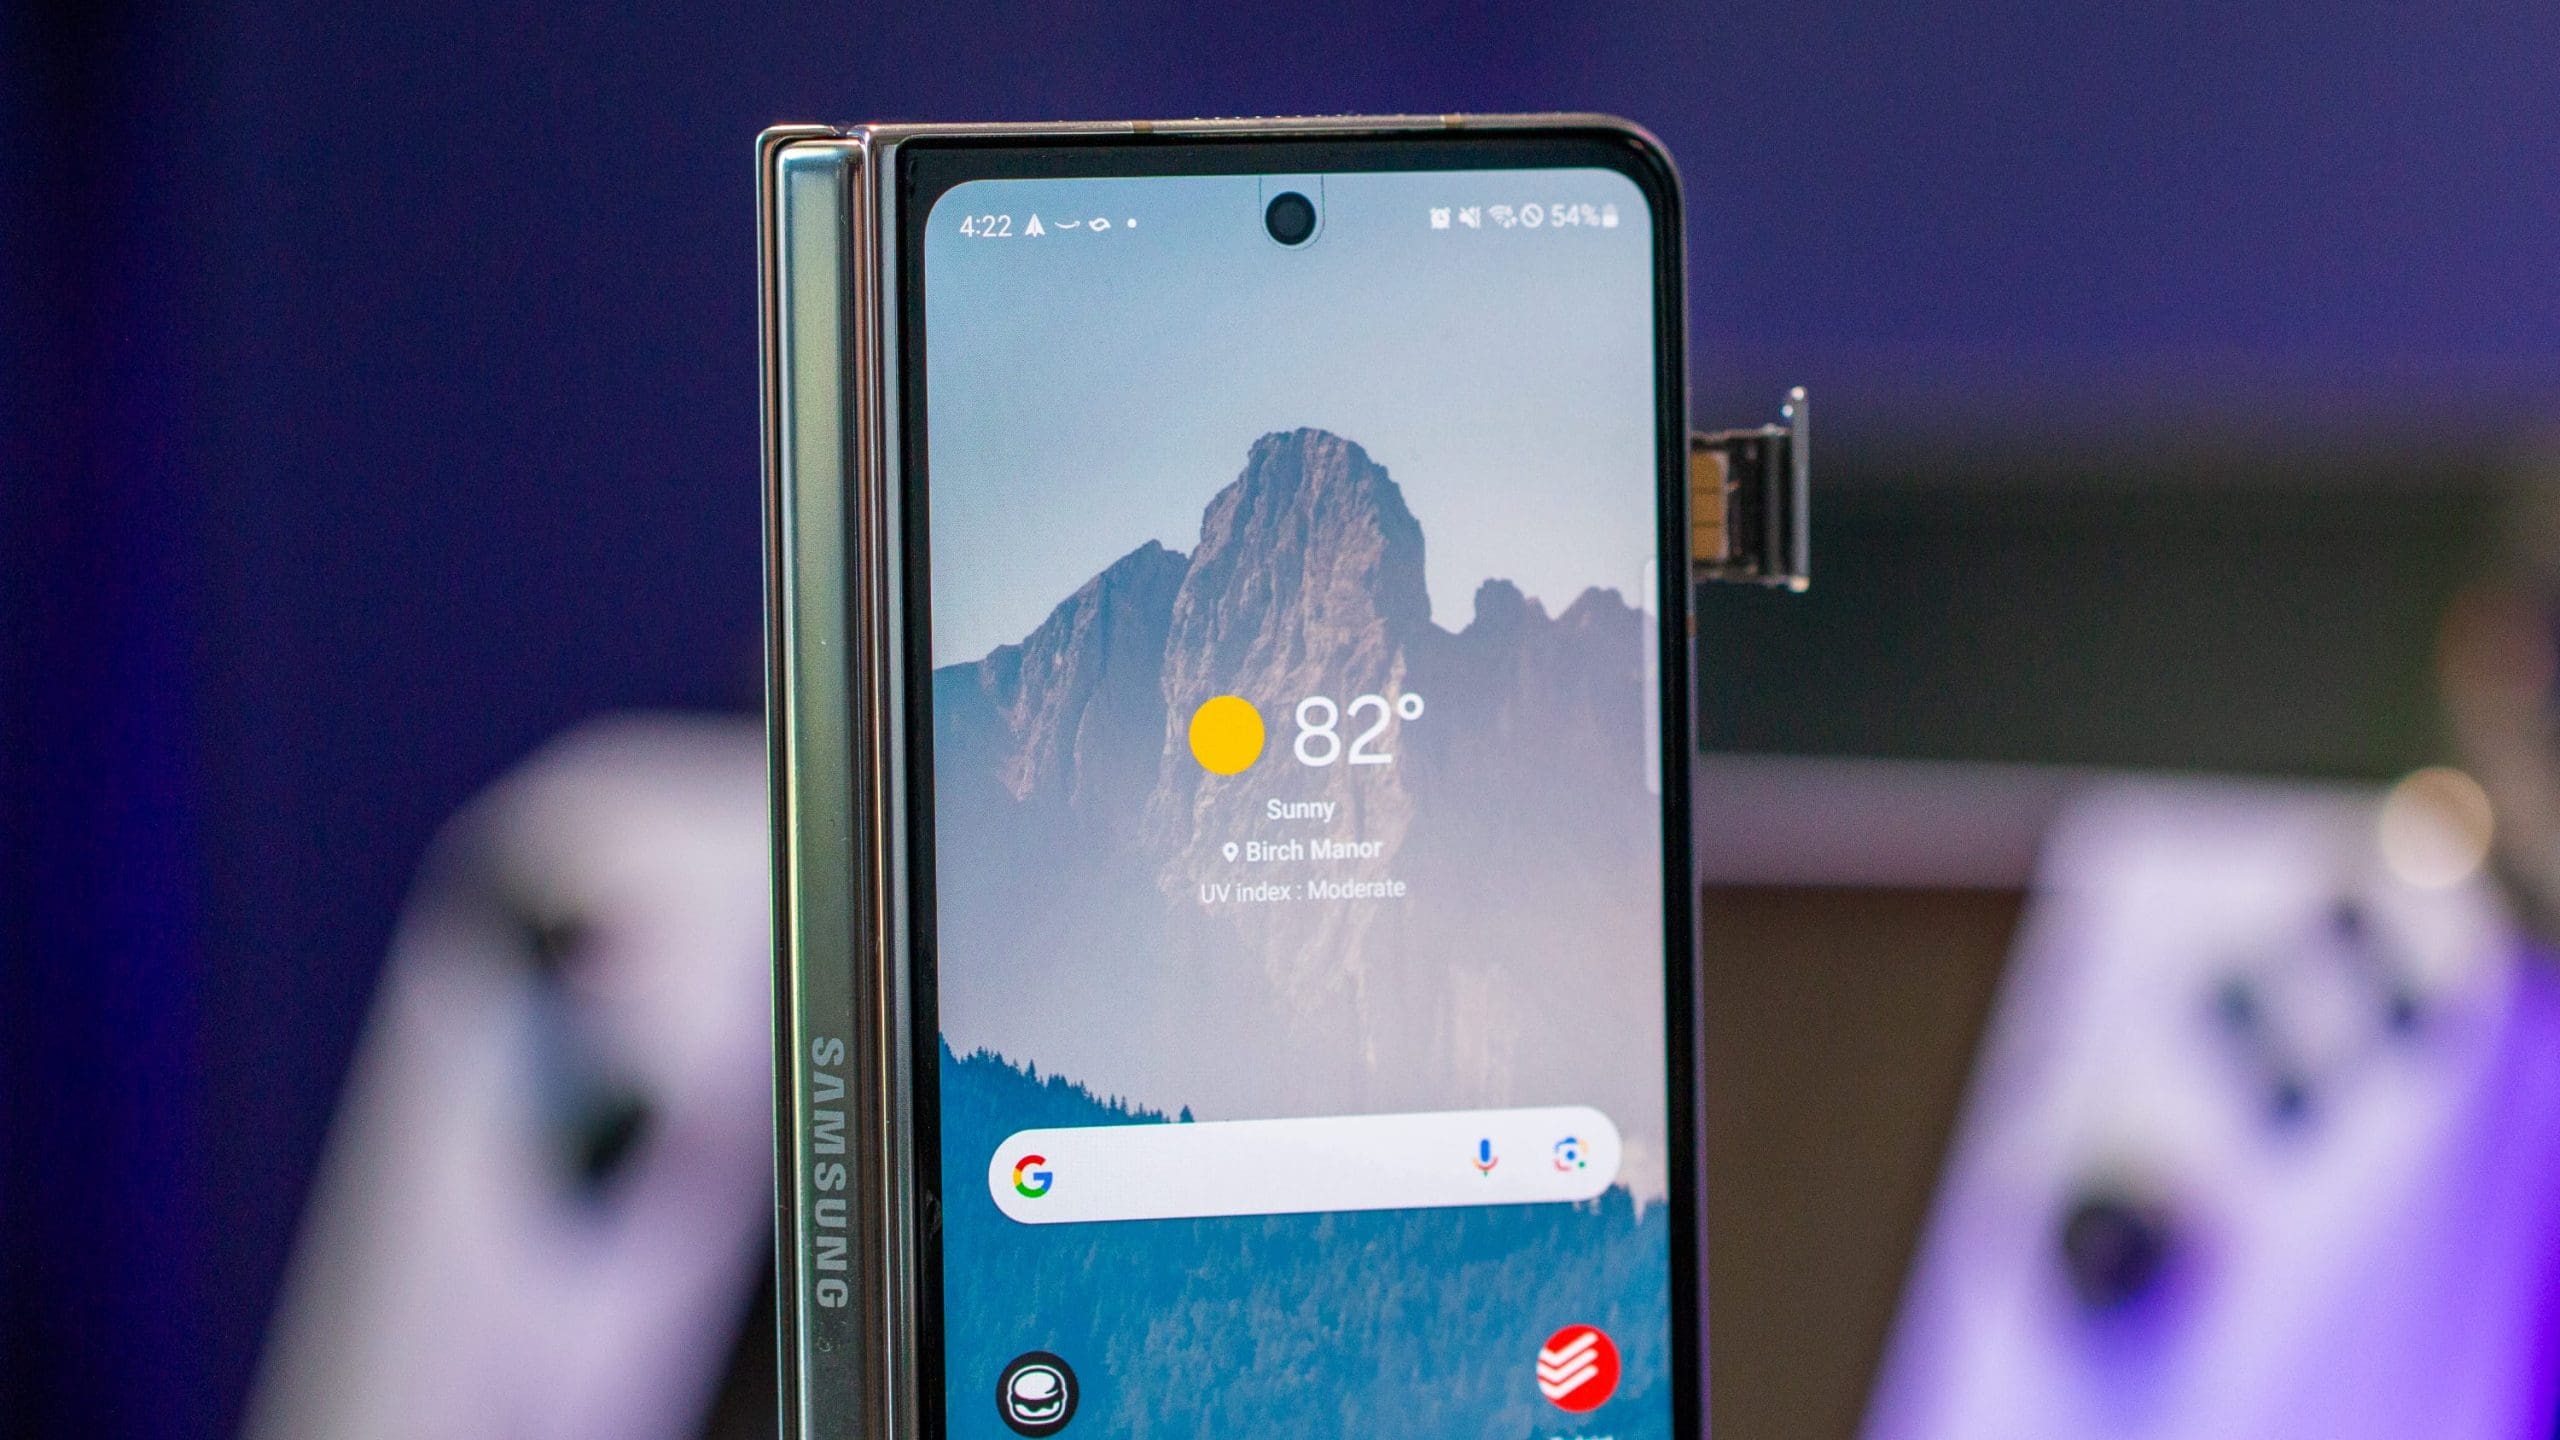
The most common method to take a screenshot on the Galaxy Z Fold 5 involves a couple of hardware buttons. Here’s how to take a screenshot:
Press the Power Button and Volume Down button at the same time.
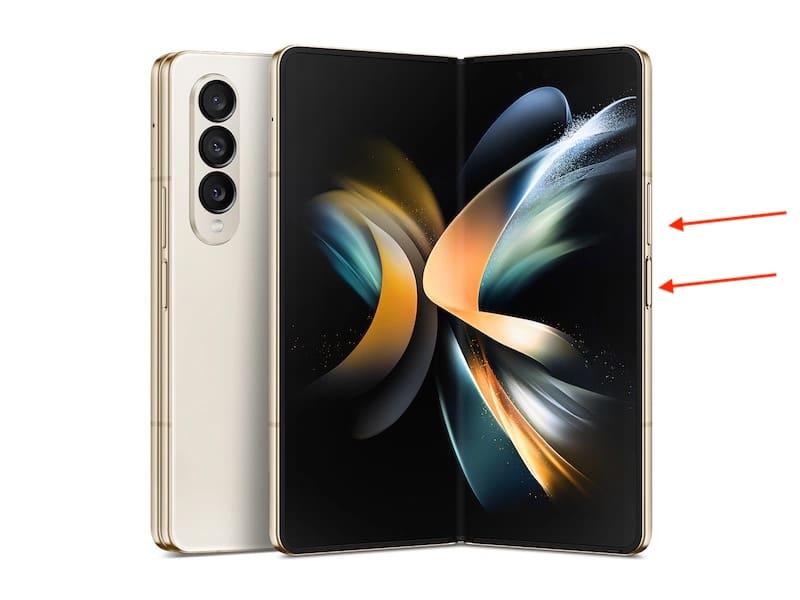
It’s important that you press these at the same time, and don’t hold either of the buttons. Holding the Power Button too long will invoke the Power off menu. Obviously, pressing and holding just the volume down button will mute the media on your device.
Take a Screenshot on the Galaxy Z Fold 5: Swipe the Screen
In a way that only Samsung can, there is another way to take a screenshot, but this way uses a swipe gesture. But this swipe gesture is not enabled by default. Instead, you’ll need to turn it on via the Settings app first.
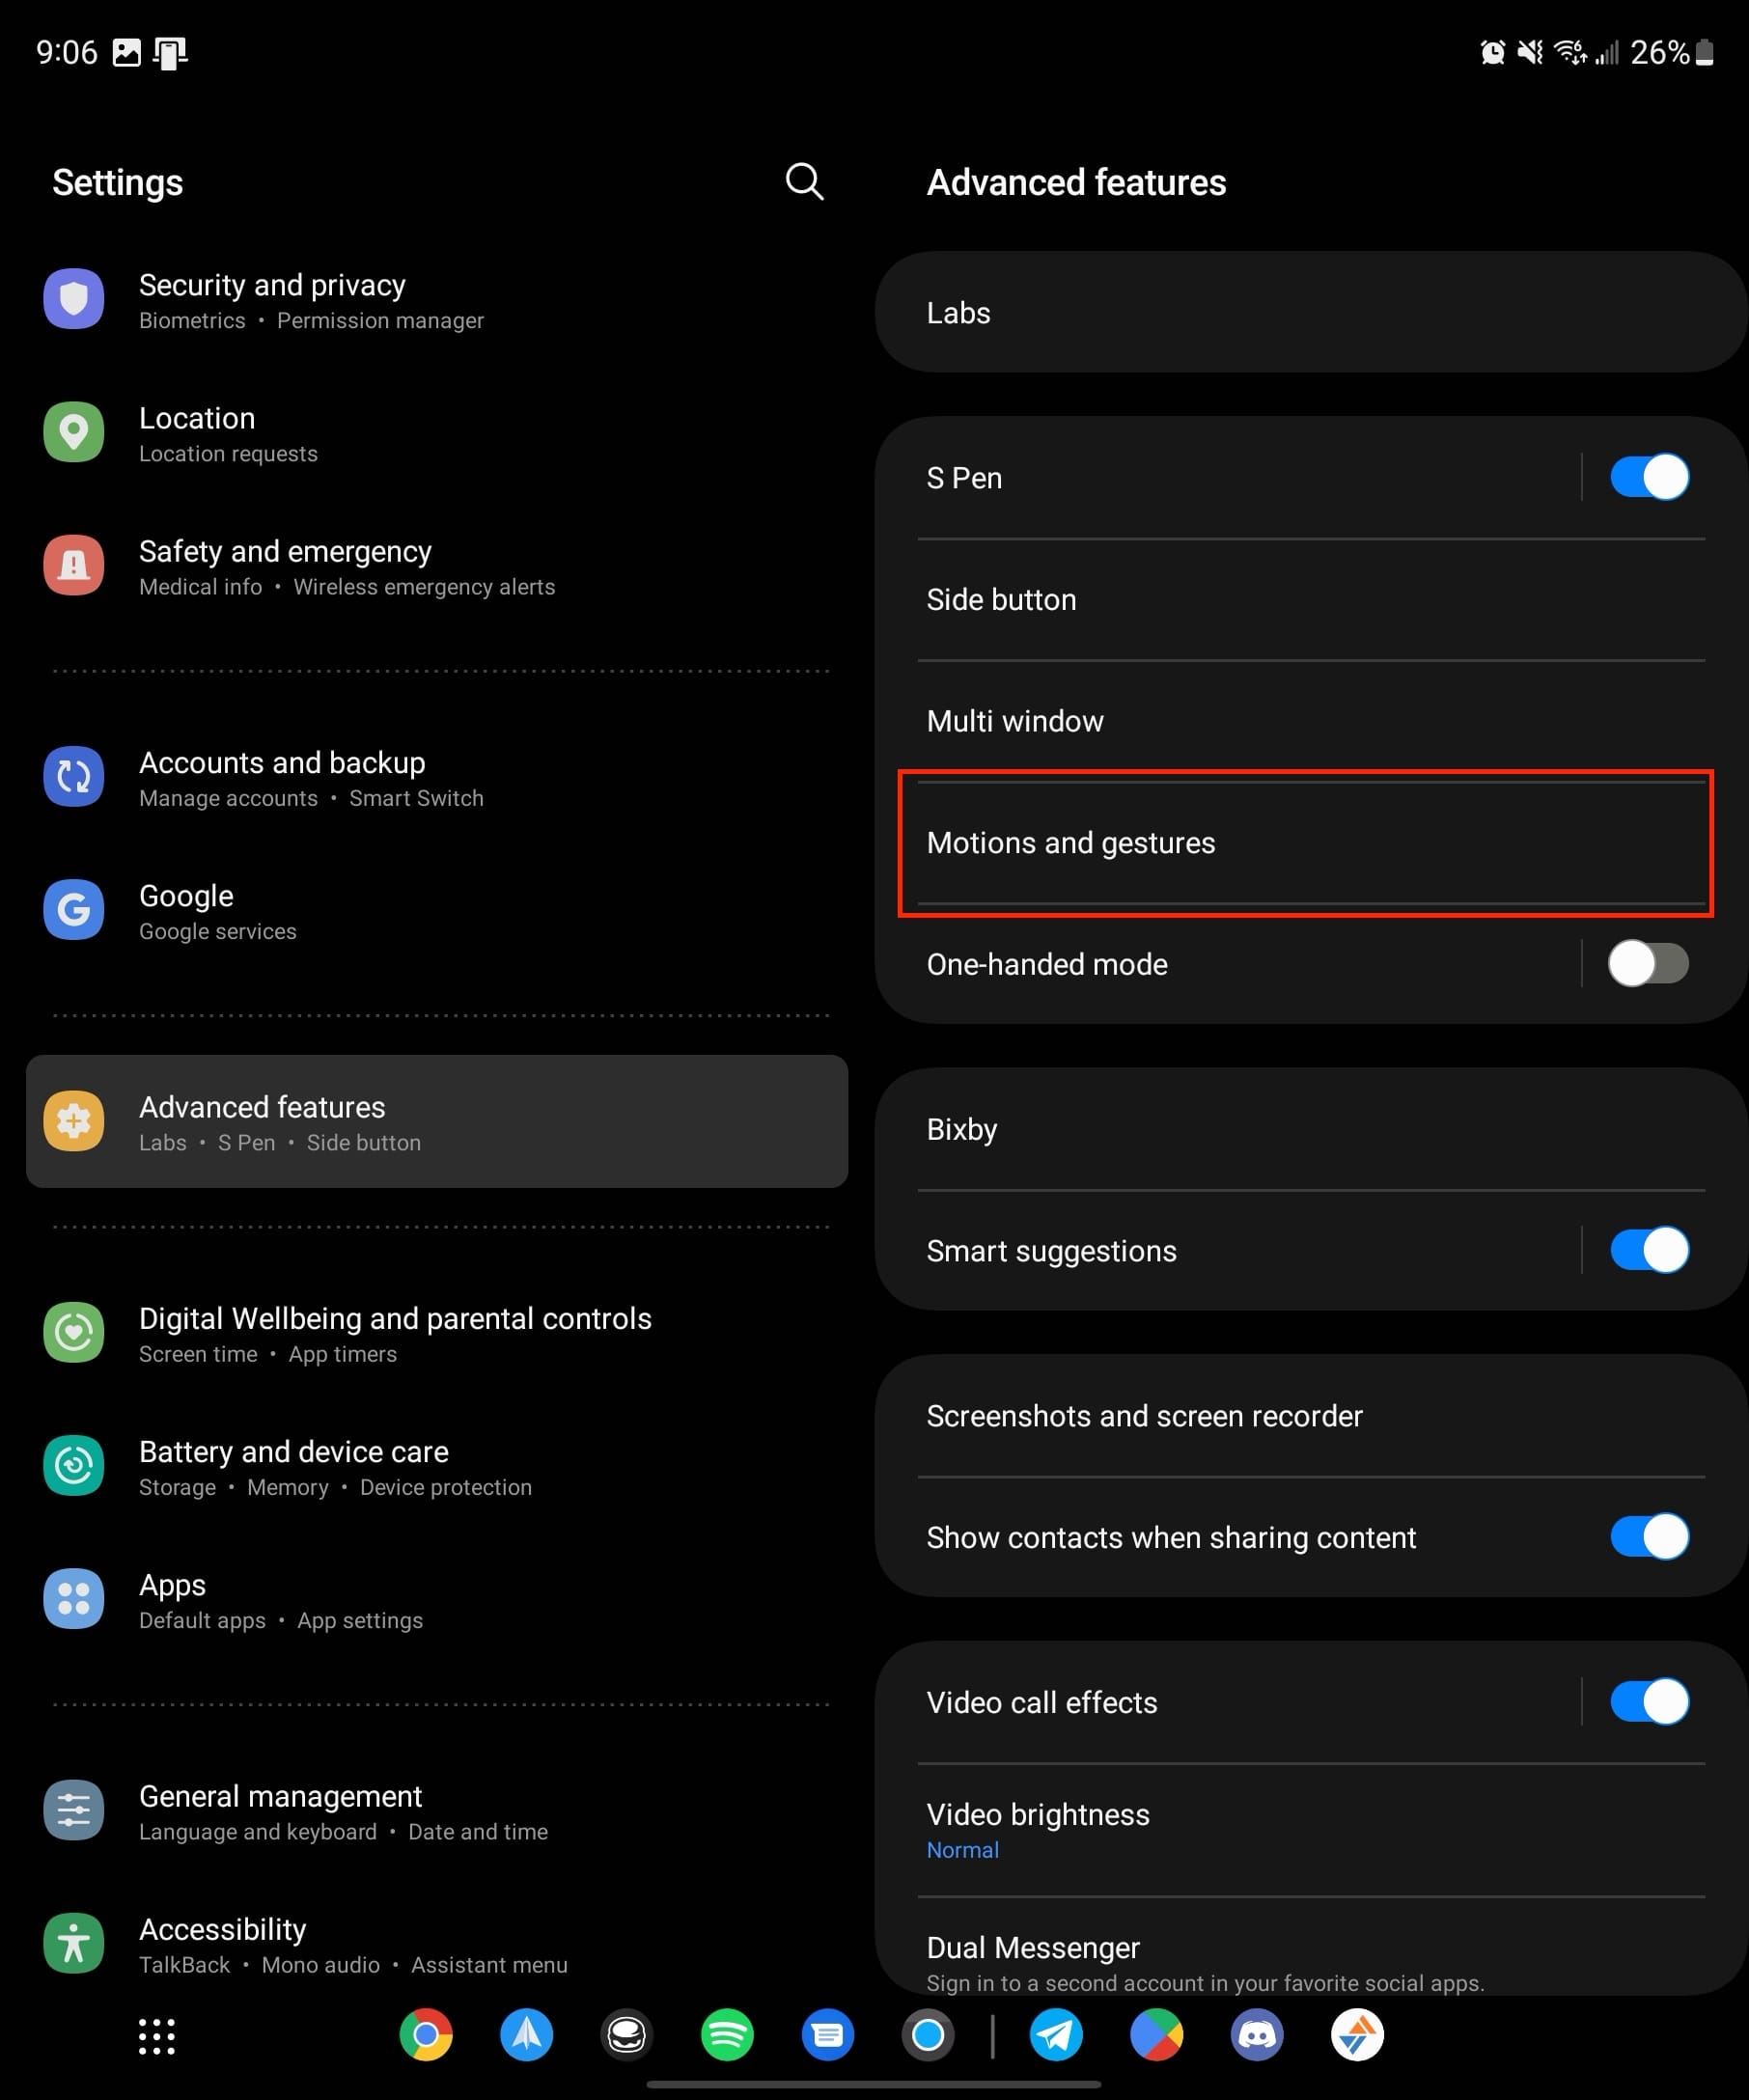
- Open the Settings app on your Galaxy Z Fold 5.
- Scroll down and tap Advanced Features.

- Tap Motions and gestures.
- Toggle Palm swipe to capture to the On position.
- Exit the Settings app.


Now, if you’re inclined to capture a screenshot using the palm gesture, the process is straightforward. Place the palm of your hand on the screen and smoothly swipe from right to left. As you do this, the screen will momentarily flash, and you’ll see the screenshot preview materialize in the lower left-hand corner. Do bear in mind that this gesture won’t work if your keyboard is currently active on the screen.
Take a Screenshot on the Galaxy Z Fold 5: Google Assistant
Google Assistant is arguably the best and most robust voice assistant. But the best part is that it’s not limited to just Google’s Pixel handsets, as Assistant is available on just about every Android device. Plus, Google has integrated a new voice command which allows Assistant to take a screenshot.
- From the bottom right-hand corner, swipe inwards towards the middle of the screen to invoke Google Assistant.
- Say “Take a screenshot”.

Google Assistant will then reply letting you know that it understood the command. Then, the display will flash, and the screenshot preview will be shown. When it comes to sharing, Google Assistant does things a bit differently. Instead of showing a toolbar at the bottom, Assistant opens the system-wide Share Sheet. This provides quick access to your contacts and most-used apps so that you can either share the screenshot, or send it to something like Drive or Dropbox.
In some cases, you might need to enable the ability to take a screenshot with Google Assistant. The option for doing so is a bit buried, but no worries, as we’ve got you covered:
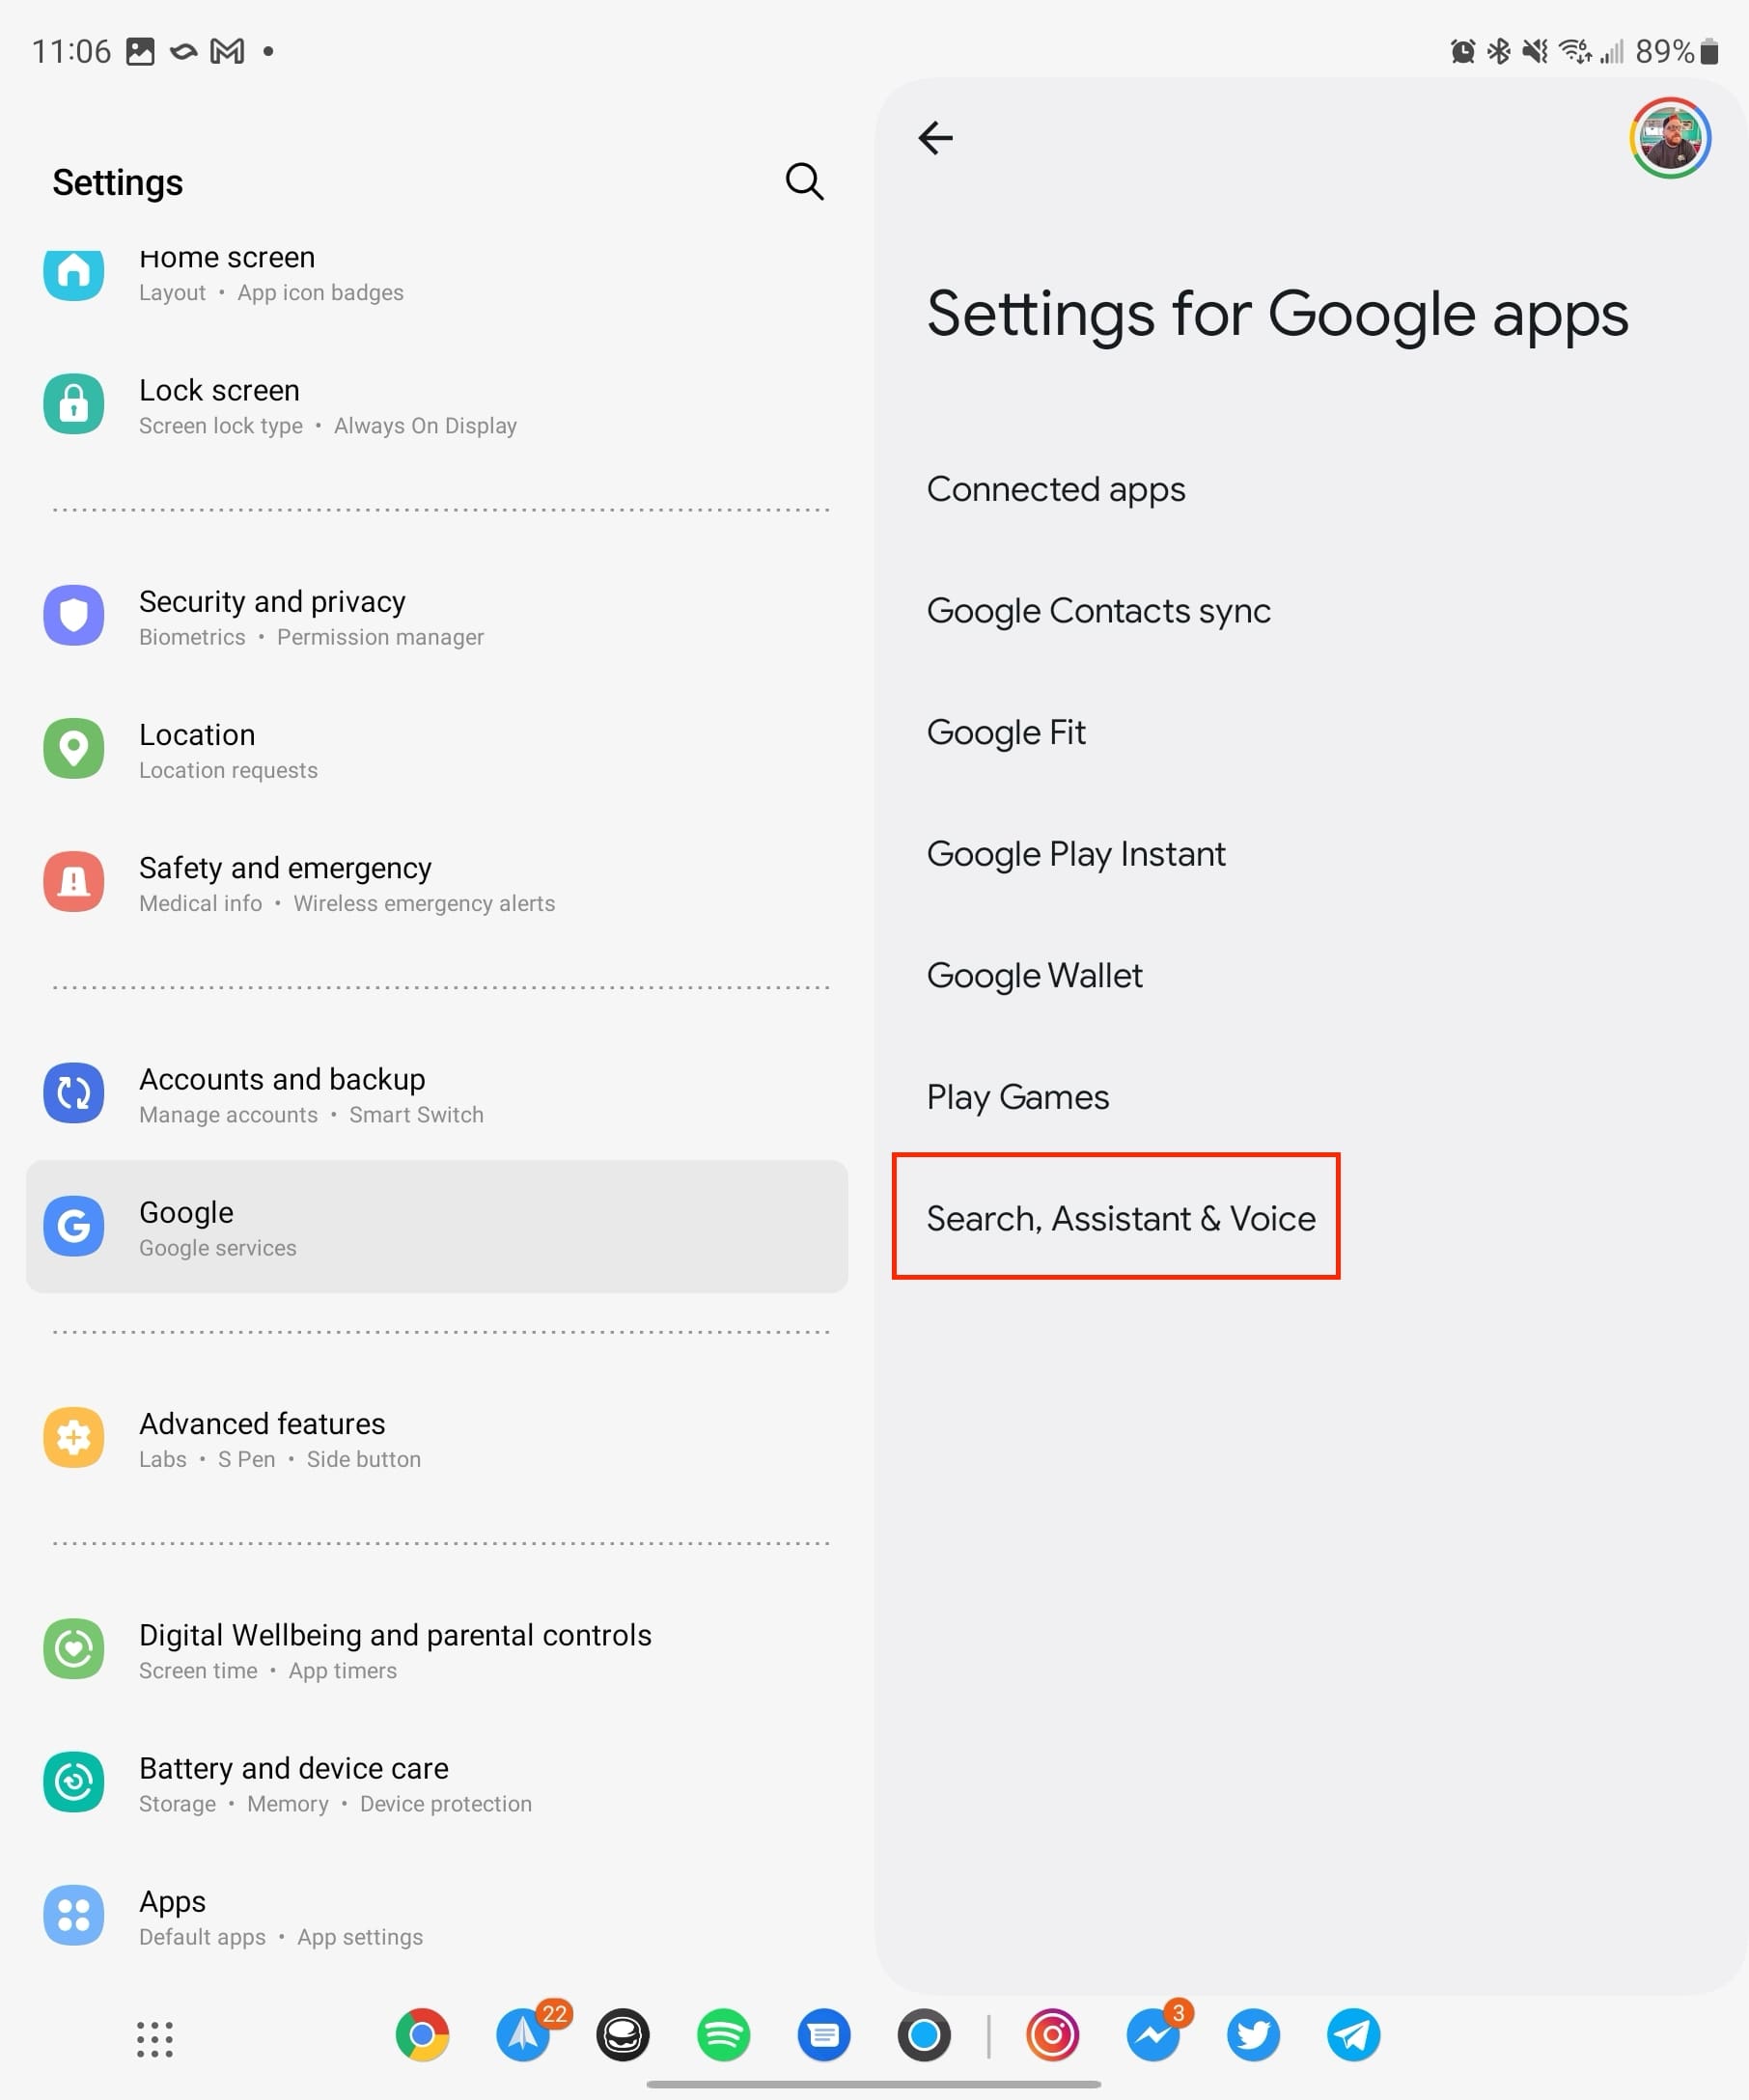
- Open the Settings app on your Galaxy Z Fold 5.
- Scroll down and tap Google.
- On the right side of the screen, tap Search, Assistant & Voice.
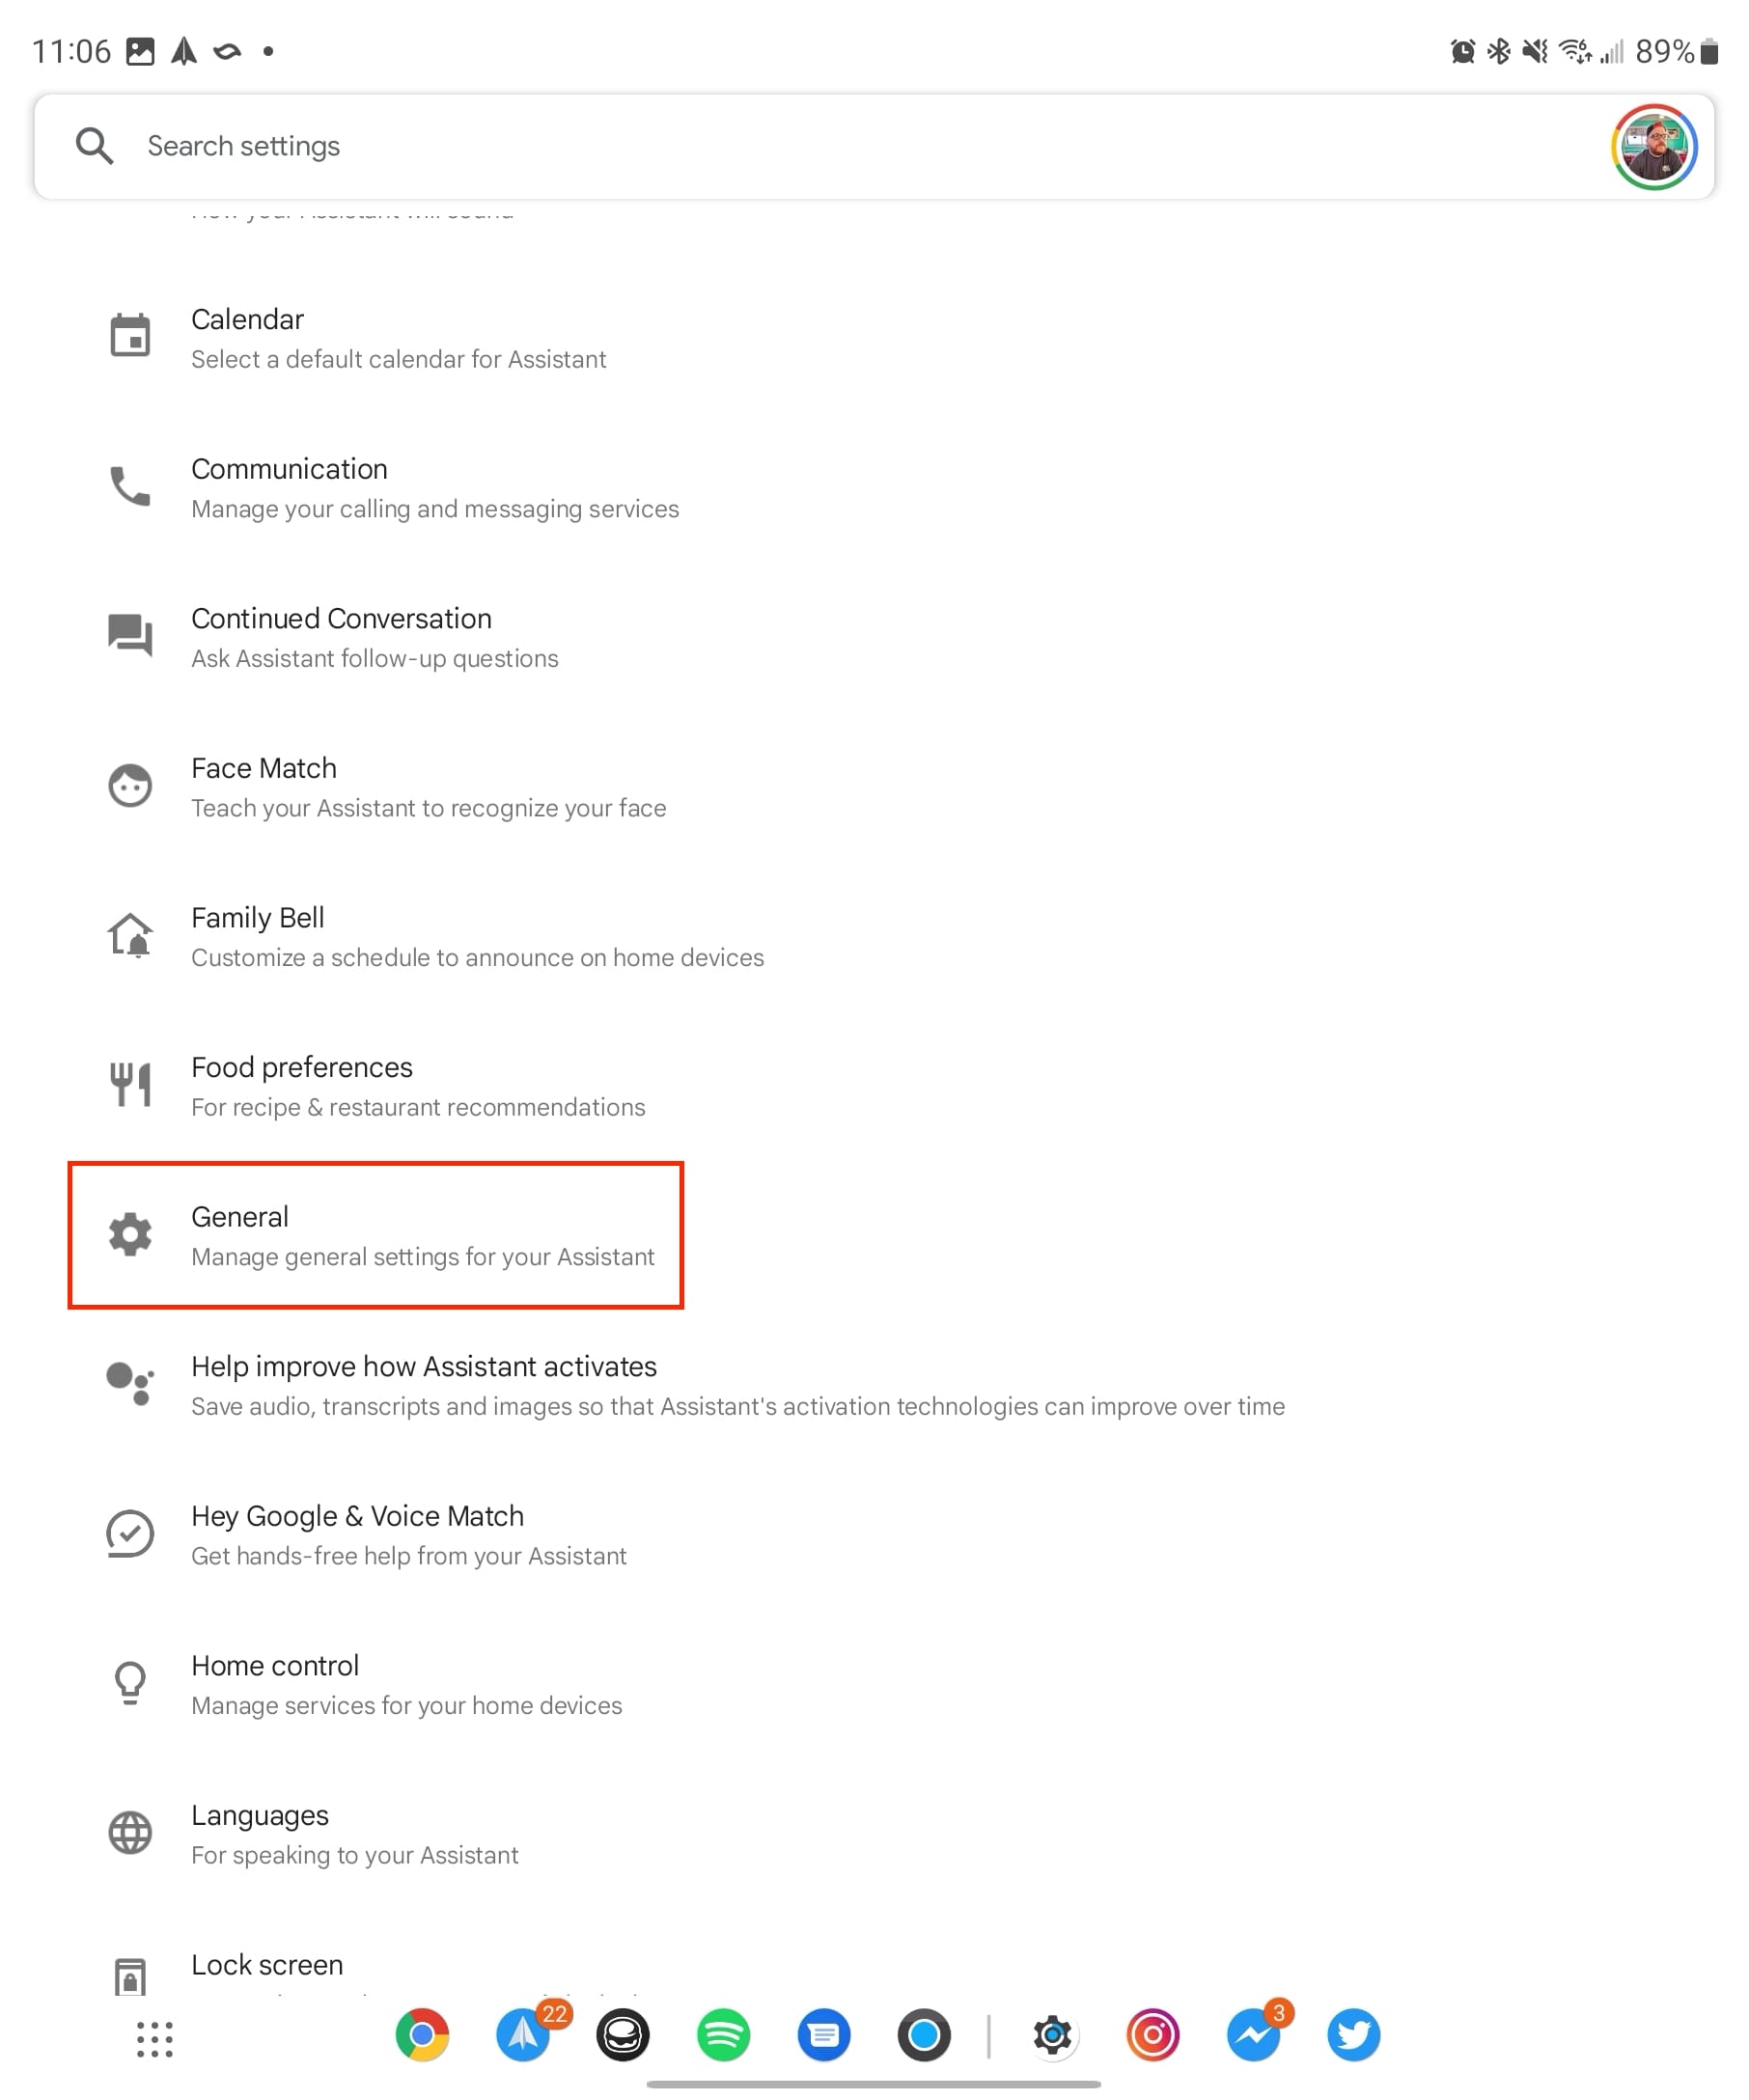
- In the left sidebar, scroll down and tap Google Assistant.
- Scroll down until and tap General under the All Settings section.
- Tap the toggle next to Use screen context to the On position.


Once enabled, you can follow the steps above to try and take a screenshot again, just to make sure that everything is working properly.
Take a Screenshot on the Galaxy Z Fold 5: Try Using Bixby
Whether you view it as an asset or a liability, Bixby represents Samsung’s take on a personal voice assistant. Regrettably, Bixby often falls short when compared to the capabilities of Amazon Alexa, not to mention Google Assistant. Nevertheless, Samsung remains committed to enhancing Bixby, striving to make it a more user-friendly conduit for interacting with your devices.
Before you dive into the process, you’ll need to get Bixby set up. To do this, launch the Bixby app and follow the on-screen instructions provided.
After setting up Bixby, here’s how you can take a screenshot.
- Unlock your Galaxy Z Fold 5.
- Say “Hi, Bixby”, or search for and open the Bixby app within your App Drawer.
- Wait for the Bixby overlay to appear with the icon at the top.
- Say “Take a screenshot”.

There’s another method that you can use in order to invoke Bixby to have it take a screenshot. In the Bixby Settings, there are multiple options to invoke Bixby without using your voice:
-
Double press the Side (Power) button.
-
Press and hold the Side (Power) button.
Either of these will work just fine, as you will see the overlay appear on your screen. Once the Bixby logo appears at the top, just say your command and the screenshot will be taken.
Then, you can use the pop-up toolbar to share, edit or save your screenshot.
Conclusion
In conclusion, the art of capturing screenshots on the Galaxy Z Fold 5 unveils a range of convenient methods that cater to different preferences and scenarios. From the classic button combination to the innovative palm gesture, and even the advanced S Pen functionality, you now possess a versatile toolkit to effortlessly capture and share what’s on your screen.
This feature-rich device continues to exemplify Samsung’s commitment to user-friendly experiences, allowing you to seamlessly integrate screenshots into your daily interactions. So, whether you’re preserving memorable moments, sharing important information, or troubleshooting technical matters, the Galaxy Z Fold 5’s screenshot capabilities empower you to capture your digital world with ease.