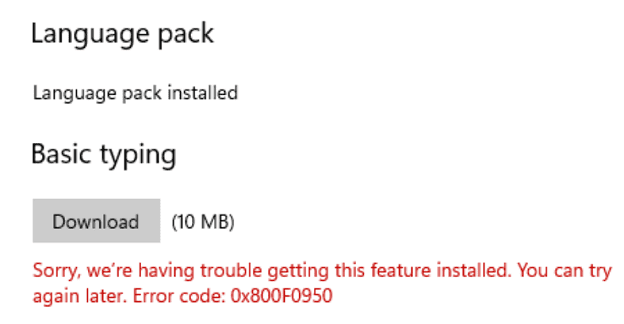
Did you try to run the Find and fix bluescreen problems troubleshooter on Windows 11 or 10 and see the error “Windows Online Troubleshooting Service is Disabled (WOTS)?” This Windows Troubleshooter app issue is becoming prevalent for many users including you, and here’s how to fix this WOTS fault.
For many software and app issues, you may try to reach out to the respective help center and keep waiting on chat, calls, or emails. Thank’s to Microsoft that you don’t need to face this with the Microsoft Windows 11 or 10 operating system issues.
Microsoft has included a robust troubleshooter in these latest Windows OSs so that users like you can fix problems themselves.
One such troubleshooting module in Windows OS is the Find and fix bluescreen problems troubleshooter. But it may not work flawlessly unless you make some changes or tweak your Windows 11 or 10 PC. Read on to learn the methods to fix the WOTS error.
Contents
- 1 Best Fixes for Windows Online Troubleshooting Service Is Disabled
- 1.1 1. Enable Scripted Diagnostics from Group Policy Editor
- 1.2 2. Modify the Software Publishing Registry Entry
- 1.3 3. Perform a Clean Boot on Windows 11/10
- 1.4 4. Check Windows Activation
- 1.5 5. Update Windows
- 1.6 6. Disable Windows Security Temporarily
- 1.7 7. Deactivate Microsoft Defender Firewall
- 1.8 8. Deploy the System File Checker Tool
- 1.9 9. Run Essential Windows Services
- 2 Alternative to Windows Online Troubleshooting Service
- 3 Conclusion
Best Fixes for Windows Online Troubleshooting Service Is Disabled
1. Enable Scripted Diagnostics from Group Policy Editor
The primary reason for WOTS not working is Scripted Diagnostics in a disabled state. You need to activate it from the Local Group Policy Editor app by following these steps:
- Hit Windows + R on the keyboard to call the Run command.
- Now, enter the following syntax in the Run window:
gpedit.msc
- Hit Enter.
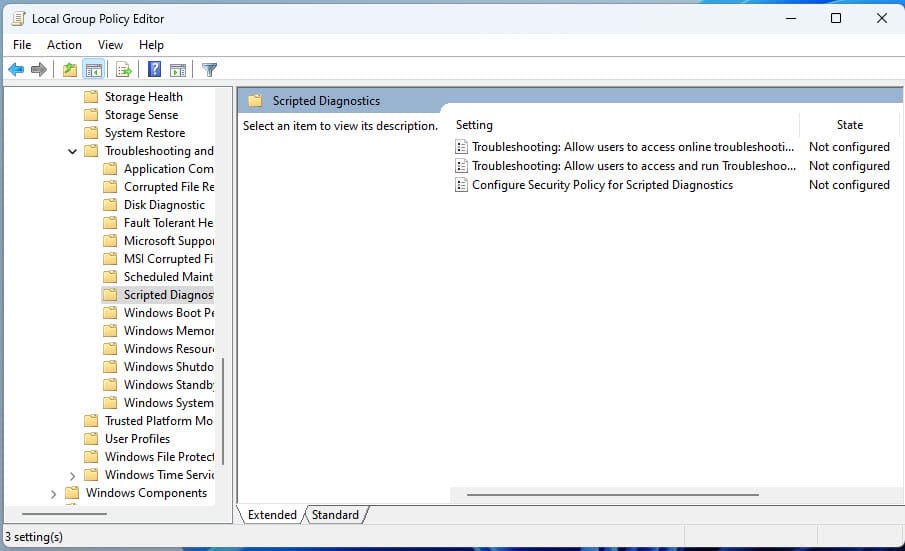
- Now follow the destination below to arrive on the Scripted Diagnostics page:
Computer Configuration > Administrative Templates
System > Troubleshooting and Diagnostics
Troubleshooting > Scripted Diagnostics
- Now, you should see three entries.
- Double-click the first one and select Enabled.

- Now, click Apply and then select OK.
- Follow the same steps for the other two entries.
Now, reboot the PC, and WOTS should work without any issues.
2. Modify the Software Publishing Registry Entry
In this method, you must edit the Software Publishing registry entry to fix the WOTS error. You may try the following step-by-step instructions. Don’t forget to back up the Registry Editor before making the following changes.
- Press Windows + R together to open the Run command.
- Now type in the below-mentioned code and hit Enter:
regedit
- Copy the following Registry address and paste it on the Registry Editor address bar:
Computer\HKEY_CURRENT_USER\Software\Microsoft\Windows\CurrentVersion\WinTrust\Trust Providers\Software Publishing
- Hit Enter.
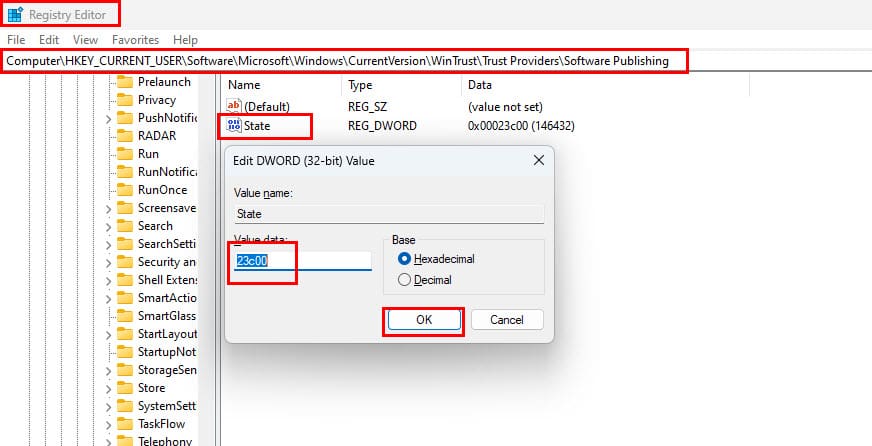
- Double-click the State file on the right-side menu and enter the following code:
23c00
- Click OK to save the changes.
Now, try to open Find and fix bluescreen problems and see if WOTS works or not.
If you see the 23c00 code already in the State file, you can close the Registry Editor app without changing anything else.
3. Perform a Clean Boot on Windows 11/10
To rule out that none of the third-party apps aren’t preventing WOTS from functioning properly, you need to try these steps:
- Hit Windows + R and type the following syntax and hit Enter:
msconfig
- Now, click the Services tab on the System Configuration dialog box.
- Checkmark the Hide all Microsoft Services checkbox.
- Click Disable All button.
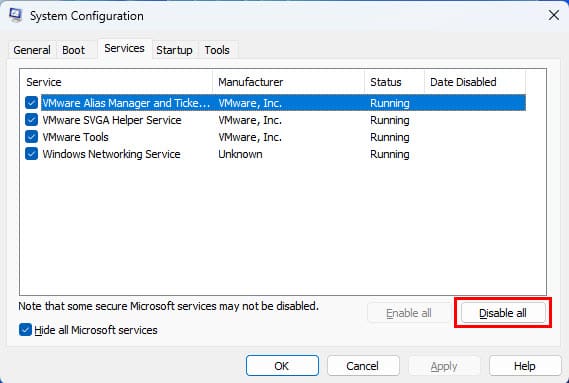
- Select Apply and then click OK.
- Now, click on the Startup tab and choose Open Task Manager.
- Right-click on the third-party Startup apps and click Disable.
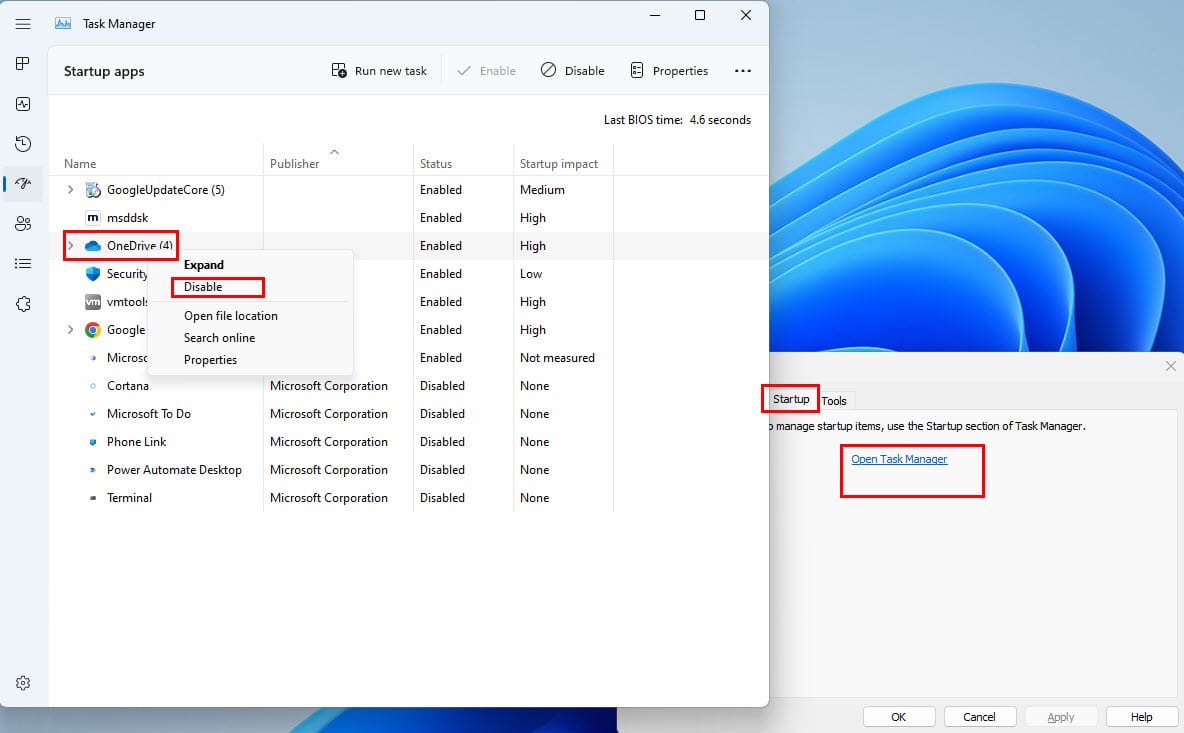
- Click OK to close the System Configuration window.
- Reboot the PC to access the clean boot environment and check for the WOTS status.
4. Check Windows Activation
All internet-based delivery of Windows debugging services is only available to genuine Windows OS users. Because, Microsoft Servers will push over-the-air security patches, updates, and troubleshooting services exclusively to registered and activated Windows 10 or 11 editions.
Hence, you must check if your edition of Windows is activated or not. Here’s how you can confirm this:
- Hit Windows + I on your keyboard.
- You should see the System window.
- On the right-side menu, look at the bottom, and you must see Activation.

- Click Activation.
- See if the status of the Activation state shows Active.
If it doesn’t say Active, you need to visit Microsoft Store to get a valid Windows 10 or Windows 11 Activation Key. Here’s how it’s done:
- On Settings > System > Activation, you should see the Go to Store hyperlink.
- Click that to visit the appropriate Microsoft Store to buy a Windows Activation Key.
You’ll only see the Go to Store hyperlink if you’re using an unregistered version of Windows 11 or 10 OS.
Alternatively, you can check out these Amazon listings to get a genuine copy of Windows 10 or 11 along with the necessary activation keys. When you buy from Amazon, you get a Windows OS installation USB stick that you can use anytime to repair your Windows installation safely.
If you’re stuck on whether you want Windows 11 Home or Pro, check out this article before buying: Difference Between Windows 11 Home and Pro.
5. Update Windows
When you’re running a dated version of Windows 10/11 or you’re not applying the pending security patches, there’s a high chance of the occurrence of the WOTS error. You should check for updates.
Hence, to resolve the issue, update your edition of Windows immediately. Here’s how you can update your Windows PC:
- Simply search for Windows Update on the Windows Search tool.
- Click the Windows Update Settings option under the Settings section in the search result.

- Click Check for Update.
- Hit the Download and install button should you see any pending updates.
6. Disable Windows Security Temporarily
Windows Security may prevent the WOTS protocol to run properly. Thus, you need to deactivate Windows Security briefly and test WOTS error status. Here’s how it’s done:
- Press Windows + I to open the Windows Settings System screen.
- On the left-side panel, click Privacy & security.
- Now, select Windows Security from the top.

- Go to the Virus & threat protection menu, select Manage settings, and toggle off Real-time protection.
- Try to run the troubleshooter that shows the WOTS error and see if the issue is fixed or not.
- Reactivate Real-time protection once testing is done.
7. Deactivate Microsoft Defender Firewall
Since the WOTS app uses the internet to deliver troubleshooting instructions or content right into the Windows OS, hence, Microsoft Defender Firewall plays a key role here. Due to any system issues, Microsoft Defender Firewall may block the troubleshooter.
Briefly disable the Microsoft Defender Firewall service for a minute or so and quickly check if WOTS error is surfacing again or not. If the problem gets fixed after disabling the Microsoft Defender Firewall app, then you can perform the troubleshooting quickly and then activate the firewall again. Here’s what you need to do:
- Type Firewall on Windows Search and click the Firewall & network protection app.

- Now, click Domain network and toggle off Microsoft Defender Firewall.
- Follow this for Private network and Public network features too.
- Now, check for WOTS error.
- Once your work is complete, toggle on all the above three firewalls that you deactivated.
8. Deploy the System File Checker Tool
System File Checker looks for system file corruption on Windows OS and fixes those so that Windows apps like WOTS and other troubleshooters can work flawlessly. Here’s how you can execute the SFC command:
- Search for Command Prompt on Windows Search.
- On the search result, click Run as administrator.

- Now, simply copy and paste the following syntax in Run:
sfc/scannow
- Give the Command Prompt some time as it scans and fixes file system errors.

Now, reboot your Windows PC and check if you’re still getting the “Windows Online Troubleshooting Service Is Disabled” error or not.
9. Run Essential Windows Services
The following Windows Services must run on your Windows PC if you want the WOTS app to function:
- Background Intelligent Transfer Service
- Cryptographic Services
- Delivery Optimization
- Diagnostic Execution Service
- Diagnostic Policy Service
- Diagnostic Service Host
- Diagnostic System Host
- Windows Management Instrumentation
- Windows Modules Installer
- Windows Time
Here’s how you can ensure that the above services are up and running:
- Go to the Services app by looking it up on Windows Search.
- Click the Name tab on the top of the app to sort the services according to their names.
- Now, check if all the above services show the status as Running.
- If any one of the above shows Stop or Delayed Start, double-click the service.
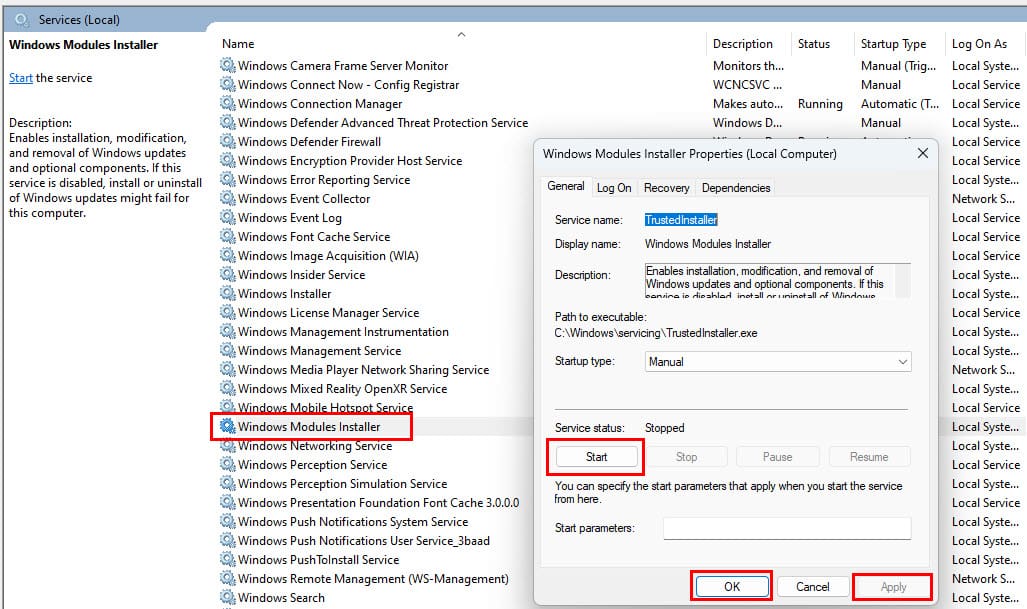
- Click Run and then select Apply.
- Click OK to save the changes.
Alternative to Windows Online Troubleshooting Service
If none of the above methods works, you can access the web version of WOTS on the Microsoft Support website.
For bluescreen issues, you can access the Troubleshoot blue screen errors portal. Scroll down a bit, and you must see Step 1. That’s the beginning of online troubleshooting.
Conclusion
So far, you’ve explored several methods to fix the “Windows Online Troubleshooting Service Is Disabled” problem on Windows 11 or Windows 10 PCs.
Any of the above methods may resolve the issue so check if the Find and fix bluescreen problems troubleshooter responds or not. Alternatively, you can try any other Windows Troubleshooter that may not be working and showing the WOTS error.
If I missed any method that you know works, don’t hesitate to mention that in the comment box so that others who’re facing the issue can benefit from your tips.
Next up, Windows 11 22H2 download helps you to get the most stable Windows 11 OS so far.