Embarking on the journey with a brand-new Android smartphone is exciting, thrilling, and a tad bit intimidating. The latest Android OS is packed with powerful features, and your new smartphone probably has a slick design and robust hardware. It’s everything an Android fan could dream of – and possibly more.
However, getting started with your new device may have its challenges, especially if you are transitioning from an older model or a different operating system. Fortunately, we have compiled a comprehensive step-by-step guide to help you set up your new Android smartphone.
Contents
Start with the Basics: Initial Setup
When you first turn on your Android device, it will prompt you to go through the initial setup. You will likely need to select your language, sign in to your Google account, or create one if you don’t already have one. A Google account is essential for using Android’s Google Play Store and other services.
Moving Data from Your Old Phone

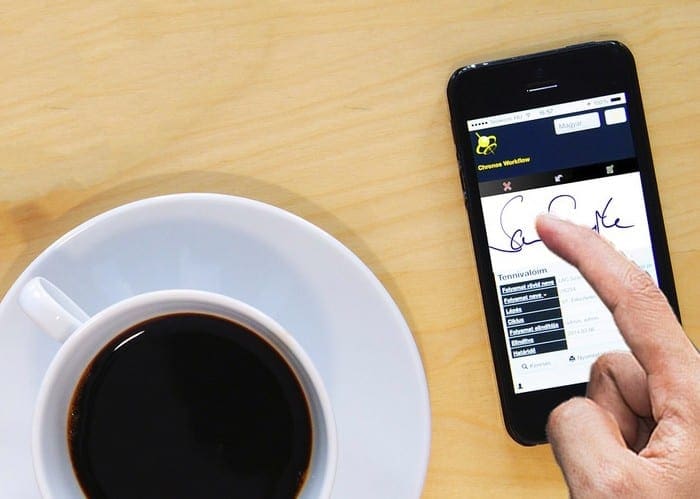
One of the most crucial steps in setting up your new Android phone is transferring your data from your old device. Android has an in-built feature called Google’s Tap & Go, which uses NFC to transfer your data. All you need to do is place your old phone back-to-back with the new one, and the data will transfer automatically.
If you’re moving from an iOS device, you can use the Drive app to back up your data on your iPhone and then restore it on your new Android device. Remember, this process might take some time, so ensure your devices are charged or connected to a charger.
Personalizing Your Device
![]()
Android is all about customization. Explore the settings on your new Android phone to personalize it to your liking. Change the wallpaper, tweak the home screen layout, and arrange your apps.
Go into the settings and adjust your display’s brightness, set up your Do Not Disturb preferences, and configure your device’s sound and vibration settings. Don’t forget to set up your lock screen security with a pattern, PIN, password, or fingerprint.
Apps & Accounts
After personalizing your phone, it’s time to download your favorite apps. Head to the Google Play Store and start downloading. Remember, you need to sign in to each of these apps, particularly if they hold sensitive data such as emails, messages, or financial information.
Be sure to set up your email accounts, too. You can add multiple email accounts from different providers and manage them all from your device. If you’re a social media enthusiast, now is the time to install and log into your social media apps.
Battery Life: Make it Last
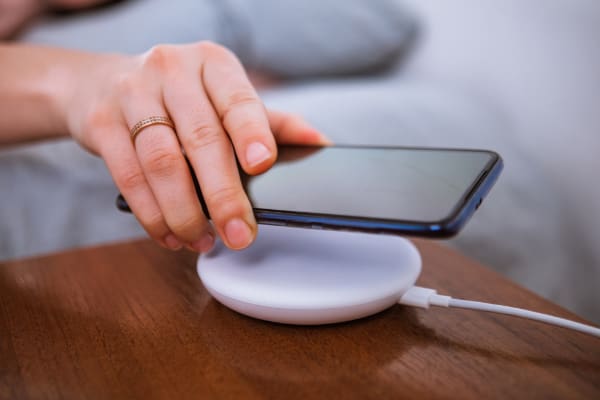
Modern Android smartphones come with powerful batteries and efficient charging features. However, your usage patterns significantly influence how long the battery lasts. Explore the settings to customize your phone’s power-saving modes, and consider adjusting screen brightness and timeout settings to extend your battery life.
Set Up Find My Device
Google’s treasure trove of features for Android users is extensive, and one gem that stands out is the “Find My Device” function. This tool is designed as a lifeline when your smartphone takes an unexpected hiatus – lost or stolen. It’s capable of sending out an SOS in the form of a ring, helping you locate the device, or even wiping your phone data to prevent any misuse.
Despite its practicality and importance, however, “Find My Device” does come with a few prerequisites. There are certain conditions that your Android device must fulfill to allow Google’s “Find My Device” to work its magic. To ensure that “Find My Device” can come to your rescue when needed, your device must:
- Be turned on.
- Be signed in to a Google Account.
- Be connected to mobile data or Wi-Fi.
- Be visible on Google Play.
- Have Location turned on.
- Have Find My Device turned on.
Taking these prerequisites into account is crucial for making full use of this invaluable feature. And, should you ever find yourself in a situation where your device goes missing, you’ll be thankful for having everything in place for “Find My Device” to assist you.
Surprisingly, this is one of those features within Android that is not enabled by default. However, Google and other smartphone manufacturers have made it really easy to enable Find My Device. Here are the steps you’ll need to take:
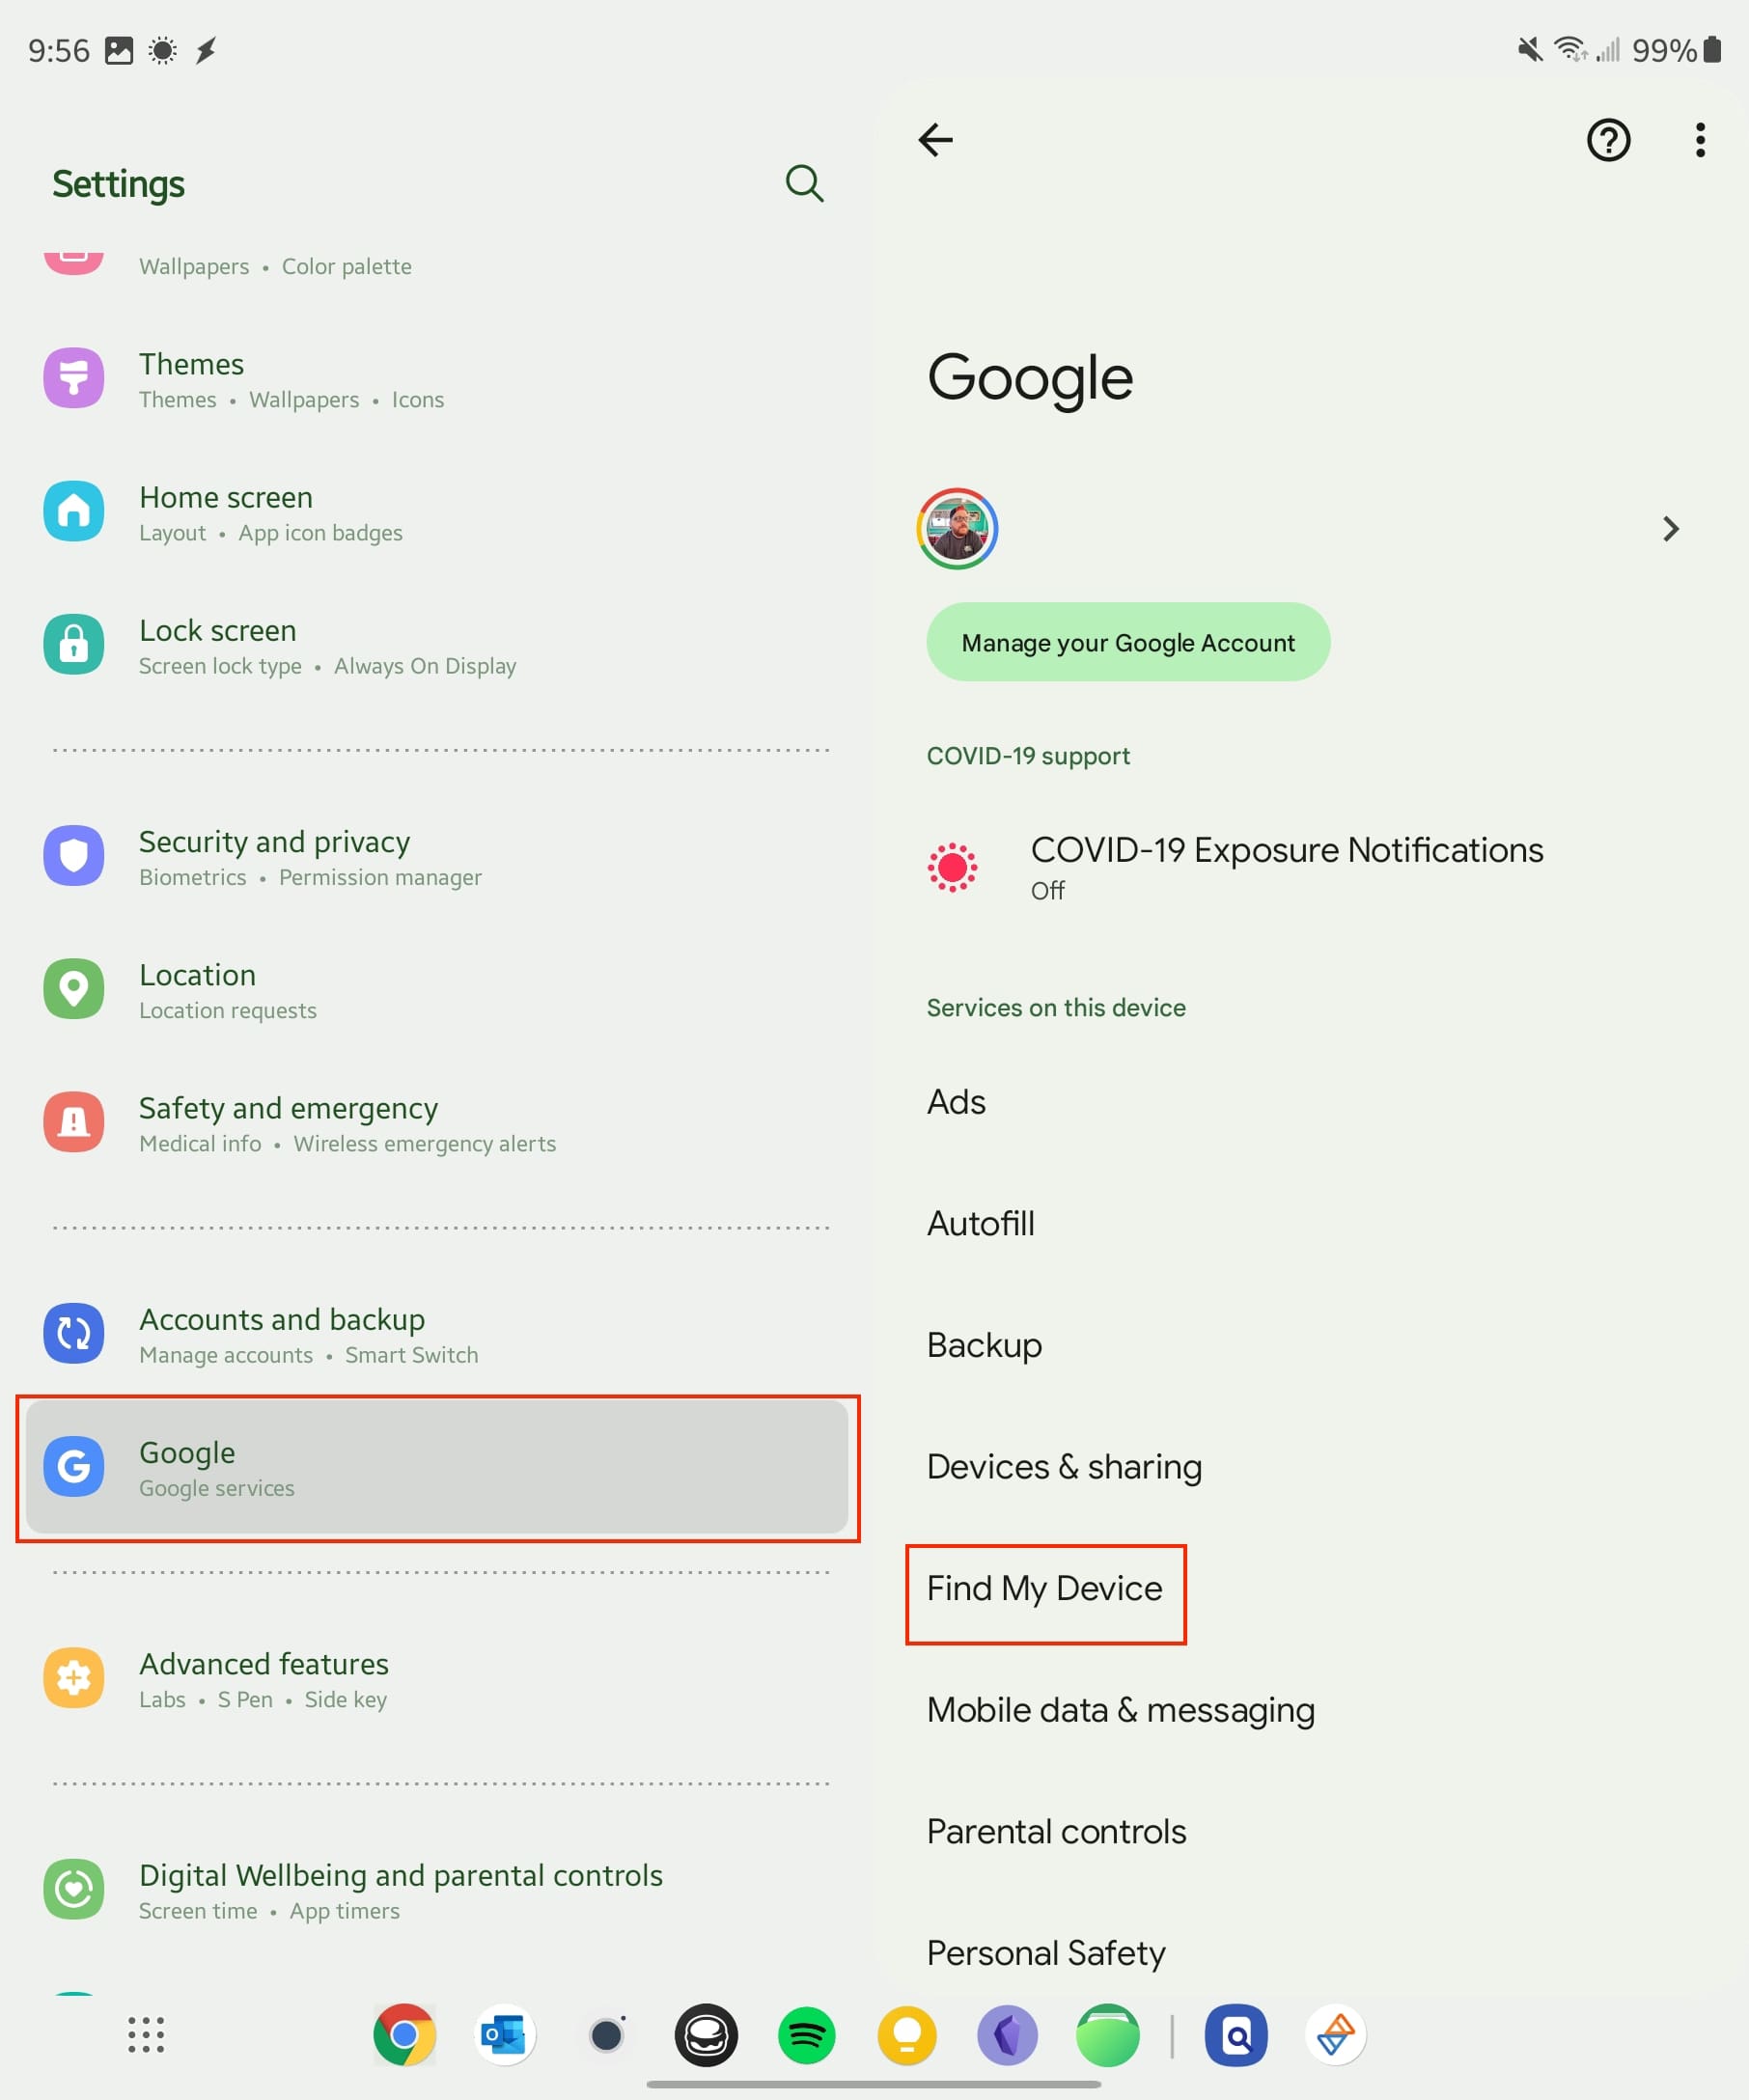
- Open your device’s Settings app.
- Tap on Security & Location (on some devices, you might need to go to Google > Security).

- Tap on Find My Device. You may need to enter your screen lock to go to these settings.
- Ensure Find My Device is turned on.
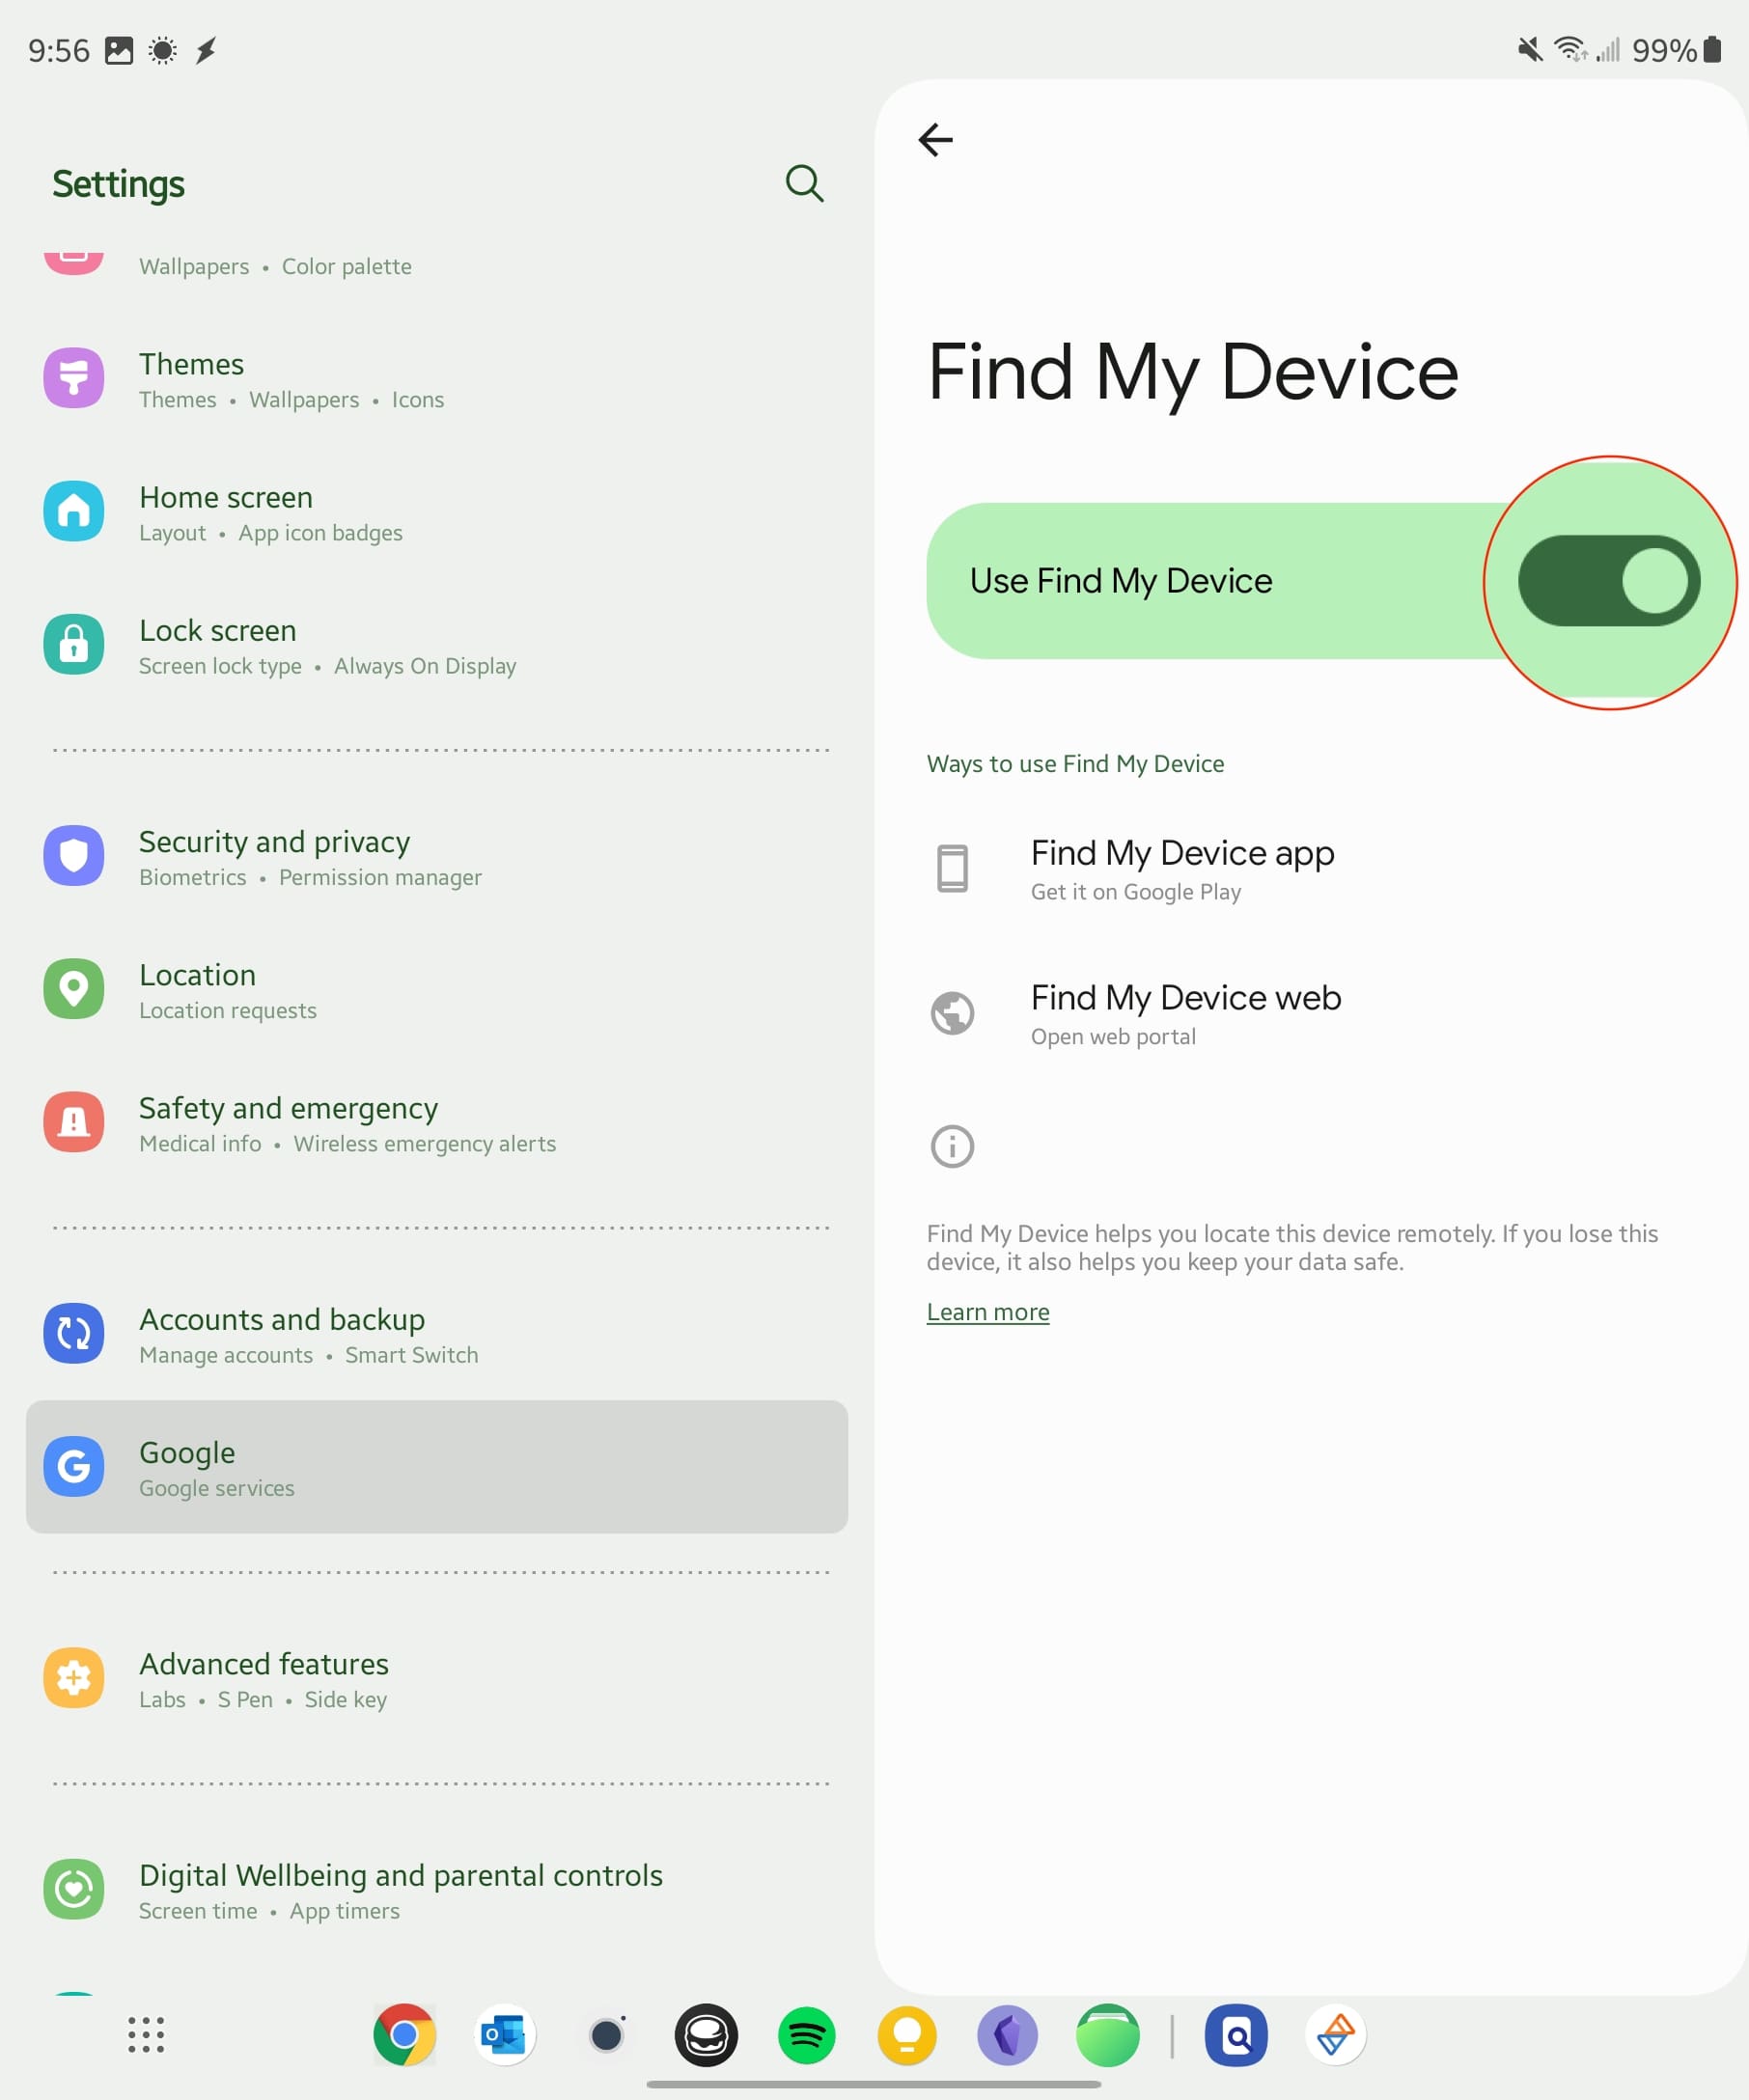
With all of this complete, you’ll now be able to use the Find My Device feature in the event that you misplace your phone or other Android device. One of the best parts about using Find My Device is that you can do so right from your browser of choice.
Final Touches: Ready to Go
Finally, after setting up your preferences and installing all the necessary apps, your new Android phone is ready to go. Remember, setting up a new phone involves personal preferences, and there’s no one-size-fits-all approach. Explore, experiment, and enjoy your new Android journey!
Remember, if you run into any issues during the setup, there’s always a solution. Stay patient, troubleshoot, and you’ll have your phone set up just the way you like it in no time.